10 Expert Tips to Prevent Mushy Flounder for Perfect Results Every Time
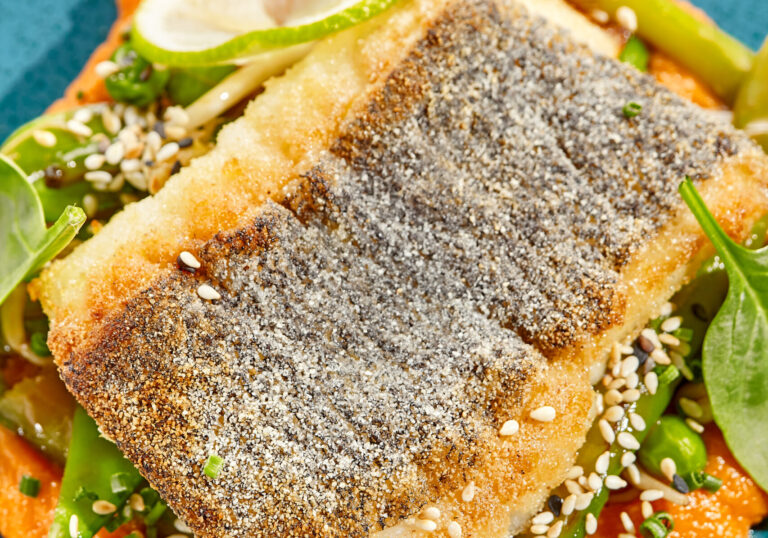
To prevent mushy flounder, master prep, select fresh fish, maintain ideal thickness, season properly, choose the right pan and temperature, time cooking, flip gently, let it rest, and serve with light accompaniments for a perfect, firm dish every time.
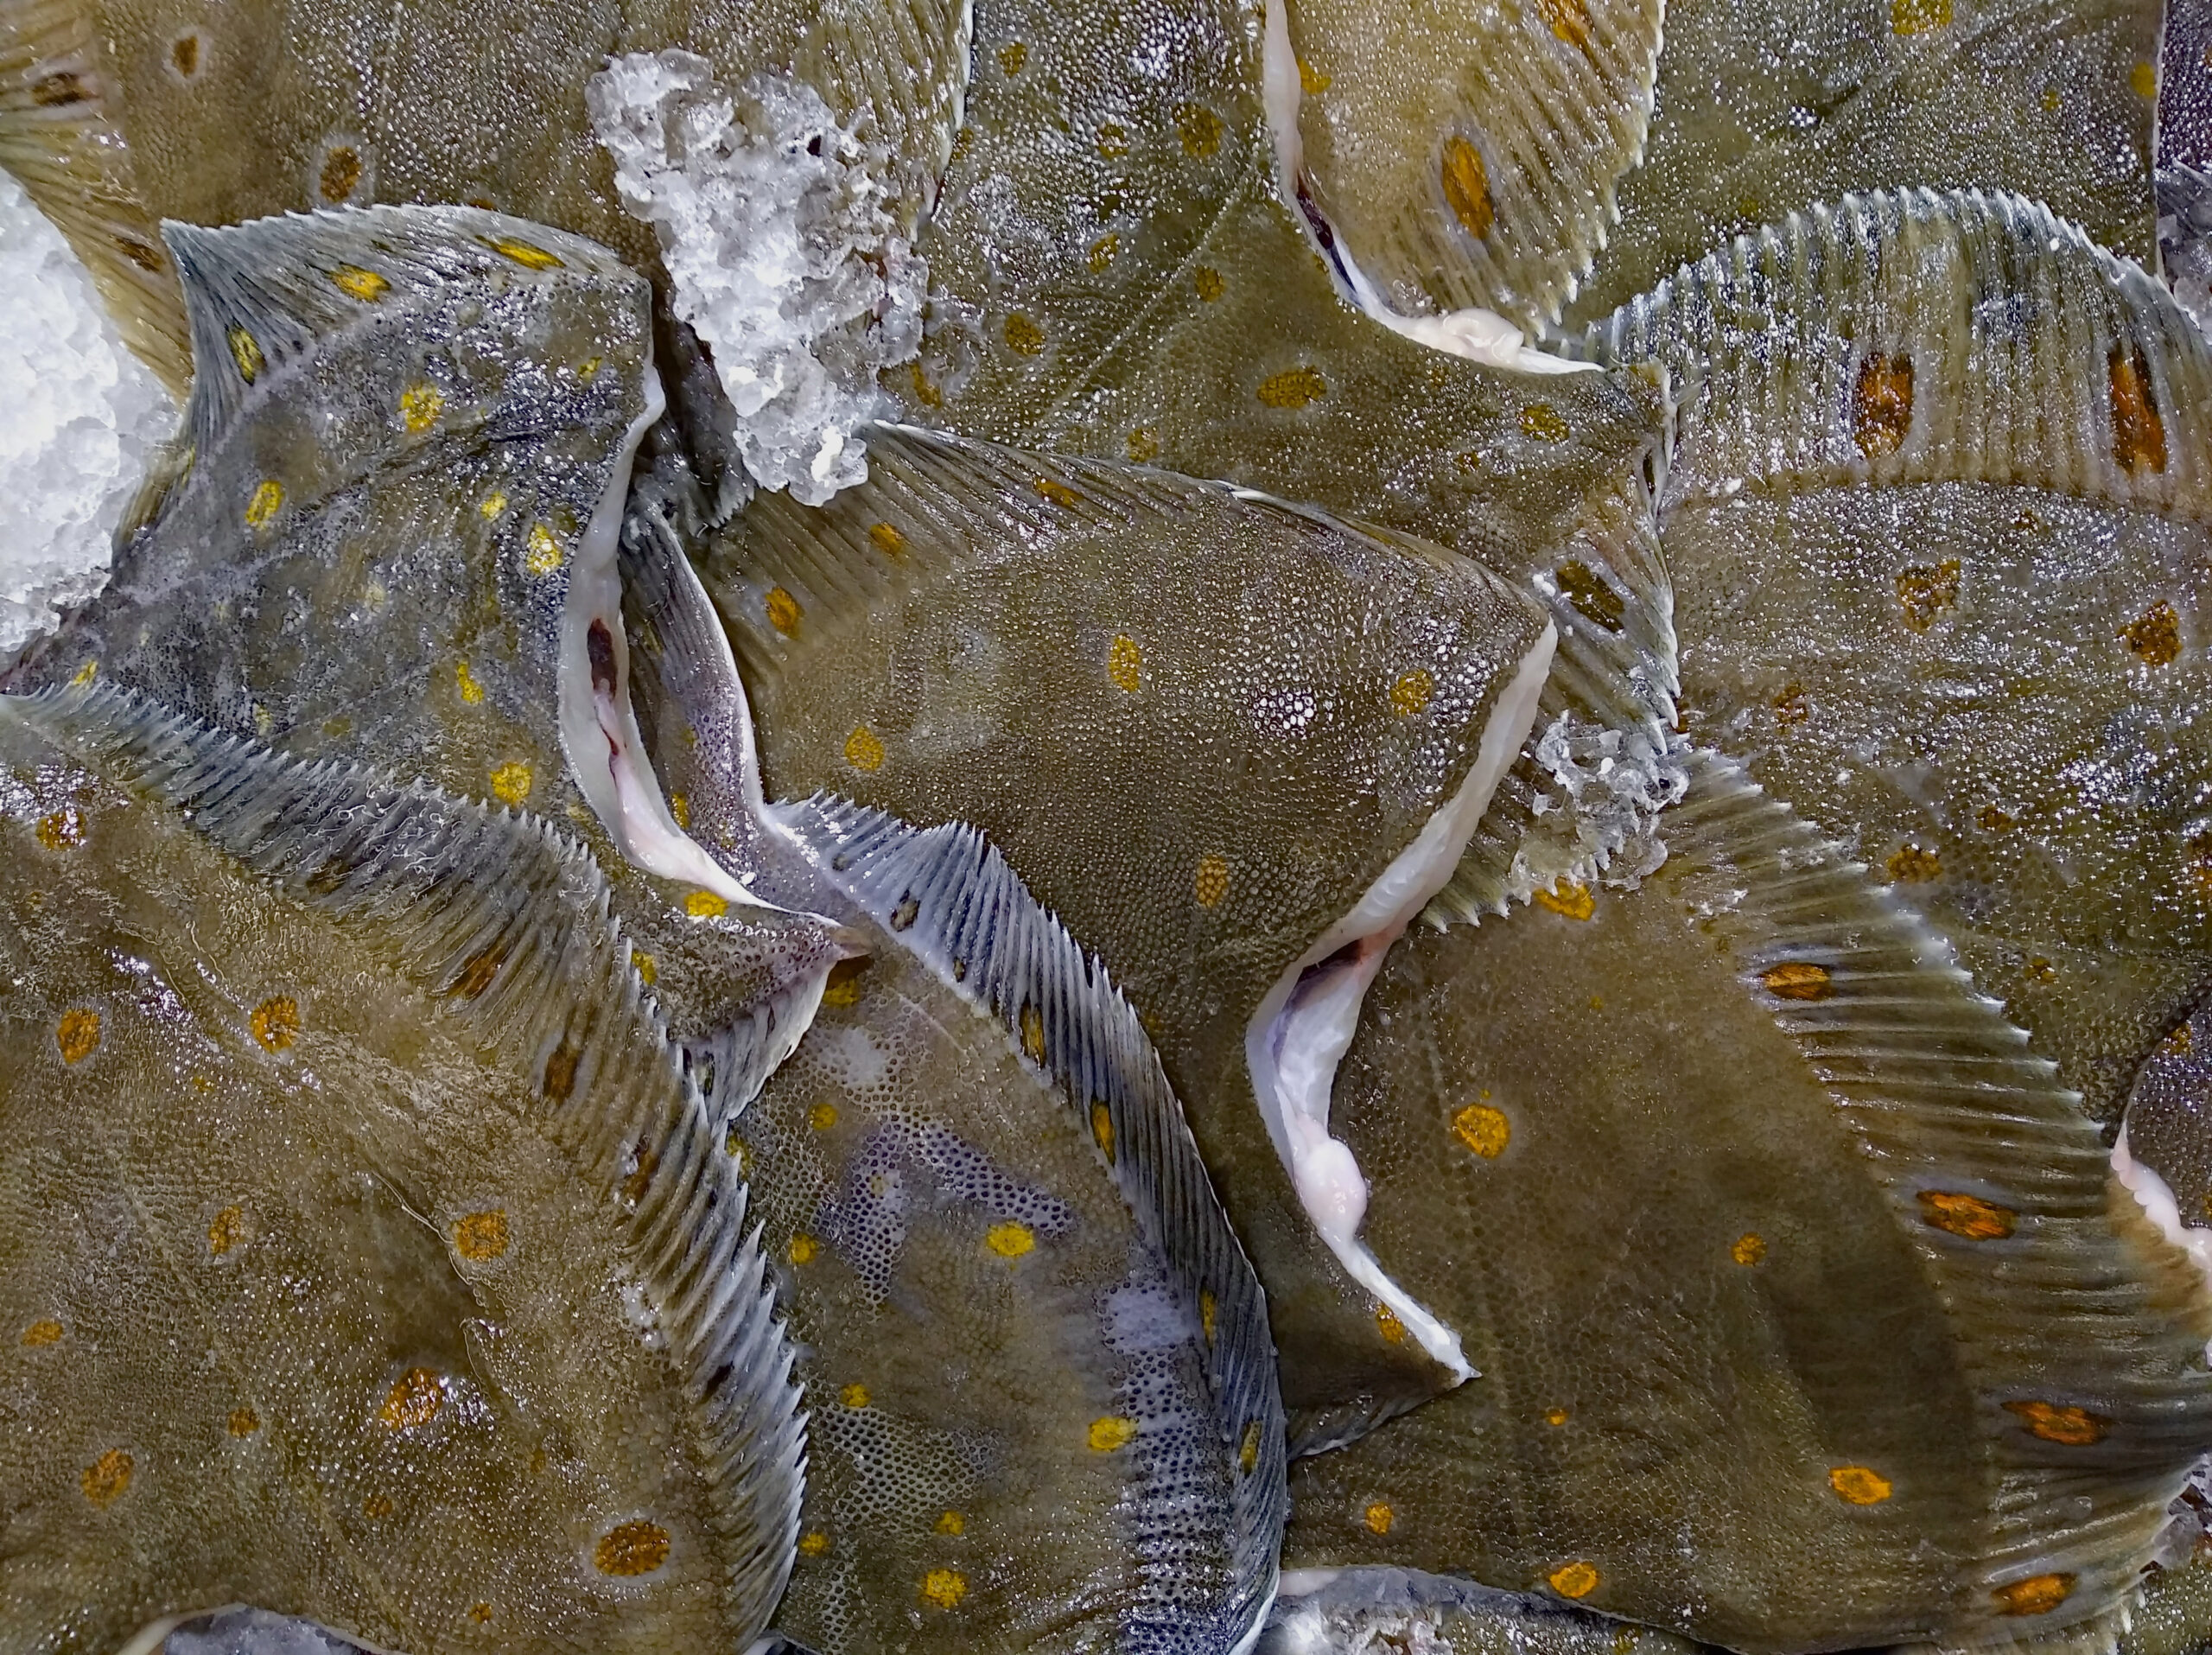
Flounder is a delicate fish that requires a deft touch to maintain its texture and flavor. To ensure a perfect flounder dish every time, follow these expert tips to prevent the common pitfall of mushy fish.
Disclosure: As an Amazon Associate, this site earns from qualifying purchases. Thank you!
1. Master the Perfect Flounder Prep
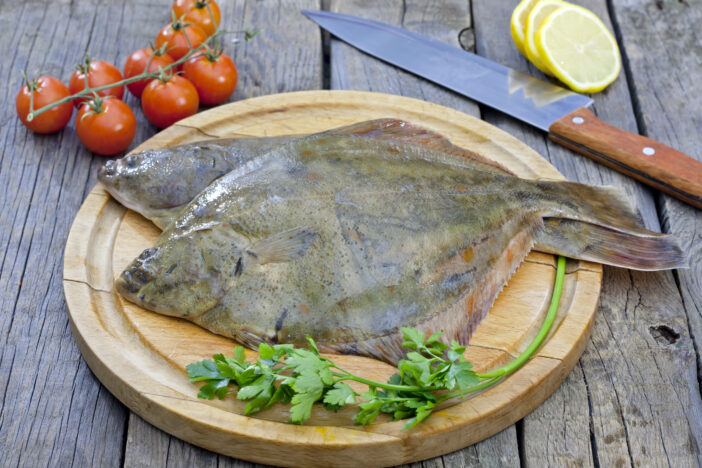
Before you even apply heat to your flounder, proper preparation is key. Start by patting the fish dry with paper towels. Excess moisture is often the culprit behind a mushy texture, as it steams the fish instead of allowing it to develop a nice sear. Additionally, consider scoring the fish lightly with a knife, which can help the heat to penetrate evenly and reduce the chances of overcooking.
If you’re working with a whole flounder, make sure it is properly cleaned and gutted. For fillets, remove any remaining bones with tweezers. A clean, boneless piece of fish will cook more evenly and present beautifully on the plate. Taking the time to prep your flounder correctly sets the stage for a delicious, firm result.
2. Selecting the Best Flounder
Selecting the freshest flounder is crucial to avoid a mushy outcome. Look for flounder with a bright, clear appearance, and flesh that springs back when gently pressed. Avoid any fish that smells overly fishy or has a slimy coating, as these are signs of age and potential spoilage.
When possible, buy flounder from a reputable fishmonger or market. They can often tell you about the source and handling of the fish, ensuring that you’re starting with the best quality product. A fresh flounder has a shorter shelf life, so plan to cook it within a day or two of purchase.
3. The Ideal Flounder Thickness
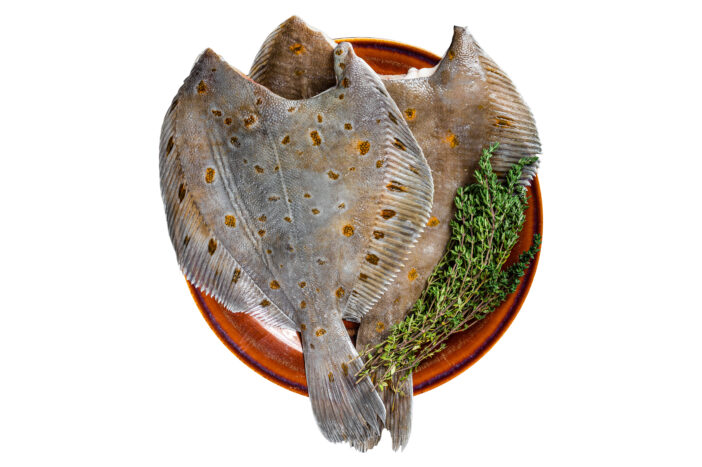
The thickness of the flounder plays a pivotal role in cooking. Ideally, aim for fillets that are consistently about 1/2 inch thick. This thickness allows for quick cooking without the risk of the outside becoming mushy before the inside is done.
If your fillets vary in thickness, consider cutting them into uniform pieces or folding the thinner parts under so they match the thickness of the rest of the fillet. Consistency in thickness means that each part of the fillet will reach the ideal doneness at the same time, preventing any part from becoming overcooked and mushy.
4. Seasoning Flounder Flawlessly
Seasoning is more than just adding flavor; it can also affect the texture of your flounder. Salt the fish moderately for at least 15 minutes before cooking. The salt helps to firm up the proteins in the fish and draw out any excess moisture, which can create a barrier to achieving a nice sear.
Be mindful of the type of seasonings you use. While dry seasonings are generally safe, adding too many wet ingredients (like sauces or marinades) can introduce additional moisture that risks steaming the fish instead of searing it. Stick to a light touch with seasonings to let the delicate flavor of the flounder shine through.
5. Pan Selection for Even Cooking
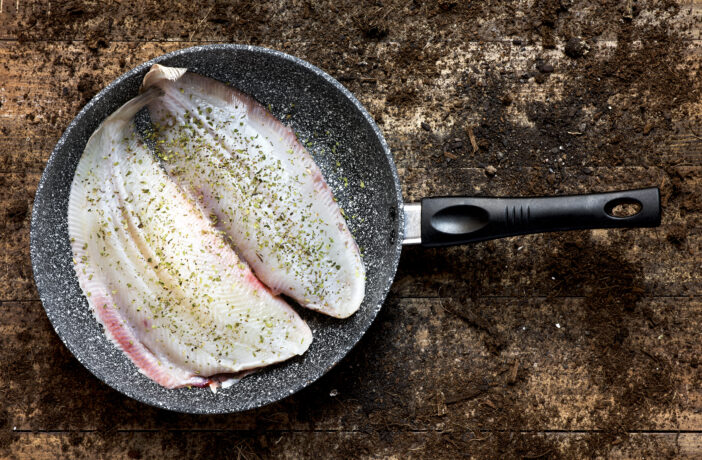
The right pan can make a significant difference in cooking flounder. A heavy-bottomed, non-stick skillet or well-seasoned cast-iron pan is ideal. These types of pans distribute heat evenly, which is essential for cooking flounder without hot spots that can cause mushiness.
Ensure the pan is large enough to hold the flounder without overcrowding. Overcrowding can lead to steam buildup and, you guessed it, mushy fish. If necessary, cook the flounder in batches to maintain enough space between the pieces for proper heat circulation.
6. Perfecting the Cooking Temperature
One of the most critical factors in preventing mushy flounder is the cooking temperature. The pan should be heated to a medium-high temperature before adding the fish. This allows for a quick sear that locks in moisture and creates a slightly crisp exterior.
However, be cautious not to let the pan get too hot. Excessive heat can cause the delicate flesh of the flounder to contract too quickly, squeezing out moisture and resulting in a dry, tough texture. The key is to find that sweet spot where the fish cooks quickly but remains moist and tender.
7. Timing Your Flounder to Perfection
Timing is everything when it comes to cooking flounder. As a general rule, cook the fish for about 2 to 3 minutes per side, depending on thickness. This short cooking time ensures that the fish remains tender and doesn’t turn mushy.
Use a timer if necessary and resist the urge to overcook the flounder. It’s better to err on the side of underdone than overdone, as the residual heat will continue to cook the fish even after it’s removed from the pan. When the flounder flakes easily with a fork, it’s ready to be taken off the heat.
8. The Flip Technique for Flounder
Flipping a flounder can be a delicate task due to its tender flesh. To prevent the fish from breaking apart and becoming mushy, use a thin, flexible spatula. Slide the spatula gently under the fish, lift it carefully, and turn it over in one smooth motion.
Only flip the flounder once during cooking to maintain its structure. Multiple flips can stress the flesh, causing it to fall apart. If you’re unsure whether the fish is ready to flip, look for the edges to become opaque, which is a good indicator that it’s time to turn it over.
9. Resting Your Fish for Optimal Texture
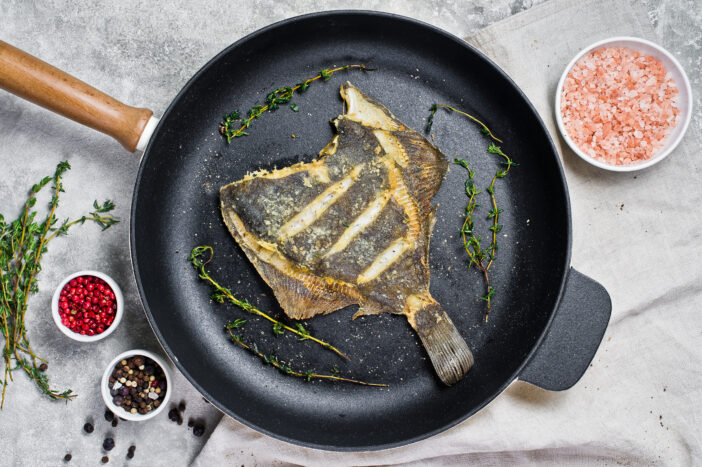
After cooking, allow the flounder to rest for a few minutes before serving. This resting period lets the juices redistribute throughout the fish, which helps to maintain a firm texture. It’s a simple but often overlooked step that can make a big difference in the final quality of your dish.
Place the cooked flounder on a warm plate or a rack to rest. Avoid covering it with foil or placing it in a warm oven, as the trapped heat can cause the fish to continue cooking and potentially become mushy.
10. Serving Suggestions for Flounder
When serving flounder, consider the accompaniments and how they can complement the texture and flavor of the fish. Light, airy sides like steamed vegetables or a crisp salad can provide a contrast to the delicate flounder. Avoid heavy, wet sides that can add moisture to the plate and risk making the fish soggy.
Presentation matters too, so take care when plating your flounder. Use a spatula to transfer the fish to the plate, and garnish with a squeeze of lemon or a sprinkle of fresh herbs. These final touches not only add visual appeal but also enhance the flounder’s natural flavor without overwhelming it.
By following these expert tips, you can confidently cook flounder to perfection, avoiding a mushy texture and ensuring a delicious, firm bite every time. Enjoy the subtleties of this delicate fish with the assurance that it will be cooked flawlessly on your plate.


