5 Essential Tools in a Sausage Making Kit for Perfect Homemade Links
Essentials for homemade sausage making include a meat grinder for texture control, a sausage stuffer for casing, mixing bowls for even seasoning distribution, and a sausage pricker for air release, ensuring professional results. Selecting the right meat and managing fat content are vital for flavor and juiciness. Proper preparation techniques and casing choices can enhance the sausage-making process. Seasoning plays a key role in flavor development, with basic mixes and experimentation leading to unique profiles. Mastering the stuffing process, cooking methods, and storage techniques ensures delicious and safe homemade sausages. Prioritize food safety with cleanliness, temperature control, and troubleshooting common mistakes like over/under stuffing and air bubbles in casings for a successful sausage-making journey.
Diving into the world of homemade sausages opens up a realm of culinary creativity and flavors you’ve never imagined. Whether you’re aiming for the juicy sizzle of garlic pepper brats or the robust zest of spicy beer bratwurst, starting with the right sausage-making kit is crucial for beginners.
Disclosure: As an Amazon Associate, this site earns from qualifying purchases. Thank you!
Essential Equipment in a Sausage Making Kit
Diving into sausage making can transform your kitchen into a flavor workshop. Let’s explore the must-have tools that will help you craft those delicious links like a pro.
Meat Grinder
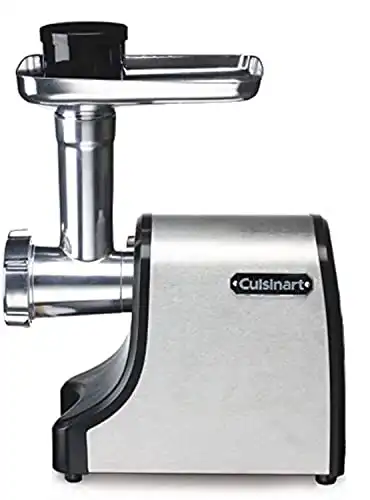
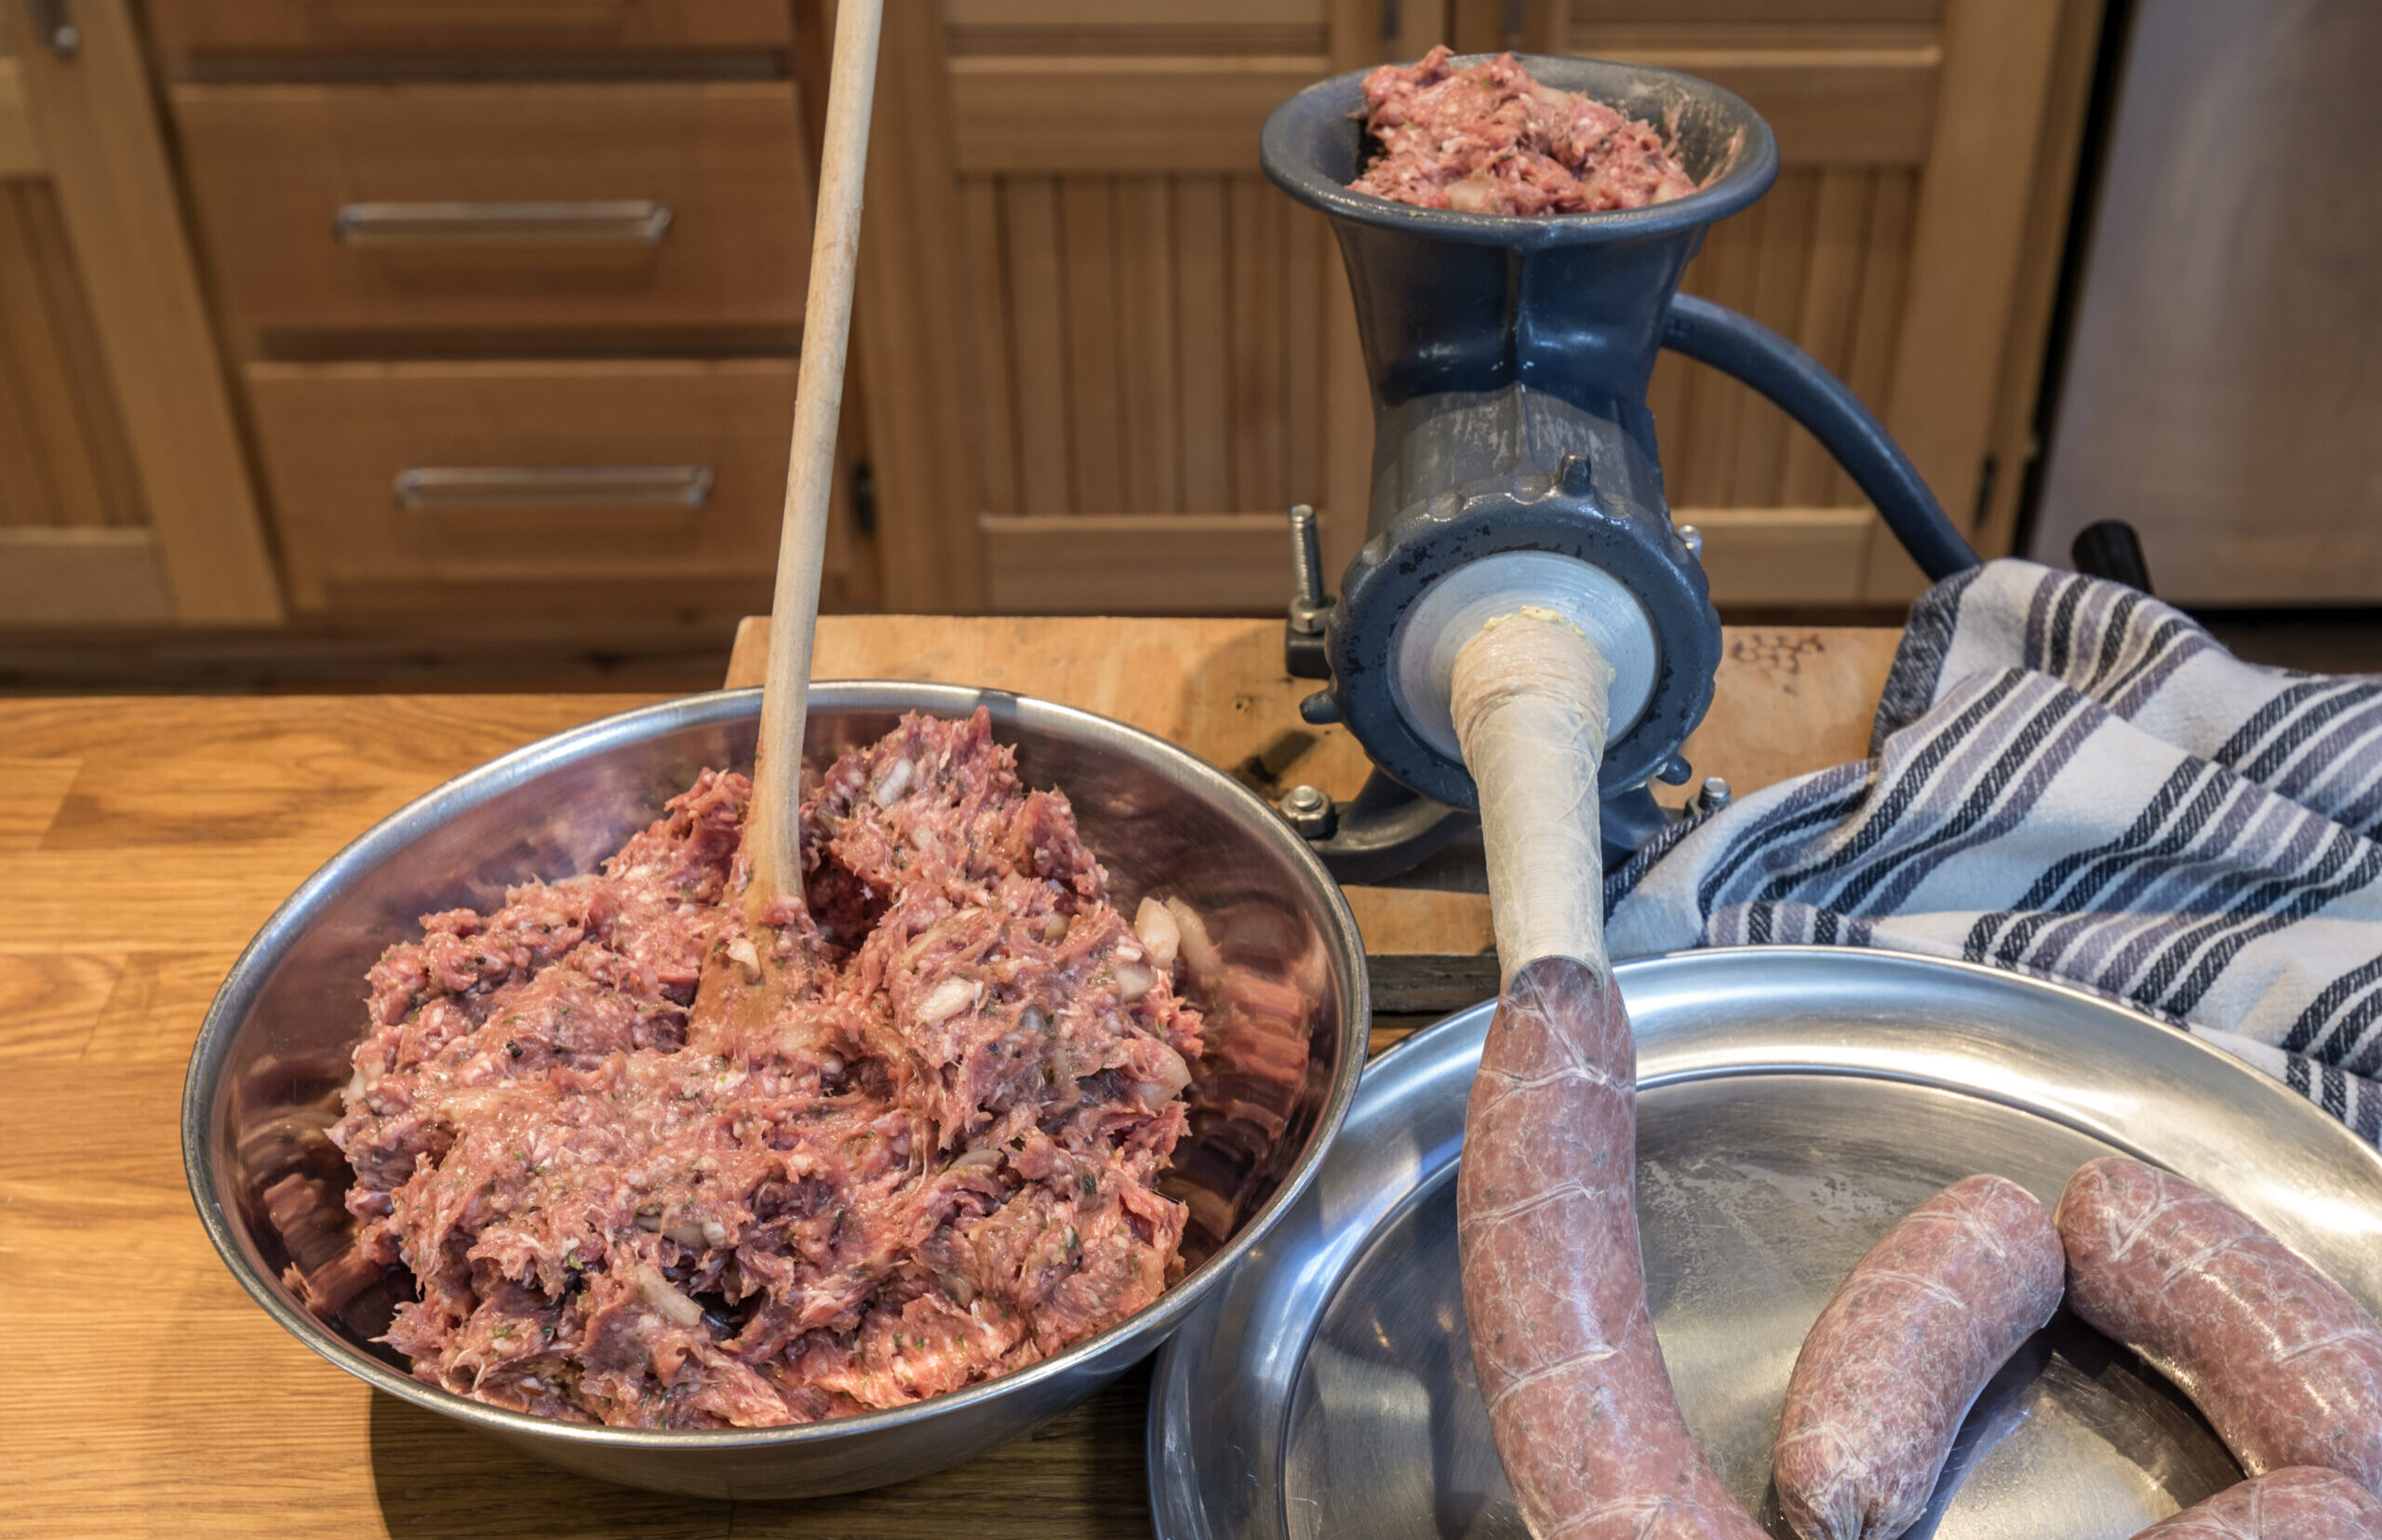
Your journey to sausage supremacy starts with a robust meat grinder. This indispensable tool grinds your chosen meat—beef, wild game, pork, or poultry—to the right consistency, letting you control the texture and fat content. Whether electric for efficiency or manual for hands-on control, ensure it comes with various grinding plate sizes. Remember, the key to a flavorful sausage is in the finely ground details.
Sausage Stuffer
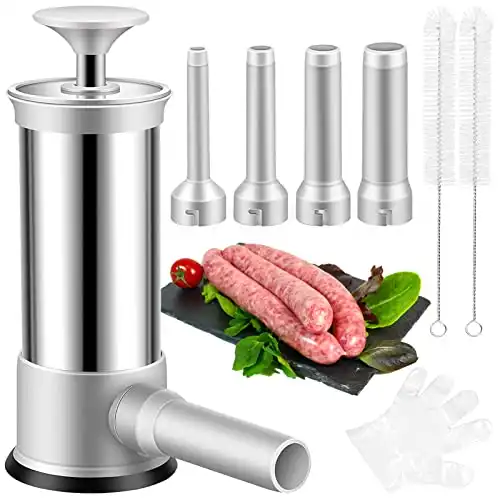
Next up, the sausage stuffer is your best friend for casing your meat mixture. Picking between a manual or electric stuffer depends on your batch size and convenience preference. While electric stuffers speed up the process for larger batches, manual stuffers can offer a more traditional, hands-on approach. Choose one that matches your production level and kitchen space.
Mixing Bowls and Meat Mixer
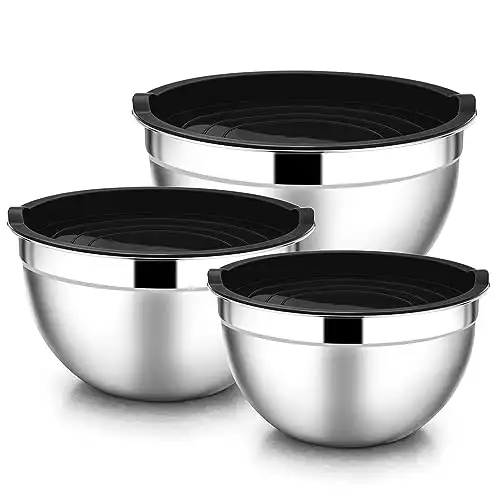
The art of sausage making isn’t just in the grinding and stuffing but also in the mixing. High-quality mixing bowls and a meat mixer allow you to evenly distribute your spices and seasonings throughout your meat mixture. This ensures every bite packs the full flavor punch you’re aiming for. If you’re starting, a simple mixing bowl and spoon can work, but a dedicated meat mixer can save time and effort as you dive deeper into the craft.
Sausage Pricker
Finally, don’t overlook the humble sausage pricker. This tool might seem minor, but it’s crucial for releasing air pockets that can ruin the texture and appearance of your sausages. A few gentle pricks along the casing ensure your sausages cook evenly and maintain their shape, guaranteeing professional-looking results every time.
Equipping your kitchen with these essentials sets you up for success in the world of homemade sausages. Whether aiming for simple breakfast links or venturing into gourmet charcuterie, you’ll have everything you need to start crafting delicious, homemade sausages.
Choosing the Right Meat

When diving into the world of homemade sausage making, selecting the right meat is just as critical as the equipment you use. The choice of meat not only influences flavor and texture but also determines the success of your sausage-making venture.
Best Meats for Beginners
Starting with the right type of meat can make your introduction to sausage making much smoother. Here are some top picks:
- Pork Shoulder – Known for its rich flavor and ideal fat-to-lean ratio, pork shoulder is a favorite among beginners and experts alike. It’s perfect for a wide range of sausage types, from Italian to bratwurst.
- Beef Chuck – If you’re leaning towards beef sausages, chuck offers a robust flavor and a satisfyingly beefy bite. It works well for making summer sausage or beef snack sticks.
- Chicken Thighs – For those seeking a leaner option or catering to dietary restrictions, chicken thighs offer a moist, flavorful base for chicken sausages. Pair it with the right spices, and you’ve got a lighter alternative without sacrificing taste.
- Turkey – Similar to chicken, turkey provides a leaner meat choice. It’s great for making healthier sausage options, blending well with a variety of seasonings and spices to create delicious poultry sausages.
Starting with these meats allows beginners to explore a range of flavors and textures while mastering the basics of sausage making.
Fat Content Importance
Understanding and managing fat content is vital in sausage making. Here’s why:
- Flavor Carrier – Fat is not just about texture; it’s a major flavor carrier in sausages. It helps in the dispersion of spices and seasonings, ensuring your sausage is flavorful from the first bite to the last.
- Juiciness and Moisture – The right amount of fat keeps your sausages juicy and moist during cooking. Lean sausages might dry out or become tough if they lack adequate fat.
- Ideal Ratio – A general rule of thumb for mouthwatering sausages is maintaining a 70:30 ratio of lean meat to fat. This balance ensures that your sausages are neither too dry nor excessively fatty.
- Choose Wisely – Depending on the meat chosen, the cut can significantly affect the fat content. For instance, pork shoulder naturally adheres to the ideal fat ratio, making it a foolproof option for beginners.
- Customization – By selecting your meat and understanding its fat content, you have complete control over the texture and flavor of your sausages. Feel free to experiment with different cuts and combinations to find your perfect sausage formula.
Choosing the right meat and paying attention to its fat content can significantly elevate your homemade sausage. Start with beginner-friendly meats and remember the importance of fat in creating delicious, juicy, and flavorful sausages.
Preparing Your Meat

Diving into the world of homemade sausages starts with mastering the art of meat preparation. Let’s guide you through essential steps to ensure your sausage-making journey begins on the right foot.
- Select the Right Cut: Opt for cuts with a blend of lean and fat, like pork shoulder or beef chuck. These cuts enrich the flavor and texture of your sausage.
- Trim with Care: Remove any tough sinew or silver skin before grinding. These can clog up your grinder and negatively impact the texture.
- Cut Uniformly: Aim for pieces small enough to fit easily in your grinder, about 1 to 2 inches. Uniform cuts lead to even grinding and a better texture in the final product.
- Sharp Blades are Key: Ensure your grinder’s blade is sharp. A dull blade smears meat instead of cutting it, compromising the texture and appearance of your sausage.
- Grind Once or Twice: For a fine texture, run your meat through the grinder twice. Single grinding suffices for coarser, more rustic sausages.
- Chill Meat and Fat: Freeze your meat and fat chunks for about 30 minutes before grinding. You’re aiming for them to be firm to the touch but not frozen solid.
- Pre-freeze Grinder Parts: Place the grinder’s auger, blade, and plate in the freezer alongside your meat. This step keeps the fat from melting during grinding.
- Use Ice Water: When adding liquid to your sausage mix, use ice water to keep everything cold. This trick prevents fat from melting before your sausages are cooked.
- Mix in Batches: If you have a large quantity, work in smaller batches to keep the meat from warming up. Return what you’re not currently processing back to the refrigerator.
- Rapid Processing: Speed is of the essence in sausage making. The shorter the meat’s exposure to room temperature, the better the fat incorporation and texture in your finished product.
By following these cutting, grinding, and temperature control tips, you’ll set a solid foundation for creating delicious homemade sausages. Remember, patience and attention to detail during the preparation phase pay off in the quality of your final product.
Understanding Sausage Casings
Diving deeper into the art of sausage making, let’s talk about a crucial component: sausage casings. These not only shape your sausage but also influence its texture and flavor profile. Choosing and preparing the right casing can elevate your homemade sausage to the next level.
Natural vs Synthetic Casings
Casings come in two broad categories: natural and synthetic. Natural casings, made from animal intestines, are the traditional choice. They offer an authentic texture and flavor that many gourmets prefer. Natural casings are perfect for those aiming for a classic taste and a tender bite. Examples include casings from pigs, sheep, and cows, each offering a different size and texture suited to various types of sausages.
On the flip side, synthetic casings are manufactured from materials such as collagen, cellulose, or even plastic (not for consumption). These casings provide uniformity in size and thickness, making them a go-to for commercial production. They’re easier to store and handle, and there’s no need to clean them before use. Synthetic casings might be your pick if you’re looking for convenience and consistency, especially for large batches.
Preparing Casings for Use
Before you start stuffing, preparing your casings is key. If you’re using natural casings, you’ll need to rinse them thoroughly to remove salt and any residual impurities. This usually involves soaking them in warm water for at least an hour, sometimes longer, followed by running water through them to ensure they are clean inside and out. This process not only cleans the casings but also makes them more pliable and easier to work with.
For synthetic casings, the prep work is minimal. These casings typically come ready to use right out of the packet, saving you time and effort. However, always check the manufacturer’s instructions, as some might require soaking or specific handling before you start stuffing.
Remember, the right casing can greatly enhance your sausage-making experience, impacting both the ease of making and the quality of your final product. Whether you lean towards the authenticity of natural casings or the convenience of synthetic alternatives, understanding and preparing your casings properly sets the foundation for delicious homemade sausage.
In the video, Walton explains –
Walton
- Sausage Basics: A sausage is ground, seasoned meat that is reformed and can be fresh, cured, or smoked.
- Casing Benefits: Most sausages are stuffed into casings for uniformity, mouthfeel, appearance, and ease of handling and cooking.
- Cooking Uniformity: Casings ensure even cooking by providing uniform diameter, preventing overcooking of thinner sections.
- Commercial Importance: In commercial processing, uniformity helps with consistent appearance and tracking production amounts.
- Mouthfeel: The sensation of eating food, influenced by the casing type; collagen casings generally have less snap than natural casings.
- Consumer Preference: Surveys indicate a preference for the reduced snap of collagen casings over natural casings.
- Appearance: Casings give sausages a distinct look; natural casings are slightly curved, while collagen casings are more uniform and straight.
- Inedible Casings: Some casings, like cellulose, are inedible and marked to indicate removal, while others, like ring Bologna casings, are edible but unmarked.
- Handling and Preparation: Different types of casings require specific handling, preparation, and storage methods.
- Further Learning: Additional videos will cover the preparation and handling of various casing types.
The Art of Seasoning

Mastering the art of seasoning is what turns your homemade sausages from simple to sublime. Let’s dive into the basics and then explore how to get creative with your flavors.
Basic Seasoning Mixes
Starting your sausage-making journey requires understanding the foundational seasonings. Salt, pepper, and garlic powder form the base of many sausage recipes. For every pound of meat, aim to use about 1.5 teaspoons of salt. This not only enhances flavor but also helps in preserving the sausage. Black pepper adds a mild heat and earthiness – a quarter teaspoon per pound is a good starting point. Garlic powder, with its robust flavor, can be used sparingly at about half a teaspoon per pound of meat.
Beyond the basics, consider adding:
- Sage – For a classic breakfast sausage flavor.
- Fennel Seeds – A must for Italian sausages, providing a sweet, anise-like taste.
- Smoked Paprika – Adds depth and a hint of smokiness, perfect for Spanish-style sausages.
These spices create a solid foundation, allowing you to produce sausages that are rich in flavor and suitable for a variety of dishes.
Experimenting with Flavors
Once you’re comfortable with basic seasoning mixes, it’s time to get creative and develop unique flavor profiles. This is where you can truly personalize your sausages and stand out. Consider these tips for experimenting:
- Incorporate Fresh Herbs Fresh herbs like rosemary, thyme, and cilantro can bring a bright, aromatic quality to your sausage.
- Add Heat For those who enjoy a kick, incorporating chili flakes, cayenne pepper, or even diced jalapeños can elevate the heat level.
- Try Sweet and Savory Combinations Ingredients like maple syrup or brown sugar can add a delightful contrast to the savory meat.
- Use Alcohol A splash of red wine, beer, or whiskey can introduce complex flavors and also acts as a tenderizer.
- Incorporate Cheese Small cubes of cheese like cheddar or pepper jack melt during cooking, adding a creamy texture and rich taste.
Remember, when experimenting with flavors, add in small quantities and taste as you go. Sausage making is an art that allows for endless creativity, so don’t hesitate to try out different combinations and find what excites your palate. Keep in mind to record your favorite mixes for future reference. With these tips, you’re well on your way to crafting gourmet-quality sausages right in your kitchen.
The Sausage Stuffing Process
After mastering the art of seasoning, the next step in your sausage-making journey involves stuffing your seasoned meat into casings. This stage transforms your spiced meat mix into the sausages ready for cooking or smoking. Let’s dive into how you can set up your sausage stuffer and master the technique for even stuffing, ensuring a perfect sausage every time.
Setting Up Your Sausage Stuffer
Before you begin, selecting the right sausage stuffer is crucial. Look for a pneumatic quantitative sausage stuffer for precision, or if you’re just starting, a simpler manual or electric stuffer can work well.
- Choose Your Casings: Decide whether you’re using natural or synthetic casings based on your preference. Natural casings offer authenticity and a satisfying bite, while synthetic casings provide uniformity and ease of use.
- Prepare Your Casings: If using natural casings, soak them in water for about 30 minutes to make them pliable. This step is essential for ensuring the casings don’t tear when being stuffed.
- Assemble Your Stuffer: Attach the appropriate size nozzle for your casings, ensuring it’s securely fastened to the barrel of your sausage stuffer.
- Load the Stuffer: Pack your seasoned meat mixture into the stuffer cylinder, removing as much air as possible. Air trapped in sausages can cause uneven cooking and affect texture.
Techniques for Even Stuffing
Even stuffing is key to making sausages that cook uniformly and look professionally made. Here are some techniques to help you achieve that:
- Keep the Casings Wet: Lightly wet the outside of your casings just before stuffing. This reduces friction and makes it easier to control the stuffing speed.
- Control the Flow: Use one hand to control the handle or switch of the stuffer and the other to guide the filled casing. Gently but firmly, fill the casing, avoiding overstuffing which can lead to bursting during cooking.
- Stop for Air Pockets: If you notice air pockets forming, stop stuffing and prick the casing with a sterile needle to release the air. This maintains an even density throughout the sausage.
- Twist into Links: Once you have a length of sausage filled, you can twist it into individual links. Pinch at even intervals and twist in alternate directions to separate the sausages. If using synthetic casings, you might need to tie off each sausage with kitchen twine instead.
Remember, practice makes perfect. Your first few attempts may not be flawless, but each batch will improve as you get more comfortable with the equipment and process. Before you know it, you’ll be producing homemade sausages that rival those of seasoned butchers.
Cooking and Storing Your Sausages
After mastering the art of stuffing sausages, the next steps are crucial: cooking them to perfection and storing them safely. Here’s how you can ensure your homemade sausages are delicious every time you serve them and remain fresh when you’re ready to enjoy them later.
- Grilling: You can’t go wrong with grilling sausages, providing them with a crispy exterior and juicy interior. Preheat your grill to medium heat. Cook sausages evenly by turning them frequently, ensuring each side gets nicely browned. This should take about 10-15 minutes depending on the size.
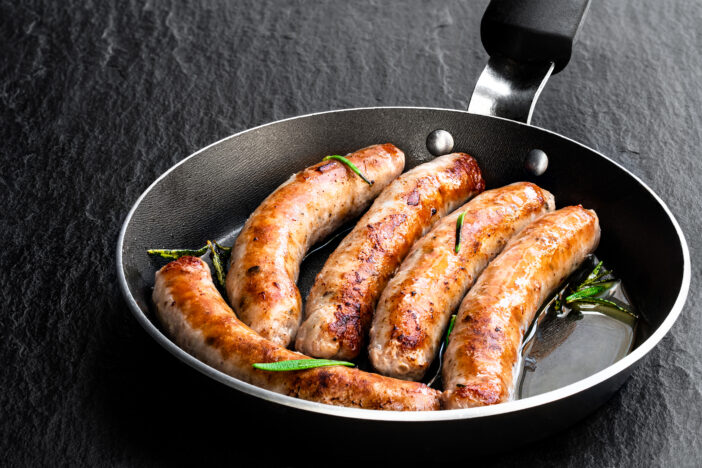
- Pan-Frying: If you’re cooking indoors, pan-frying is your best bet. Add a small amount of oil to a skillet over medium heat and cook the sausages slowly. Keep turning them to get an even cook. This method requires patience but rewards you with well-cooked sausages that have a lovely brown crust.
- Baking: For a hands-off approach, baking is efficient, especially for large batches. Preheat your oven to around 375°F (190°C), place your sausages on a baking sheet and let them cook for about 20-25 minutes. Turning them halfway through the cooking time ensures an even bake.
Each method has its charm, but the key is monitoring your sausages closely to prevent overcooking, which can dry them out and affect their flavor.
- Refrigerating: If you plan to eat the sausages within a few days, refrigerating them is the easiest option. Cooked sausages will last in the fridge for up to four days when properly stored in an airtight container or wrapped tightly in foil or plastic wrap.
- Freezing: For long-term storage, freezing is your friend. Wrap each sausage individually in freezer paper or plastic wrap, then place them in a freezer bag. Don’t forget to label the bag with the date. Frozen, cooked sausages can last for 1-2 months, while uncooked sausages can last up to 2-3 months. Thaw them in the refrigerator overnight before cooking or reheating.
Following these guidelines ensures your homemade sausages are always ready for a quick meal or a flavorful addition to your recipes. Whether you choose to grill, pan-fry, or bake, the joy of enjoying your sausages is incomparable. And with proper storage, you can prolong that satisfaction, ensuring a tasty bite of homemade goodness is always within reach.
Food Safety Tips
Ensuring your homemade sausages are not only delicious but also safe to eat is crucial. Food safety is paramount, so let’s dive into the top tips for keeping everything clean and well-preserved.
- Cleanliness and Sanitation – Keep everything spotless—hands, surfaces, utensils, and ingredients. Wash with hot, soapy water before and after, and use a sanitizing solution for extra safety.
- Temperature Control – Store and prepare meats at the right temperatures. Keep refrigerated until use, and cook sausages to 160°F (71°C). Use a food thermometer to ensure safety.
Common Mistakes and Troubleshooting
Diving into sausage making can be as adventurous as it is rewarding. Yet, it’s the ability to navigate the common pitfalls that sets seasoned sausage makers apart from beginners. Let’s tackle some of these hurdles together.
- Over/Under Stuffing – Overstuffed sausages burst during cooking, like an overinflated balloon. Understuffed ones end up wrinkly and unevenly cooked. Aim for a plump but not overstretched casing. Practice to perfect this balance.
- Air Bubbles in Casings – Trapped air leads to unappealing and unevenly cooked sausages. To avoid this, expel as much air as possible while stuffing. Prick small holes where air pockets form to let the air escape without ruining the sausage structure.

