7 Tips Kimchi Fermentation in Small Spaces for Tasty and Healthy Meals
Transform your small kitchen into a kimchi-making haven with the right tools and ingredients, maximizing space and ensuring successful fermentation.
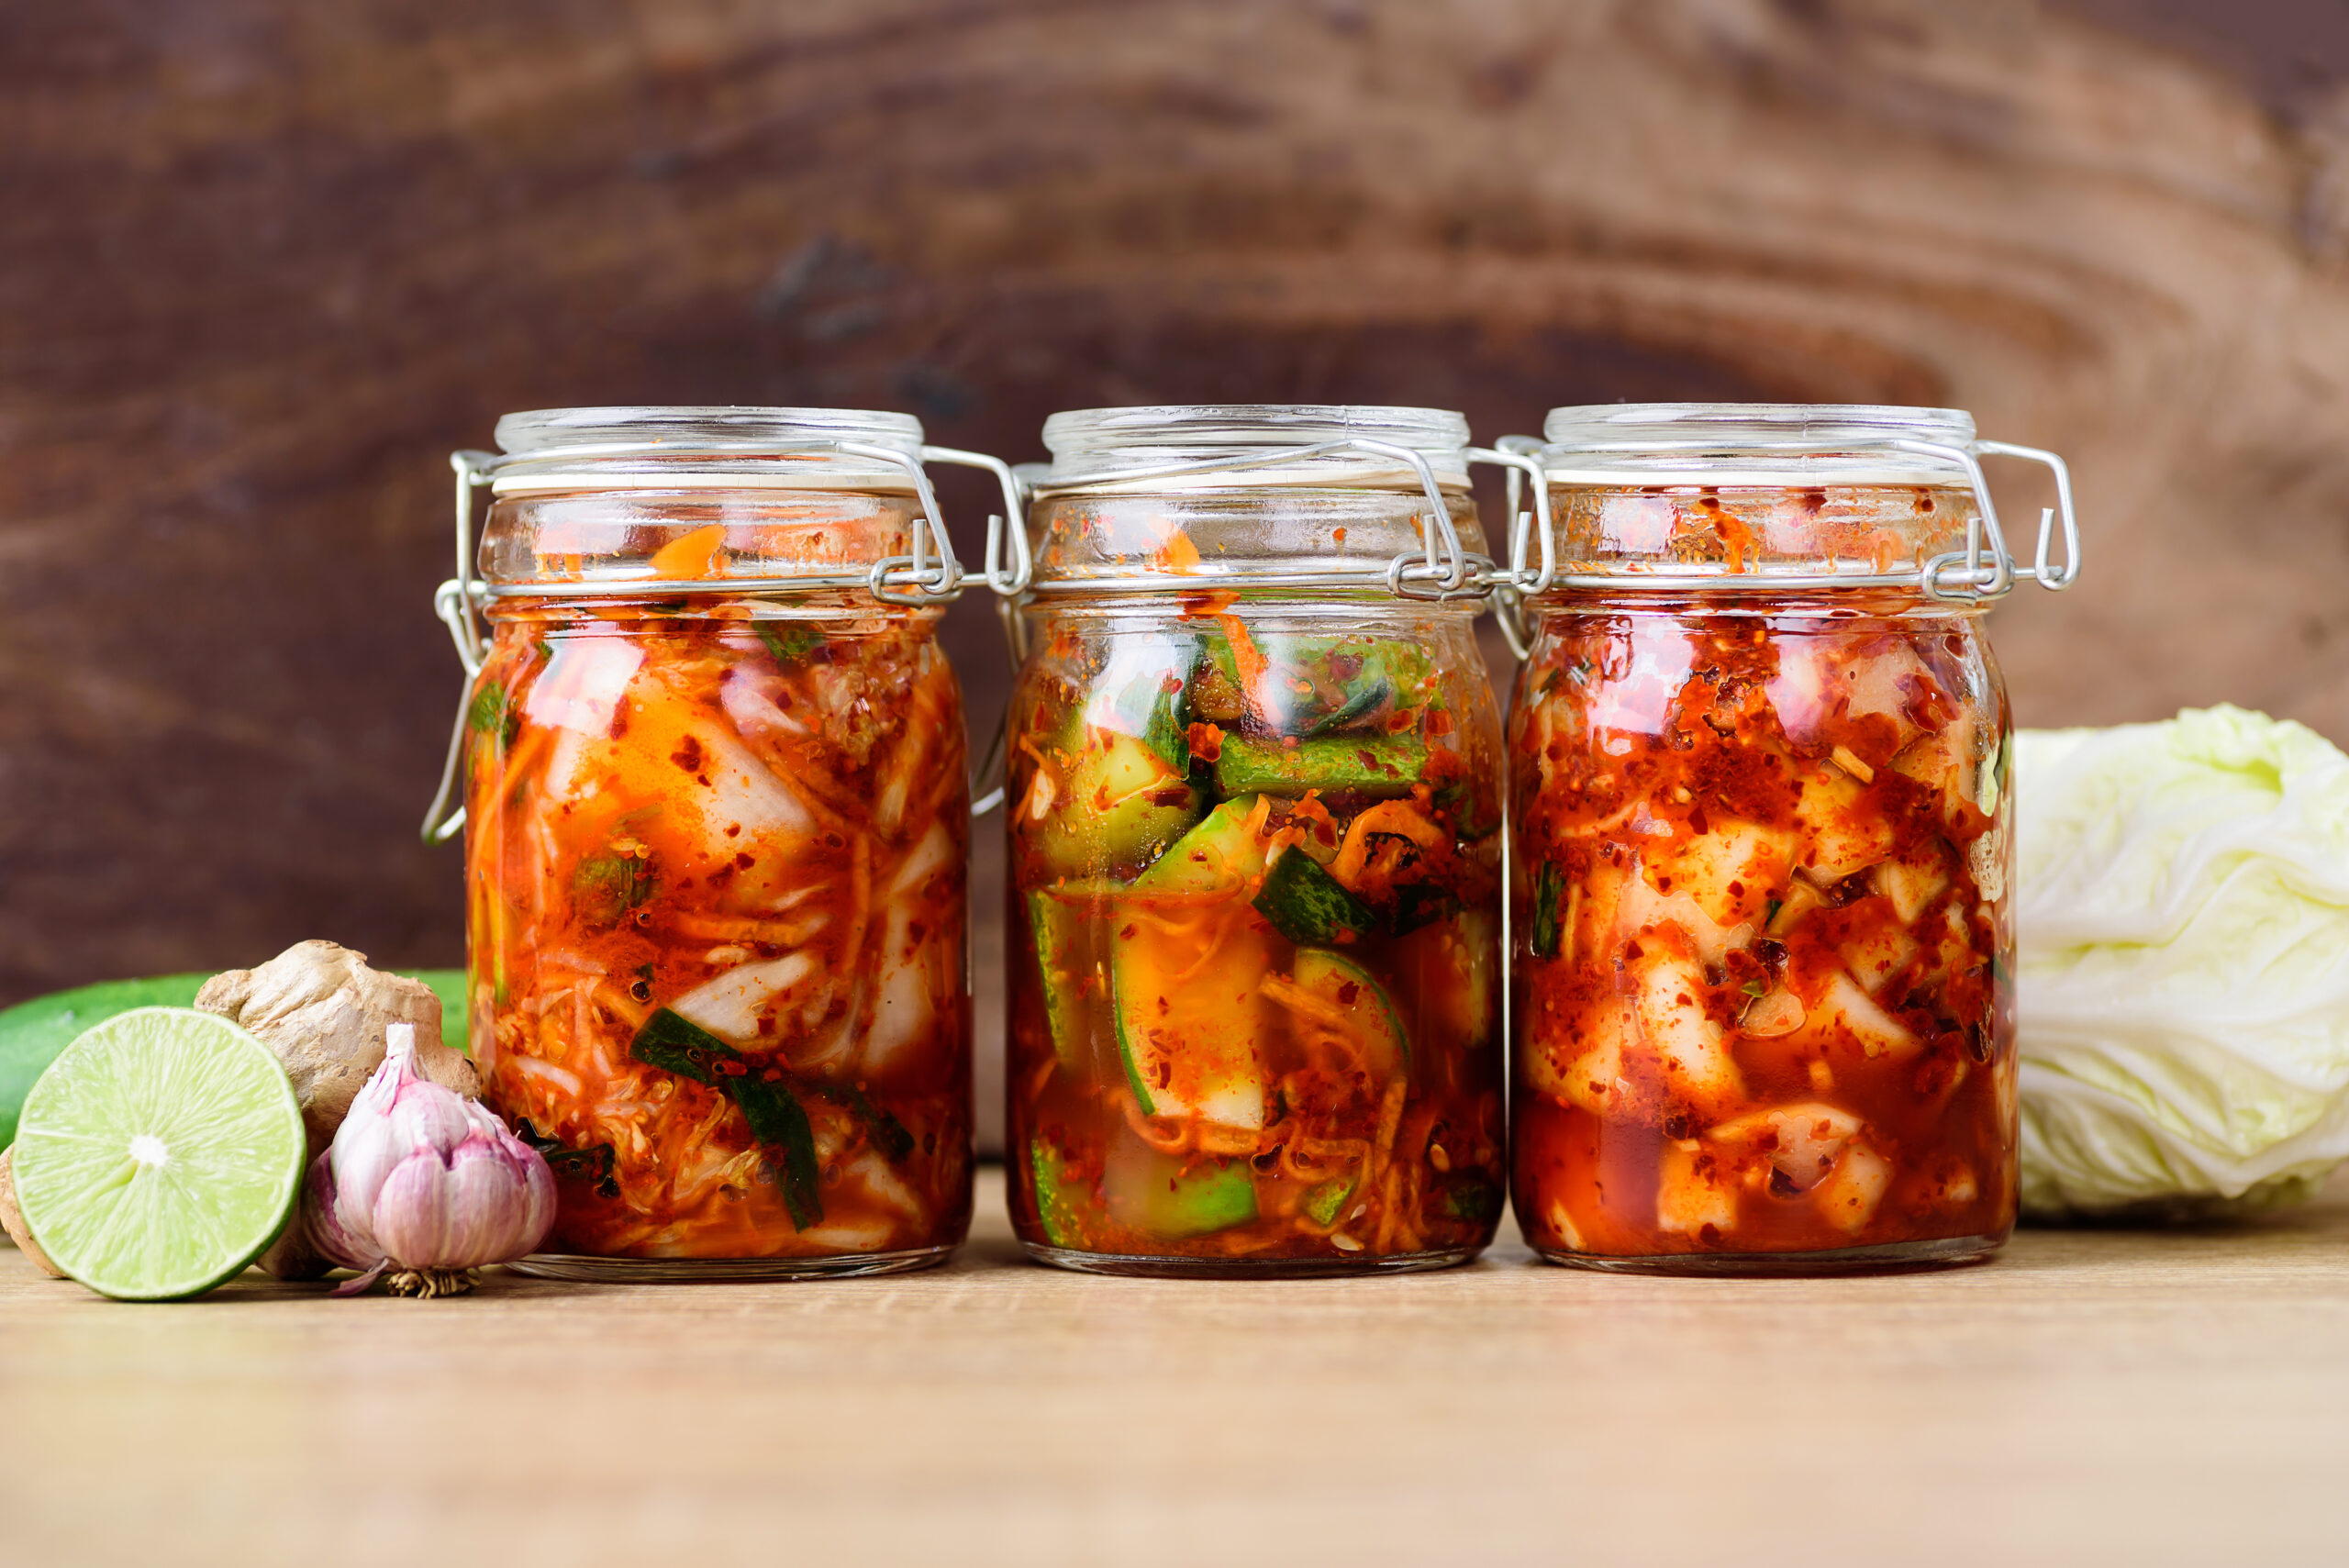
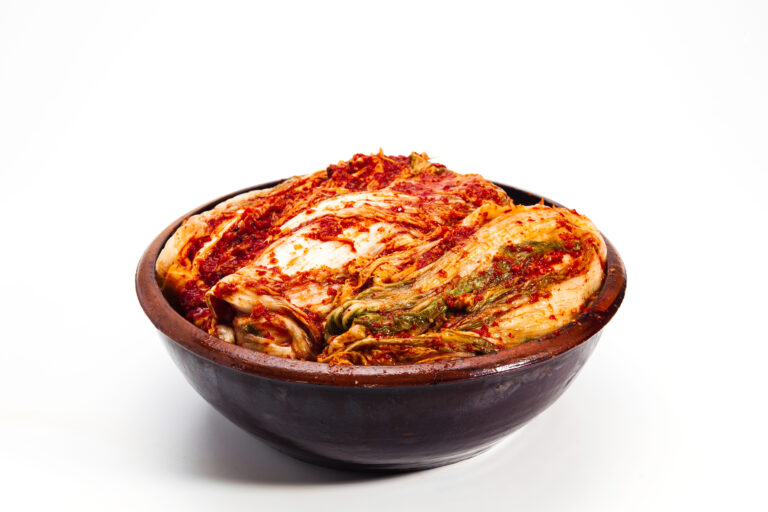
Imagine transforming your tiny kitchen into a hub of traditional Korean cuisine with the art of kimchi fermentation. Even in the smallest spaces, you can master this age-old technique, adding a burst of flavor and health benefits to your daily meals.
Disclosure: As an Amazon Associate, this site earns from qualifying purchases. Thank you!
Choosing Your Fermentation Equipment
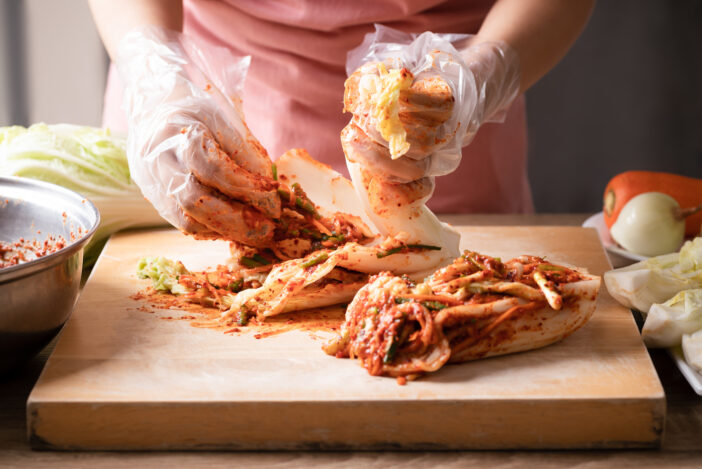
Adopt the right tools to turn your small kitchen into a hub for crafting perfect kimchi. Here’s what you’ll need to get started selecting the right container:
- Size Matters: A 1-2 liter glass jar often works best for individual or family use.
- Material Insight: Glass or food-grade, BPA-free plastic is your safest bet as they don’t react with the acidic components of kimchi.
- Seal the Deal: Choose containers with tight-sealing lids to minimize exposure to air, which can affect the fermentation process.
- Weigh Down: Glass or ceramic weights keep the kimchi submerged under its juice, crucial for anaerobic fermentation.
- Measure Up: Always have measuring cups and spoons handy to accurately mix salt and seasoning without guesswork.
- Mixing Tools: A sturdy mixing bowl and a pair of gloves are essential for safely mixing the ingredients and spices.
Selecting Ingredients for Kimchi
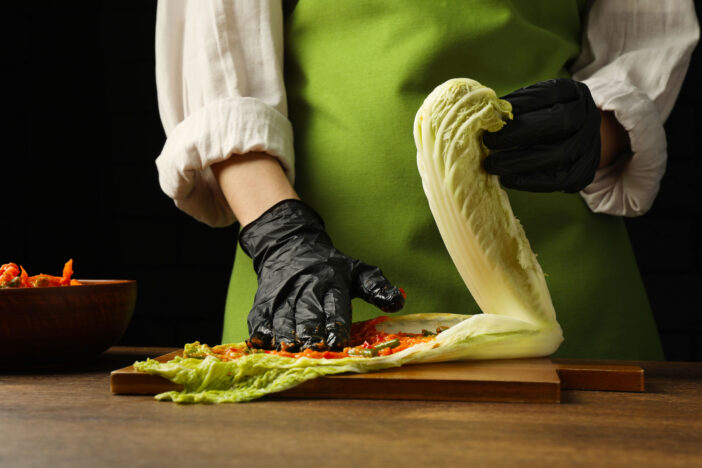
With your fermentation gear ready, let’s dive into the core elements—the ingredients essential for achieving authentic kimchi flavor.
- Napa Cabbage: This is your base. You’ll need about a couple of heads, depending on how much you’re making. Rinse them thoroughly to remove dirt and grit.
- Korean Radishes: Add crunch and a bit of peppery kick.
- Garlic and Ginger: These are crucial for depth of flavor—about 6 cloves of garlic and a 2-inch piece of ginger should do the trick.
- Scallions: Include a bunch—these add freshness and a subtle onion flavor.
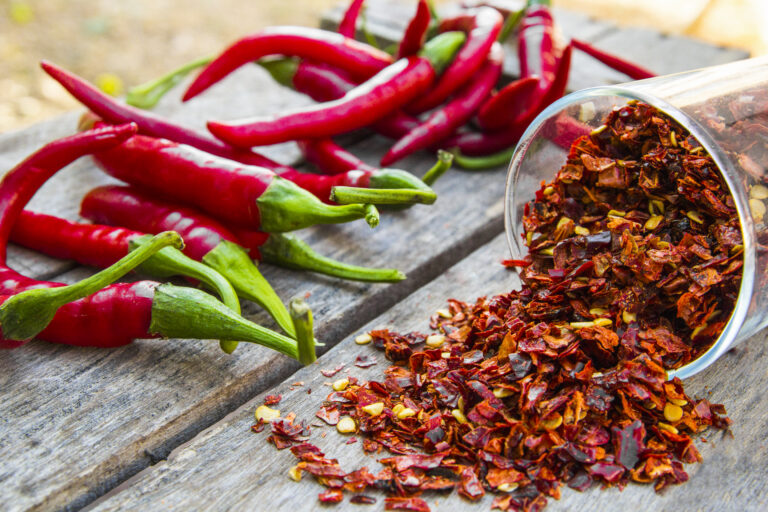
- Korean Chili Flakes (Gochugaru): This is non-negotiable for authentic tasting kimchi. Start with a few tablespoons and adjust according to how spicy you like it.
- Fish Sauce or Salted Shrimp: Provides the umami flavor that kimchi is known for. A couple of tablespoons will be sufficient.
- Sugar: Just a bit to balance the flavors—about a teaspoon should be enough.
- Adjust the Spice Level: Increase or decrease the amount of gochugaru based on your preference for heat.
- Add Fruits: Some people like adding thinly sliced Asian pear or apple for a sweet contrast to the fermented tang.
- Experiment with Different Vegetables: Try adding carrot sticks or sliced cucumbers for variation both in flavor and texture.
- Vegan Options: Use soy sauce or seaweed-based fish sauce alternatives to cater to vegan tastes without sacrificing the depth of flavor.
Preparing Your Space for Kimchi Making
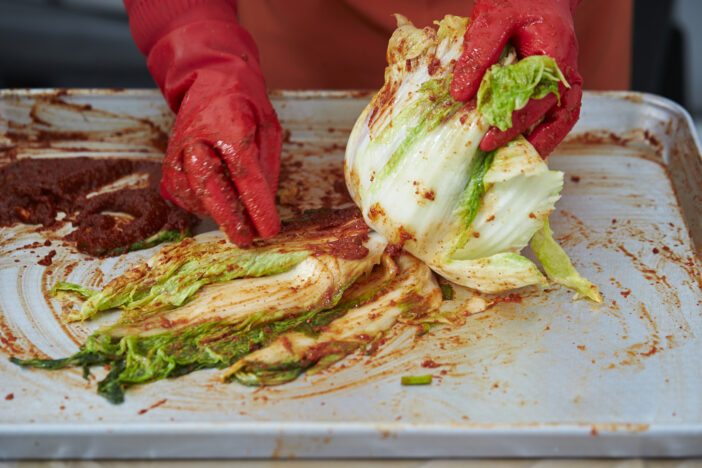
Transforming your small kitchen into a kimchi fermentation station doesn’t have to be daunting. Here’s how you can make the most of your limited space and ensure a clean environment suitable for producing delicious, traditional kimchi.
- Use Stackable Containers:
Opt for stackable fermentation containers to maximize your vertical space. Brands like Crazy Korean Cooking offer containers specifically designed for kimchi, which stack neatly and use space efficiently. - Implement Hanging Tools:
Install hooks or magnetic strips to hang essential tools like measuring cups, spoons, and mixing bowls. This frees up counter and cabinet space while keeping everything within easy reach. - Collapse and Store:
Select kitchen equipment that can be collapsed or folded when not in use. Items such as collapsible colanders and foldable cutting boards are perfect for small kitchens. - Utilize Cabinet Door Organizers:
Install organizers on the insides of cabinet doors to store spices and small items, keeping them accessible but out of the way. - Maintain Strict Cleanliness:
Before beginning the fermentation process, thoroughly clean your kitchen surfaces and tools with hot, soapy water. This ensures that no unwanted bacteria interfere with the fermentation process. - Control Temperature and Humidity:
Keep your fermentation area at a consistent temperature between 65°F and 75°F. Use a small fan or dehumidifier if necessary to maintain low humidity, which is crucial for preventing mold growth. - Minimize Contamination:
Keep the fermentation area free from non-essential items and traffic. This reduces the risk of introducing contaminants that can spoil the kimchi. - Regular Ventilation:
Ensure your kitchen is well-ventilated. Open windows or use an exhaust fan to remove odors and regulate air quality, important for both your comfort and the success of the fermentation.
Step-by-Step Guide to Kimchi Fermentation in Small Spaces
After setting up your kitchen efficiently for kimchi making, it’s time to dive into the fermentation process itself. This guide will walk you through preparing the ingredients and correctly layering and packing them for optimal fermentation, all within the confines of your small space.
Preparing the Ingredients
Start by selecting high-quality, fresh ingredients. You’ll need:
- Napa Cabbage: Pick firm, vibrant heads without wilted leaves.
- Korean Radish: Optional, but adds crunch.
- Spring Onions: For a bit of sharpness.
- Garlic and Ginger: Mince them finely to distribute their flavors evenly.
- Korean Chili Flakes (Gochugaru): Adjust the amount to suit your spice tolerance.
First, wash your cabbage and radish thoroughly. Cut the cabbage into quarters, remove the cores, and chop them into bite-sized pieces. If you’re using radish, peel and cut it into thin strips. Soak these vegetables in a saltwater brine (1/4 cup of salt per 4 cups of water) for 2 hours, then rinse and drain them well to remove excess salt.
- Mix Your Kimchi Paste: Combine garlic, ginger, chili flakes, and a little sugar in a bowl to create your kimchi paste.
- Apply the Paste: Use gloves to rub the paste thoroughly into each layer of the vegetables. Make sure every piece is well-coated.
- Packing: Tightly pack the coated vegetables into a clean, airtight container. Press down on the vegetables as you add layers to eliminate air pockets and ensure that the brine covers the vegetables.
- Seal and Store: Close the container with its lid and leave it at room temperature for 1 to 2 days for initial fermentation. After that, move it to a cooler place like the bottom shelf of your refrigerator for slow fermentation.
The tips above help ensure that even in a small kitchen, you can produce delicious, nutritious kimchi. Remember, the key to successful fermentation is in how well you manage the ingredients and conditions, such as temperature and cleanliness.
Monitoring and Controlling the Fermentation Process

After setting up your small kitchen and starting the kimchi fermentation, it’s crucial to monitor and control the process to ensure the best results.
The Importance of Temperature Control
- Maintain Optimal Temperature: Aim to keep your kimchi at a consistent temperature between 60°F and 70°F. This range is ideal for fostering good bacterial growth without risking spoilage.
- Avoid Temperature Fluctuations: Sudden changes can harm the fermentation process, leading to undesirable flavors or spoiled kimchi.
- Use a Thermometer: A simple kitchen thermometer can help you keep track of the temperature, especially in environments where room temperature varies.
Signs of Proper Fermentation:
- Bubbles Appear: During fermentation, you’ll notice bubbles forming in the jar, a sign that fermentation is occurring as gases are released.
- Sour Aroma Develops: A tangy scent is a positive indicator. It means the lactic acid bacteria are active, transforming sugars into lactic acid.
- Change in Texture: The vegetables will start to soften as they ferment. Crisp, yet tender to the bite is what you’re looking for.
- Taste Test: After a few days, taste your kimchi. It should be tangy with a slight crunch, indicating successful fermentation.
Preservation and Storage Tips for Small-Space Fermenters
Properly storing and preserving kimchi is crucial to maintaining its quality and safety. Here are the best practices:
- Choose the Right Container: Opt for air-tight, non-reactive containers like glass jars or BPA-free plastic containers. These materials minimize oxygen exposure, which is crucial in maintaining the quality of the kimchi.
- Keep it Cool: Store your kimchi in the fridge at a consistent temperature, ideally between 33°F and 39°F. This slows down fermentation and preserves the flavor and texture for longer periods.
- Optimize Your Fridge Layout: Position your kimchi container in the main compartment of the fridge where the temperature is more stable, avoiding the door area where the temperature fluctuates with frequent openings.
- Use Clean Utensils: Always use a clean spoon when serving kimchi to prevent contamination. This keeps your kimchi fresh and extends its shelf life.
- Limit Air Exposure: Each time you serve kimchi, press down the remaining kimchi in the container to release any trapped air bubbles and reduce oxygen exposure.
- Monitor the Seal: Regularly check the seal of your kimchi container. A well-sealed lid is essential to avoid unnecessary air exposure and to keep unwanted odors out.
- Regular Check-ups: Check your kimchi periodically for signs of spoilage, such as an off smell, mold, or an unusually sour taste. Early detection can prevent the spoilage of your entire batch.
- Record the Date: Track the storage date by labeling your kimchi containers. Although kimchi can be consumed even after months under optimal conditions, it’s best enjoyed within a few weeks of fermentation.
By implementing these straightforward storage solutions, you’ll not only maximize kitchen space but also enjoy your homemade kimchi at its best for longer.
Creative Ways to Use Kimchi in Everyday Cooking

Mastered kimchi-making? Here’s how to integrate this flavorful condiment into daily meals:
- Boost Your Breakfast: Start your day with a spicy kick by adding kimchi to your scrambled eggs or omelettes. For a quick, nutritious breakfast, layer kimchi on avocado toast, providing a perfect blend of creamy and crunchy textures.
- Liven Up Lunch: Elevate your lunch sandwiches and wraps with a generous helping of kimchi. Whether it’s a turkey sandwich, veggie wrap, or grilled cheese, kimchi adds a tangy depth that transforms ordinary lunches into something extraordinary.
- Dinner Delight: Incorporate kimchi into your evening meals by using it as a side dish with grilled meats or stir it into stews and soups for added richness and flavor. A simple kimchi fried rice can also serve as a quick yet satisfying dinner.
- Sauces and Dressings: Stir chopped kimchi into mayonnaise, ketchup, or mustard to create unique, flavorful condiments that can be used in burgers, hot dogs, and more.
- Savory Snacks: Top your nachos or baked potatoes with kimchi for an unexpected twist. Its bold flavor complements the mellowness of potatoes and the cheesy goodness of nachos.
- Marinades: Use kimchi juice as a marinade for meats before grilling or roasting. It not only tenderizes the meat but also infuses it with a rich umami flavor that enhances the overall taste.
By integrating kimchi into your meals throughout the day, you diversify flavors and add a healthy probiotic boost to your diet.
Frequently Asked Questions
What equipment do I need to set up a small kitchen for kimchi fermentation?
You will need a selection of fermentation containers (preferably glass or ceramic), a good-quality knife for chopping vegetables, a large mixing bowl, a measuring spoon, and a weight or pressing tool to help keep the vegetables submerged during the fermentation process.
How can I ensure successful kimchi fermentation in a limited space?
To ensure successful kimchi fermentation in a small space, maintain cleanliness to prevent contamination, ensure adequate ventilation to help control the smell of fermentation, and manage the ingredients and conditions meticulously. Use a thermometer to monitor temperatures regularly to avoid adverse effects on the fermentation process.
What are the signs of successful kimchi fermentation?
Successful kimchi fermentation is indicated by the presence of small bubbles in the jar, a sour aroma, changes in the taste over time, and a texture that is neither too hard nor too soft. Conducting regular taste tests and texture checks during the fermentation period is crucial.
How do I store kimchi after fermentation?
After fermentation is complete, pack the kimchi tightly in airtight containers, limiting air exposure. Store it in the refrigerator to halt the fermentation process and preserve its freshness. Regularly check the seals of the containers and conduct spoilage check-ups. Label the containers with storage dates to keep track of freshness.
How can I incorporate kimchi into my daily meals?
Kimchi can be used creatively throughout various meals. Add it to scrambled eggs or avocado toast for breakfast. Enhance sandwiches and wraps for lunch, or serve it as a side with dinner dishes like fried rice. For a flavorful twist, use kimchi juice as a marinade for meats, or add chopped kimchi to sauces and dressings to diversify your diet with a healthy, probiotic boost.

