7 Home Food Preservation Techniques to Keep Your Produce Fresh Year-Round
Learn essential home food preservation methods: canning, freezing, dehydration, fermentation, pickling, salt curing, smoking, and vacuum sealing for fresh, flavorful produce year-round.
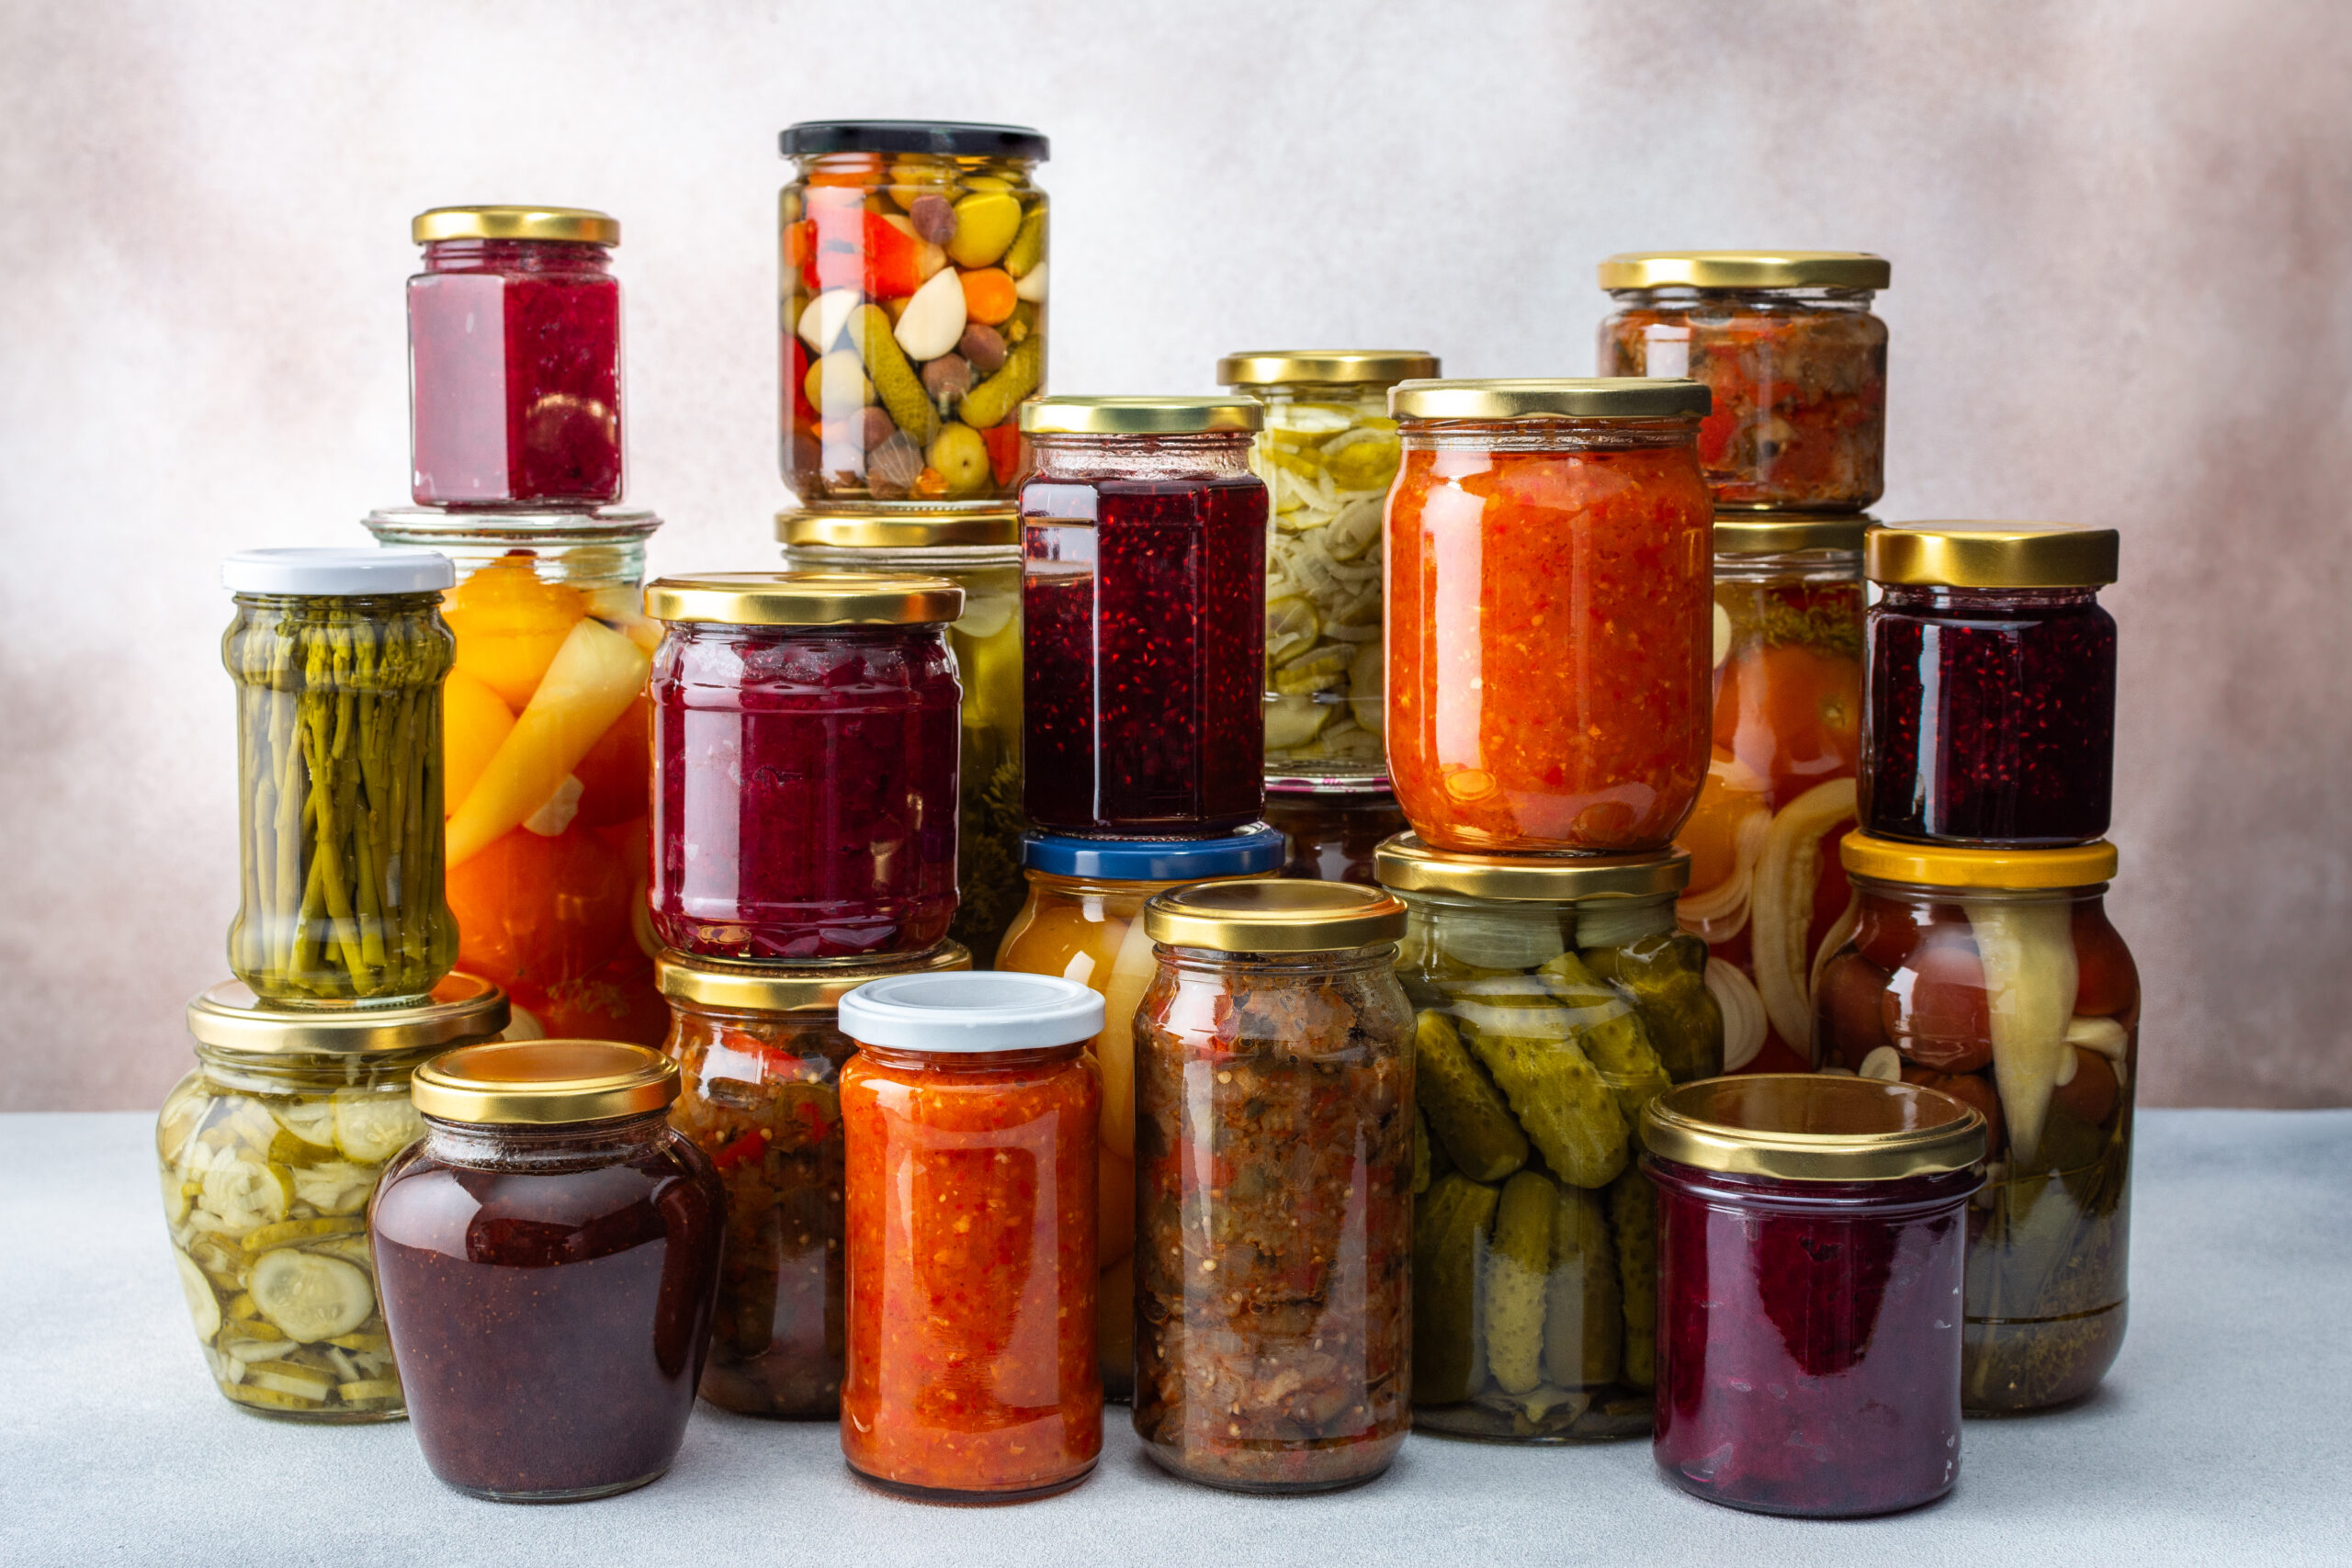
Want to enjoy your garden’s bounty year-round? Discover the best home food preservation techniques to keep your produce fresh and flavorful.
Disclosure: As an Amazon Associate, this site earns from qualifying purchases. Thank you!
Canning: A Traditional Approach to Preservation
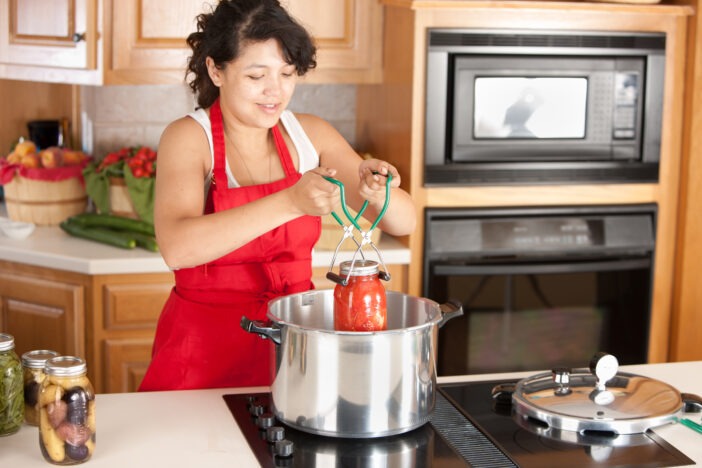
The Basics of Home Canning
Canning preserves your food’s flavor and nutrients by sealing it in an airtight container. You’ll heat the jars to kill bacteria, ensuring longevity. Two methods exist: water bath canning for high-acid foods and pressure canning for low-acid foods.
Equipment Needed for Successful Canning
- Canning jars with lids and bands
- Water bath canner or pressure canner
- Jar lifter
- Funnel
- Bubble remover
- Clean cloths
Steps
- Prepare your jars. Wash them in hot soapy water, then sterilize.
- Fill with produce. Pack fruits or vegetables tightly but leave headspace.
- Add liquid. Pour boiling water, syrup, or juice over the contents.
- Eliminate bubbles. Slide a bubble remover around the inside edge.
- Seal jars. Wipe the rims, and place lids, and screw bands on.
- Process jars. Use a water bath for acidic foods or a pressure canner for low-acid foods.
- Cool and store. Let jars cool, then check seals and store them in a cool, dark place.
Freezing: Quick and Easy Preservation
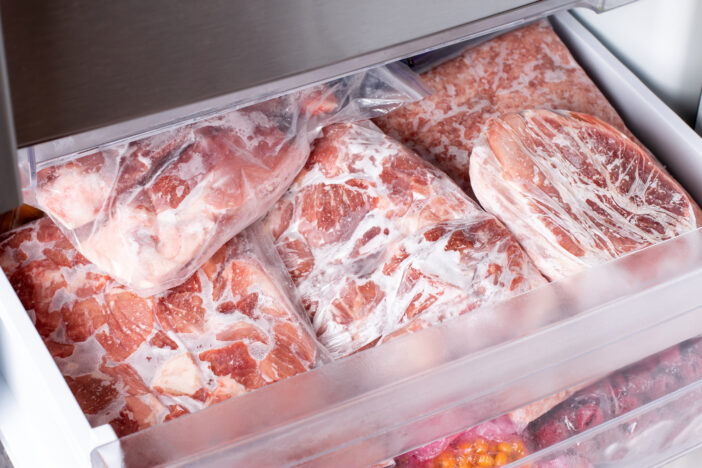
Freezing is one of the simplest and fastest ways to preserve food at home. It’s highly versatile and maintains nutrient levels.
Benefits of Freezing Food
- Locks in nutrients: Freezing preserves the essential vitamins and minerals in food.
- Extends shelf life: Frozen foods can last from 3 months to a year, depending on the type.
- Reduces waste: Helps in using leftovers and saving seasonal produce for later use.
How to Prepare Foods for Freezing
- Blanch vegetables: Briefly boil and then plunge them into ice water to stop enzyme activity.
- Seal properly: Use airtight containers or freezer bags to prevent freezer burn.
- Cool foods: Ensure foods are completely cooled before freezing to maintain texture.
- Label everything: Use labels to mark dates and food items for easy identification.
- Organize by type: Group similar items together, like meats, vegetables, and fruits.
- Use flat storage: Store foods in flat, stackable packages to maximize space.
Drying: An Ancient Method with Modern Twists
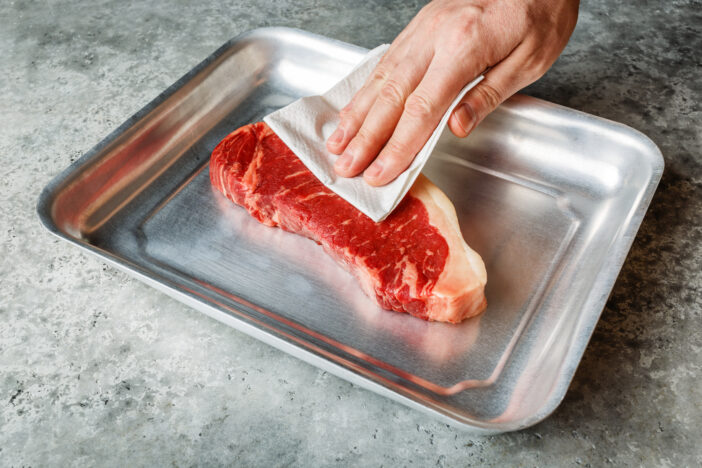
The Science Behind Food Dehydration
Moisture removal prevents bacteria and mold growth. Dehydration inhibits enzyme activity, extending shelf life.
How to Use a Food Dehydrator
Prep slices uniformly for even drying. Arrange pieces without overlap. Set the dehydrator to the recommended temperature. Rotate trays for consistent results.
Creative Ideas for Dried Foods
Craft jerky from lean meats. Make fruit chips for healthy snacks. Blend herbs for homemade seasonings.
Fermentation: Flavorful and Healthy Preservation
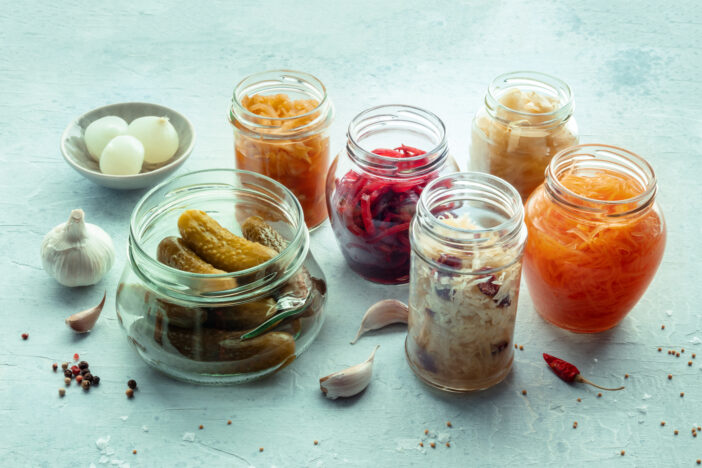
Fermentation not only extends the shelf life of your favorite foods but also enhances their flavor and nutritional value.
Health Benefits of Fermented Foods
- Boost digestion. Fermented foods contain probiotics that promote gut health.
- Enhance immunity. Regular consumption can strengthen your immune system.
- Increase nutrients. Fermentation increases the bioavailability of vitamins and minerals.
- Lower inflammation. Probiotics can help reduce inflammation throughout your body.
Key Ingredients and Tools for Home Fermentation
- Use fresh produce. Choose high-quality vegetables like cabbage, carrots, and cucumbers.
- Add salt. Helps create the right environment for beneficial bacteria.
- Water. Use non-chlorinated water to prevent killing good bacteria.
- Fermentation vessel. Opt for glass jars or ceramic crocks.
- Weights and airlocks. Keep produce submerged and allow gases to escape.
Simple Fermentation Recipes for Beginners
- Sauerkraut: Shred cabbage, mix with salt, ferment for 2-4 weeks.
- Pickles: Use cucumbers, saltwater brine, and spices, ferment for 1-2 weeks.
- Kimchi: Mix Napa cabbage, garlic, ginger, red pepper flakes, and salt, and ferment for 1-2 weeks.
Pickling: More than Just Cucumbers
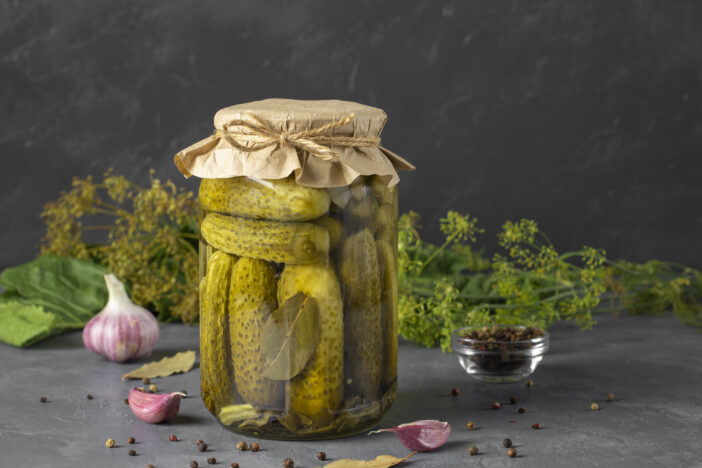
The Difference Between Pickling and Fermenting
Pickling uses vinegar to preserve food. Fermenting relies on natural bacteria to convert sugars into acids. Pickling is faster, usually taking days. Fermenting can take weeks.
Required Materials for Pickling at Home
Gather a few basics:
- Vinegar: White or apple cider.
- Salt: Pickling or kosher.
- Spices: Dill, mustard seeds, garlic.
- Jars: Glass with tight seals.
- Pots and pans: For heating liquids.
Easy Pickling Recipes to Try
Start simple:
- Quick Dill Pickles: Cucumbers, vinegar, garlic, dill.
- Pickled Carrots: Carrots, vinegar, sugar, coriander.
- Spicy Pickled Peppers: Peppers, vinegar, onions, sugar, spices.
Keep your batches small. Experiment with flavors.
Salt Curing and Smoking: Preserving Meats at Home
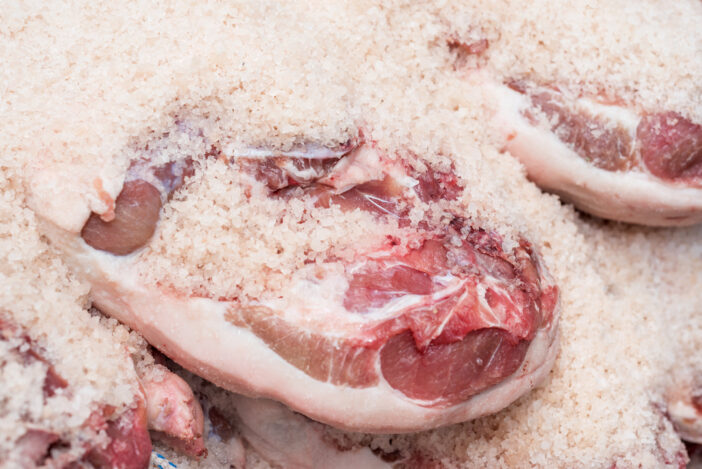
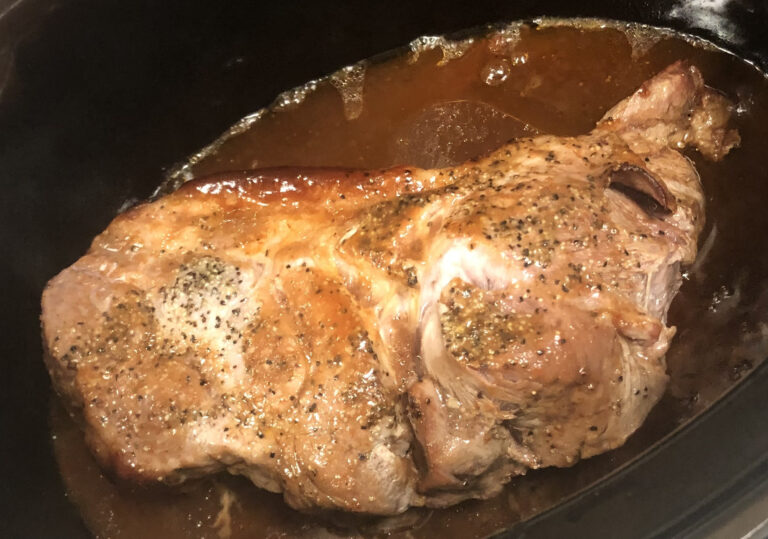
Preserving meats with salt curing and smoking is an age-old tradition. Both techniques not only extend shelf life but also enhance flavor.
Basics of Salt Curing Techniques
- Choose Quality Meats: Use fresh cuts like pork belly, beef brisket, or fish fillets for best results.
- Apply Salt: Coat the meat liberally with kosher salt, ensuring full coverage. The salt absorbs moisture and inhibits bacterial growth.
- Add Flavors: Incorporate herbs, spices, or sugar for added flavor. Popular choices include black pepper, garlic, and brown sugar.
- Curing Time: Store the meat in a cool, dry place for 1-3 weeks. Make sure to turn it periodically to ensure even curing.
How to Safely Smoke Meats
- Select Your Smoker: Use a smoker that allows for consistent temperature control. Options include electric, charcoal, or wood smokers.
- Prep the Meat: After curing, rinse the meat to remove excess salt, then pat dry.
- Choose Wood Wisely: Different woods impart different flavors. Hickory, oak, and applewood are popular choices.
- Maintain Temperature: Keep the smoker between 160-225°F. Low temperatures ensure thorough cooking without drying out.
- Monitor Smoking Time: Smoke for several hours based on the meat thickness—generally 1-2 hours per pound.
Post-Smoking Preservation
- Vacuum Sealing: After smoking, vacuum-seal meats to maintain freshness and prevent freezer burn. This extends storage for months.
- Freezing: Freeze smoked meats to keep them safe for long periods. Label each package with the date before storing it.
- Canning: Use pressure canning for smoked meats. This method allows you to preserve cooked meats safely at home without the need for refrigeration.
Efficient use of these methods ensures your meats are flavorful and preserved for longer, giving you a versatile pantry staple.
Vacuum Sealing: Extending Shelf Life Effectively
Vacuum sealing is a game-changer for home food preservation, offering longer shelf life and maintaining food quality. It’s ideal for a variety of food types, making it a versatile tool in your kitchen.
Advantages of Vacuum Sealing
- Extended Shelf Life: Removes air, reducing the risk of spoilage and freezer burn, allowing you to store food longer.
- Nutrient Preservation: Keeps foods in an oxygen-free environment, retaining essential nutrients and flavors.
- Space-Saving: Compresses food, optimizing storage space in your fridge or pantry.
Necessary Equipment for Vacuum Sealing
- Vacuum Sealer Machine: Devices range from handheld to countertop models. Choose based on your needs and budget.
- Vacuum Sealer Bags and Rolls: These specialized bags are essential. Opt for BPA-free, food-grade materials for safety.
- Accessories: Bag cutters, vacuum canisters, and jar sealers can enhance your sealing experience.
Tips for Different Foods
- Meats and Seafood: Pre-freeze before sealing to prevent juices from interfering with the seal.
- Vegetables: Blanch before vacuum sealing to preserve texture and color.
- Dry Goods: Store nuts, grains, and spices in vacuum-sealed bags to maintain freshness and prevent pests.
- Leftovers and Prepared Meals: Package portions separately to speed up reheating and reduce waste.
Incorporate these tips and techniques to make the most of your vacuum sealer, ensuring your preserved foods remain fresh and delicious.
Innovative Preservation Techniques
Using Natural Preservatives in Home Cooking
Incorporate natural preservatives like lemon juice, rosemary, and garlic into your recipes. Lemon juice’s acidity helps prevent oxidation, extending the shelf life of fruits and vegetables. Rosemary and garlic have antimicrobial properties, making them excellent for keeping meats and sauces fresh longer.
Exploring Modern Gadgets like Freeze-Dryers
Consider investing in a home freeze-dryer. Freeze-drying removes moisture from food, preserving its nutrients and taste for years. Unlike traditional dehydration, this technique retains the original texture, making it a favorite for preserving fruit, vegetables, and even meals.
The Role of Sugar, Vinegar, and Oil in Preservation
Utilize sugar, vinegar, and oil to extend your food’s shelf life. Sugar creates a barrier against bacteria, ideal for jams and jellies. Vinegar’s acetic acid acts as a preservative in pickles and chutneys. Oil forms an airtight seal, perfect for preserving herbs and sun-dried tomatoes.
Frequently Asked Questions
What are the main methods of home food preservation?
The main methods of home food preservation include canning, freezing, dehydration, fermentation, pickling, salt curing, smoking, and vacuum sealing. Each method has unique benefits and requirements.
How does fermentation enhance the food?
Fermentation enhances food by improving flavor, increasing nutritional value, and promoting gut health with probiotics. It relies on natural bacteria to preserve food.
What do I need to start pickling at home?
To start pickling at home, you need fresh vegetables, vinegar, salt, sugar, spices, and jars. Basic recipes like Quick Dill Pickles or Pickled Carrots are great for beginners.
How does vacuum sealing extend shelf life?
Vacuum sealing extends shelf life by removing air, which prevents the growth of mold, bacteria, and yeast. This method also helps retain nutrients and saves storage space.
What are the benefits of using natural preservatives?
Using natural preservatives like lemon juice, rosemary, and garlic can extend shelf life while adding flavors and maintaining nutritional quality. They are chemical-free and easy to incorporate into recipes.
What equipment is needed for vacuum sealing?
For vacuum sealing, you’ll need a vacuum sealer machine, vacuum bags, and sometimes additional accessories like bag cutters and sealing containers. These tools help effectively remove air from the packaging.


