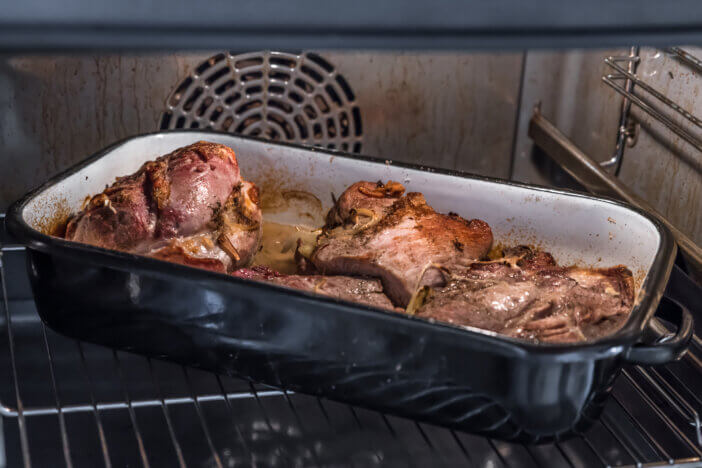
10 Tips for Browning Meat in the Oven for a Flavorful Stew
Master the art of browning meat in the oven for a flavorful stew: Preheat, choose the right cut, season well, use tray and rack, sear, time carefully, flip evenly, test doneness, rest before stewing, and deglaze for rich flavors.

Browning meat in the oven can elevate your stew to a new level of flavor and texture. Follow these expert tips to ensure your meat is perfectly browned and ready to be the star of your next hearty stew.
Disclosure: As an Amazon Associate, this site earns from qualifying purchases. Thank you!
1. Preheat to Perfection

Before you start browning your meat, it is crucial to preheat your oven. A high temperature is necessary to achieve that perfect caramelization on the surface of the meat. Aim for an oven temperature of around 450°F (232°C) to create a hot environment that encourages the Maillard reaction, which is responsible for developing a rich, brown crust.
Ensure your oven has reached the desired temperature before placing the meat inside. An oven thermometer can be your best friend here, helping to avoid any guesswork and ensuring that your oven is at the right temperature for optimal browning.
2. Choosing the Right Cut

Selecting the proper cut of meat is the foundation of a good stew. Tougher cuts like chuck, brisket, or round are ideal for stewing, as the long, slow cooking process will break down the connective tissues, resulting in tender, flavorful meat.
Avoid lean cuts that can become dry and tough when cooked for extended periods. Look for pieces with a good amount of marbling; this fat will render during cooking, adding depth of flavor and moisture to your stew.
3. Seasoning for Success

Season your meat generously with salt and pepper before browning. Salt not only enhances flavor but also helps to create a better crust on the meat’s surface. You may also want to add other dry seasonings such as garlic powder, paprika, or herbs to complement the flavors of your stew.
Remember that the seasoning will also flavor the juices that come out of the meat, which will later be incorporated into your stew, so don’t be shy with the spices. However, be mindful of the salt content if you plan to use a store-bought broth, which can already be quite salty.
4. Tray and Rack Tactics
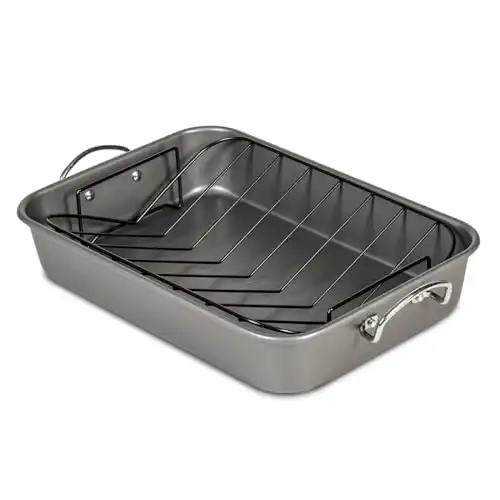
Using the right tray and rack setup can greatly improve the browning process. A heavy-duty roasting tray paired with a wire rack ensures that heat circulates evenly around the meat, preventing soggy bottoms and promoting an all-around crust.
Place the rack inside the tray, and arrange the meat pieces on top, ensuring they are not touching. This spacing allows for hot air to surround each piece of meat, aiding in a consistent browning. If you overcrowd the tray, the meat will steam rather than brown, so work in batches if necessary.
5. The Searing Strategy

Searing meat in the oven involves starting with a blast of high heat to form a flavorful crust. You can achieve this by placing the meat closer to the top heating element of the oven for the first few minutes of cooking. This direct heat mimics the effect of searing in a hot pan.
After the initial sear, you can lower the oven temperature to continue cooking the meat without burning it. This method helps lock in juices and sets the stage for a richly flavored stew.
6. Timing Your Browning

Browning meat is not about cooking it through; it’s about developing flavor. Depending on the size and type of your meat cuts, browning in a preheated oven can take anywhere from 15 to 25 minutes. Keep a close eye on the meat to prevent burning.
Rotate the tray halfway through the browning process to ensure even heat distribution. The goal is to achieve a deep, even brown color across all pieces of meat, which will translate into more flavor in your finished stew.
7. Flipping for Evenness
Flipping the meat during the browning process is essential for achieving an even crust on all sides. Use tongs to carefully turn each piece of meat after the top side has developed a rich, golden-brown color.
Be gentle to avoid tearing the meat, which can release juices and inhibit the browning process. Consistent flipping not only contributes to an even crust but also allows you to monitor the progress and adjust your timing as needed.
8. Testing Meat Doneness

While you don’t want to fully cook the meat during the browning stage, it’s helpful to know when it’s sufficiently browned. The meat should have a rich, dark color, but still be slightly pink inside if you were to cut into a piece.
You can use an instant-read thermometer to check the internal temperature. For browning purposes, the meat should reach an internal temperature of about 125-130°F (52-54°C) before it goes into the stew, where it will finish cooking.
9. Resting Before Stewing

After browning, let the meat rest for a few minutes before adding it to your stew. This resting period allows the juices to redistribute throughout the meat, ensuring that it remains moist and tender when it’s time to stew.
Resting also gives you time to prepare the other components of your stew, ensuring that everything comes together at the right moment. This step is often overlooked but can make a significant difference in the final texture of your meat.
10. Deglazing the Flavor
Don’t waste the browned bits left in the tray after browning your meat; they are packed with flavor. Deglaze the tray with a little bit of wine, broth, or even water, scraping up the fond (the caramelized bits) with a wooden spoon.
This liquid can then be added to your stew, infusing it with a concentrated essence of meaty flavors. It’s an easy step that captures the full potential of the browning process, ensuring that every bit of flavor makes it into your final dish.
By following these expert tips, you’ll master the art of browning meat in the oven, setting the stage for a stew that’s rich in flavor and texture. Remember, the perfect stew starts long before everything goes into the pot—it begins with the care and attention you put into browning your meat.


