5 Tips to Reverse Sear Steak for Perfect Results
Cooking steak using the reverse sear method ensures even cooking, a perfect crust, and precise doneness control, enhancing flavor and juiciness while offering flexibility in cooking methods.
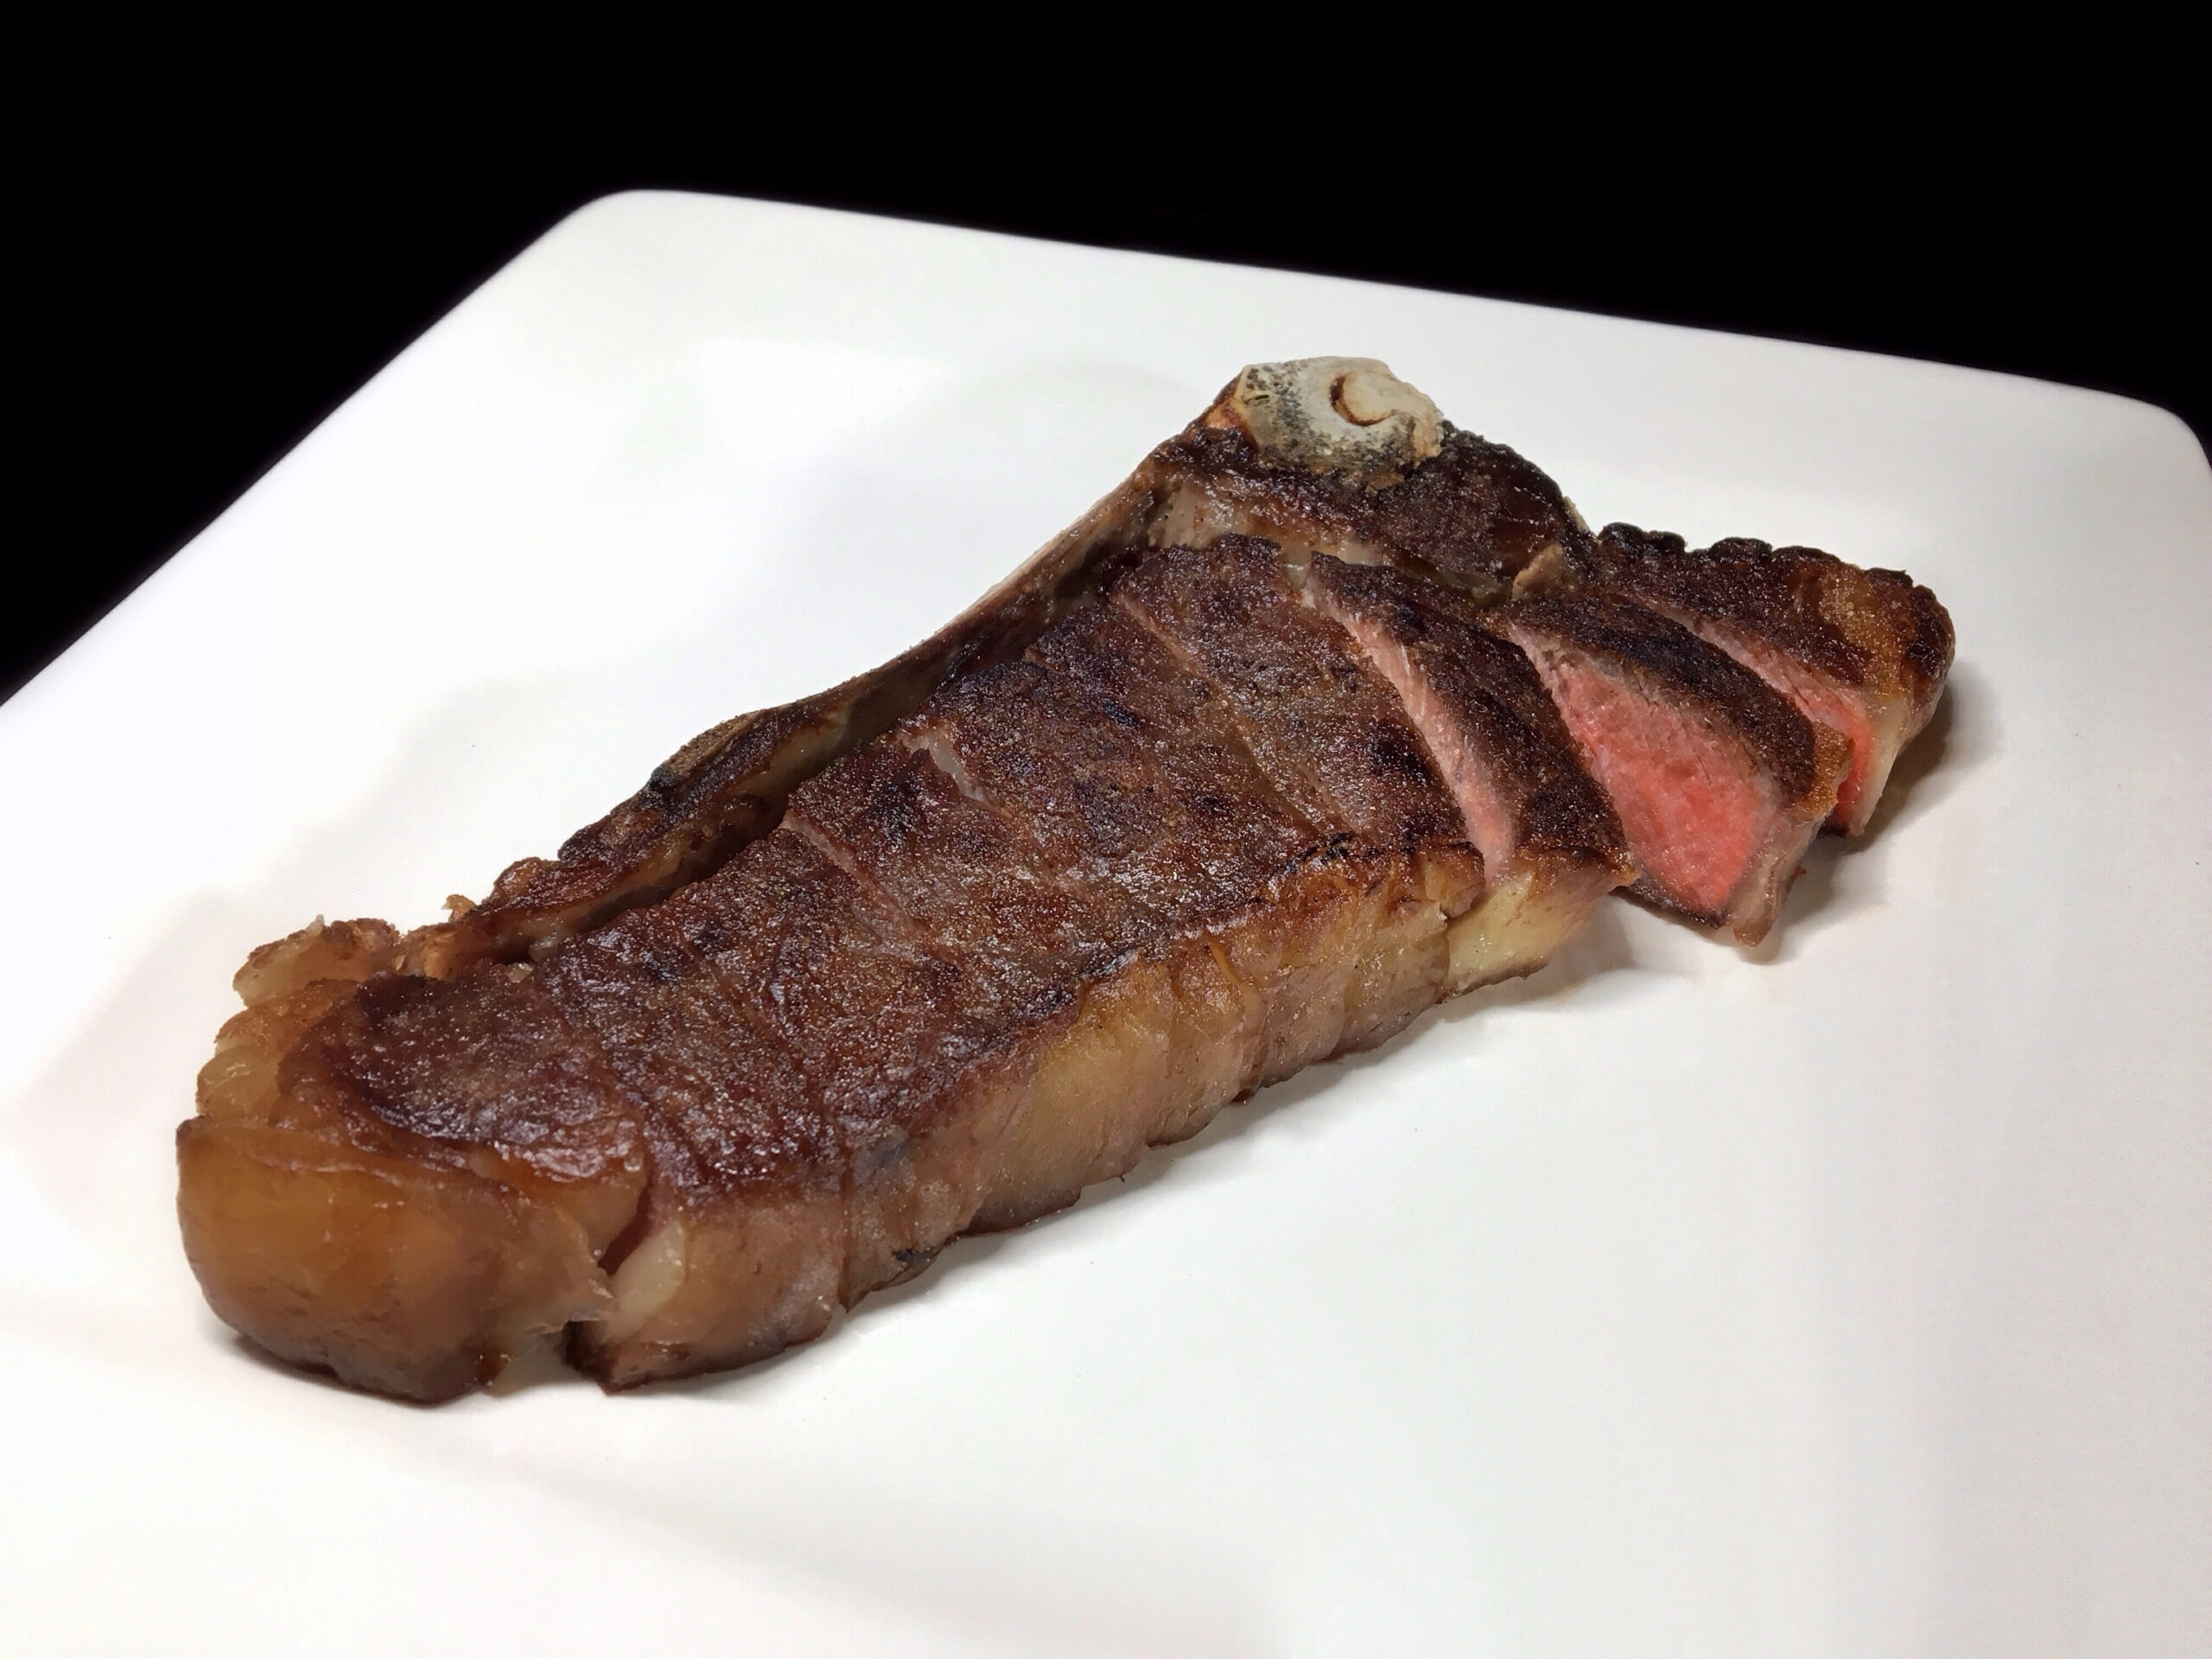
Ever wondered why food enthusiasts rave about the reverse sear method for cooking steak? It’s a game-changer for those thick cuts of meat, transforming them into perfectly cooked, juicy delights.
Disclosure: As an Amazon Associate, this site earns from qualifying purchases. Thank you!
Unlocking Steak Perfection with Reverse Searing
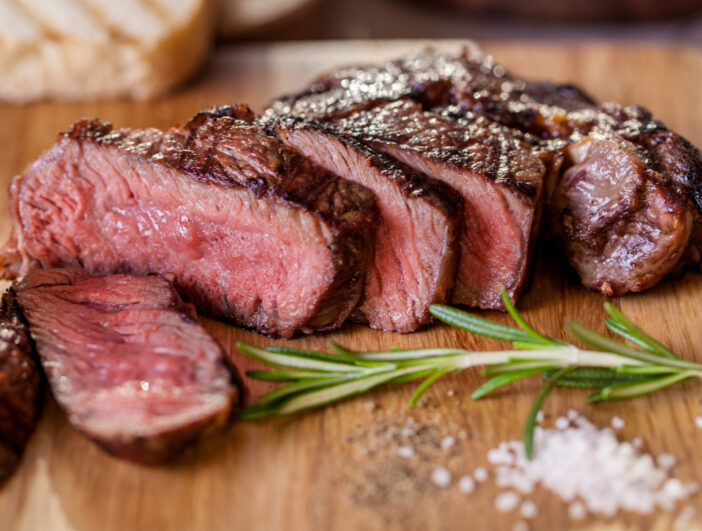
Ever marveled at how reverse searing transforms your steak? Let’s skip the deep dive into the Maillard Reaction and focus on why it works wonders for your cooking.
Uniform Doneness
Traditional searing often leaves steaks unevenly cooked, with the outer layers perfect while the interior varies from rare to overdone. Enter reverse searing: a method that slowly brings the steak to a lower internal temperature, ensuring even cooking from edge to center. This approach is particularly handy for thick cuts, eliminating the challenge of achieving uniform doneness. It’s like gently warming up before a sprint, preparing the steak for its final dash to perfection. Say goodbye to burnt crusts and cold centers, reminiscent of that frozen pizza mishap.
Perfect Crust, Every Time
The Maillard Reaction is the secret sauce for flavor-packed crusts. With reverse searing, you first gently cook the steak, allowing surface moisture to evaporate—a crucial step as moisture impedes browning. By drying out the exterior, reverse searing sets the stage for the Maillard Reaction to work its magic when you sear the steak at high heat. It’s akin to drying off before diving into a hot tub, setting the scene for the perfect experience. Pair this with a trusty cast iron skillet for even heat distribution, and voilà—crispy, flavorful exterior, and a tender, impeccably cooked interior.
By mastering these techniques, you can whip up steakhouse-quality meals in your kitchen. Next time you plan a steak dinner, why not give reverse searing a shot? You might just find your new favorite method.
Key Benefits of Reverse Searing a Steak
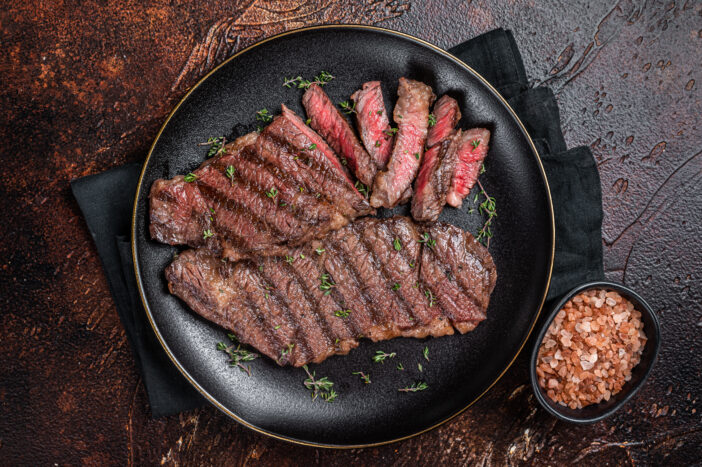
Ever wondered why steak enthusiasts rave about the reverse sear method? Beyond its ability to turn a simple meal into a memorable dining experience, this technique has several distinct advantages. Let’s dive into what makes reverse searing a game-changer for steak lovers.
- Enhanced Flavor and Juiciness: Slowly heating the steak allows for even cooking, retaining moisture for succulence. The high-heat sear creates a richly browned crust through the Maillard Reaction, elevating flavor and aroma.
- Precise Control Over Doneness: Gradual heating minimizes the risk of overcooking, offering consistent results with precise monitoring using a meat thermometer. Thick cuts cook evenly from edge to edge, eliminating the frustration of uneven doneness.
- Flexibility in Cooking Methods: Adaptable to various setups, from oven to stovetop or grill, allowing for versatile cooking options regardless of weather conditions. Reverse searing ensures steak perfection in any environment.
How to Reverse Sear a Steak
Ever struggled with cooking steak to that perfect level of doneness, wondering how restaurants get it right every time? It might just be time to try the reverse sear method—a game-changer for steak enthusiasts. Here’s how you can master this technique at home.
- Choose the Right Cut: Thick cuts like ribeyes, porterhouses, or filets work best for this method. Their ample thickness ensures a gradual cooking process, allowing for a beautifully seared exterior without overcooking the center.
- Gather Necessary Equipment: Ensure you have all the tools on hand for a successful reverse sear: an oven for slow cooking, a reliable meat thermometer to monitor internal temperature, a sturdy cast iron or carbon steel pan for searing, tongs for flipping, and optional ingredients like garlic, shallots, thyme, and butter for flavor enhancement.
- Preheat and Prep: Set your oven to a low temperature, around 275°F, to begin the slow cooking process. Prepare your steak on a wire rack over a baking sheet, allowing for even air circulation and cooking.
- Cook to Temp: Slowly cook the steak in the oven until it reaches the desired internal temperature. Aim for around 120-125°F for a perfect medium-rare. Remember, the steak will continue to cook during the searing process, so be cautious not to overcook it in the oven.
- The Searing Finale: Once the steak reaches the target temperature, it’s time for the final sear. Heat a bit of olive oil in your pan until it just begins to smoke, then sear the steak on high heat for about a minute on each side. Lower the heat and add garlic, shallots, and thyme for additional flavor. Don’t forget to baste the steak with butter while cooking for a mouthwatering crust.
- Rest and Serve: Remove the steak from the pan and let it rest for about 5 minutes before slicing. This resting period allows the juices to redistribute throughout the meat, ensuring each bite is tender and flavorful. Serve and enjoy your perfectly cooked steak straight from your oven and stovetop.
In the video, Babish Culinary Universe explains:
Babish Culinary Universe
- Preparation: Start with a two-inch bone-in Ribeye and liberally salt and pepper it early to retain moisture.
- Resting: Let the salted steak sit for half an hour at room temperature before cooking.
- Slow Cooking: Place the steak in a 250-degree oven until it reaches 115 degrees Fahrenheit.
- Cast Iron: Use a smoking hot cast iron skillet with leaf lard for searing.
- Searing Technique: Allow the steak to develop a brown crust without moving it.
- Butter Basting: After flipping, butter baste the steak with a crushed clove of garlic and a thyme sprig.
- Resting Again: Let the steak rest for at least 10 minutes after cooking.
- Carving: Cut the steak down the bone and then into half-inch slices, fanning them out for presentation.
- Presentation: Arrange the sliced steak to make it look appealing.
- Privacy: Finally, enjoy the meal in privacy once the steak is ready.
Common Mistakes to Avoid
Discovering reverse searing is like leveling up in culinary prowess—a secret weapon for perfect steak dinners. But even seasoned chefs can stumble. Let’s tackle common mistakes that hinder achieving steakhouse-quality meals at home.
- Not Allowing the Steak to Rest: Resting the steak after reverse searing is crucial to preserve juices and flavor. Aim for 5 minutes of rest per inch of thickness to ensure a tender, juicy result.
- Skipping the Final Searing Step: The final sear not only creates an appealing crust but also enhances flavor. Use a screaming hot pan to achieve a golden, crispy exterior without overcooking the interior. Just a minute or two per side is enough to elevate your steak from good to great.
Comparing Cooking Techniques
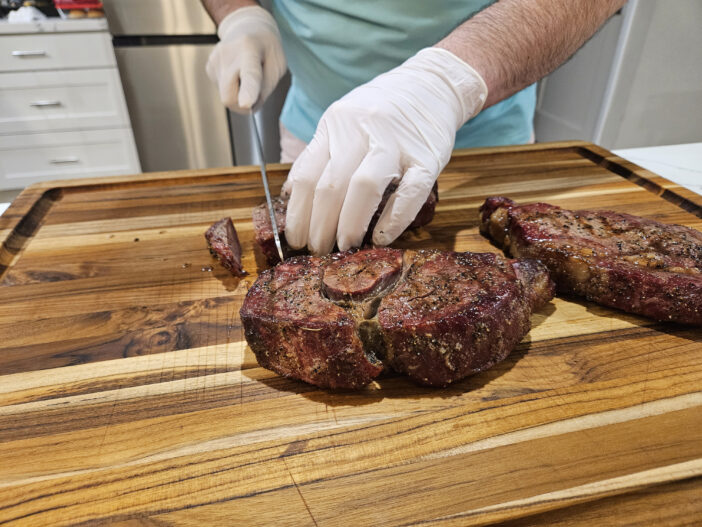
In the culinary world, achieving the perfect steak is something of an art form. But did you know there are multiple techniques at your disposal? Let’s dive into how reverse searing compares to traditional methods, and when you might choose one over the other.
| Technique | Reverse Searing | Traditional Searing | Sous-Vide |
|---|---|---|---|
| Process | Slowly heat steak, then sear at high heat | Sear steak at high heat, then finish cooking at lower heat | Cook steak in a vacuum-sealed bag in a precisely controlled water bath |
| Even Cooking | Ensures even cooking throughout the steak | Dries out the steak surface for a crisp crust | Provides precise temperature control, minimizing overcooking |
| Perfect Crust | Offers a larger window for achieving the desired doneness | Risks overcooking exterior before interior reaches desired temperature | Produces a uniform texture, sometimes lacking in contrast |
| Flexibility | Requires specific equipment, potentially less access | Requires precise timing and attention | Requires specific equipment, potentially less acces |
Customizing Your Reverse Sear
Elevate your steak game with gourmet kitchen techniques. Customizing your reverse sear process can impress guests or elevate your home dining experience. Explore flavoring options and craft delicious sauces from pan drippings for a restaurant-quality meal in the comfort of your kitchen.
Flavoring the Steak
- Consider marinating or applying a dry rub before reverse searing to season and tenderize the meat.
- Experiment with simple salt and pepper or a more elaborate herb and spice blend to suit your taste preferences.
- During the sear, enhance flavor by adding garlic, shallots, thyme, and butter to the pan, basting the steak for juicy, tender results.
Making Sauce from Pan Drippings
- Deglaze the pan with beef broth or red wine to capture flavorful bits, then simmer with additional garlic and herbs.
- Finish with a knob of butter for a rich, glossy sauce that elevates the steak’s natural flavors.
- Experiment with different ingredients and flavors to craft a sauce tailored to your taste preferences, adding sophistication to your meal and showcasing your culinary skills.
Tools and Equipment Recommendations
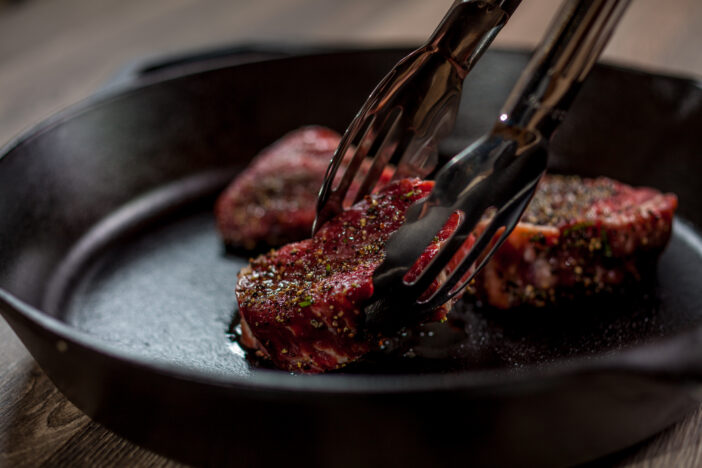
Before you embark on your reverse searing journey, it’s essential to have the right tools and equipment at your disposal. Here are the must-have items:
- Meat Thermometer: A reliable meat thermometer is crucial for accurately monitoring the internal temperature of your steak and ensuring it reaches the desired level of doneness.
- Cast Iron or Carbon Steel Pan: Opt for a heavy-duty cast iron or carbon steel pan to achieve the perfect sear. These pans retain and distribute heat evenly, resulting in a beautifully caramelized crust on your steak.
- Wire Rack: Using a wire rack placed over a baking sheet allows air to circulate around the steak, promoting even cooking in the oven and preventing the bottom from becoming soggy.
- Tongs: Invest in a sturdy pair of tongs for flipping and maneuvering your steak during the cooking process. Look for tongs with a comfortable grip and long handles to keep your hands safe from the heat.
- Optional But Recommended Additions:
- Garlic, Shallots, Thyme, and Butter: These flavorful ingredients can be used for basting your steak during the searing process, adding richness and depth of flavor.
- Oven-Safe Skillet: If you plan to finish your steak in the oven after searing, make sure you have an oven-safe skillet that can withstand high temperatures.
Having these tools and equipment on hand will ensure that you’re well-equipped to master the art of reverse searing and create restaurant-quality steaks in the comfort of your kitchen.


