5 Vacuum Sealing Meat Tips for Longer Lasting Freshness
Vacuum sealing meat extends freshness, shelf life, and flavor, reducing waste and saving time. Proper preparation and sealing enhance storage quality.
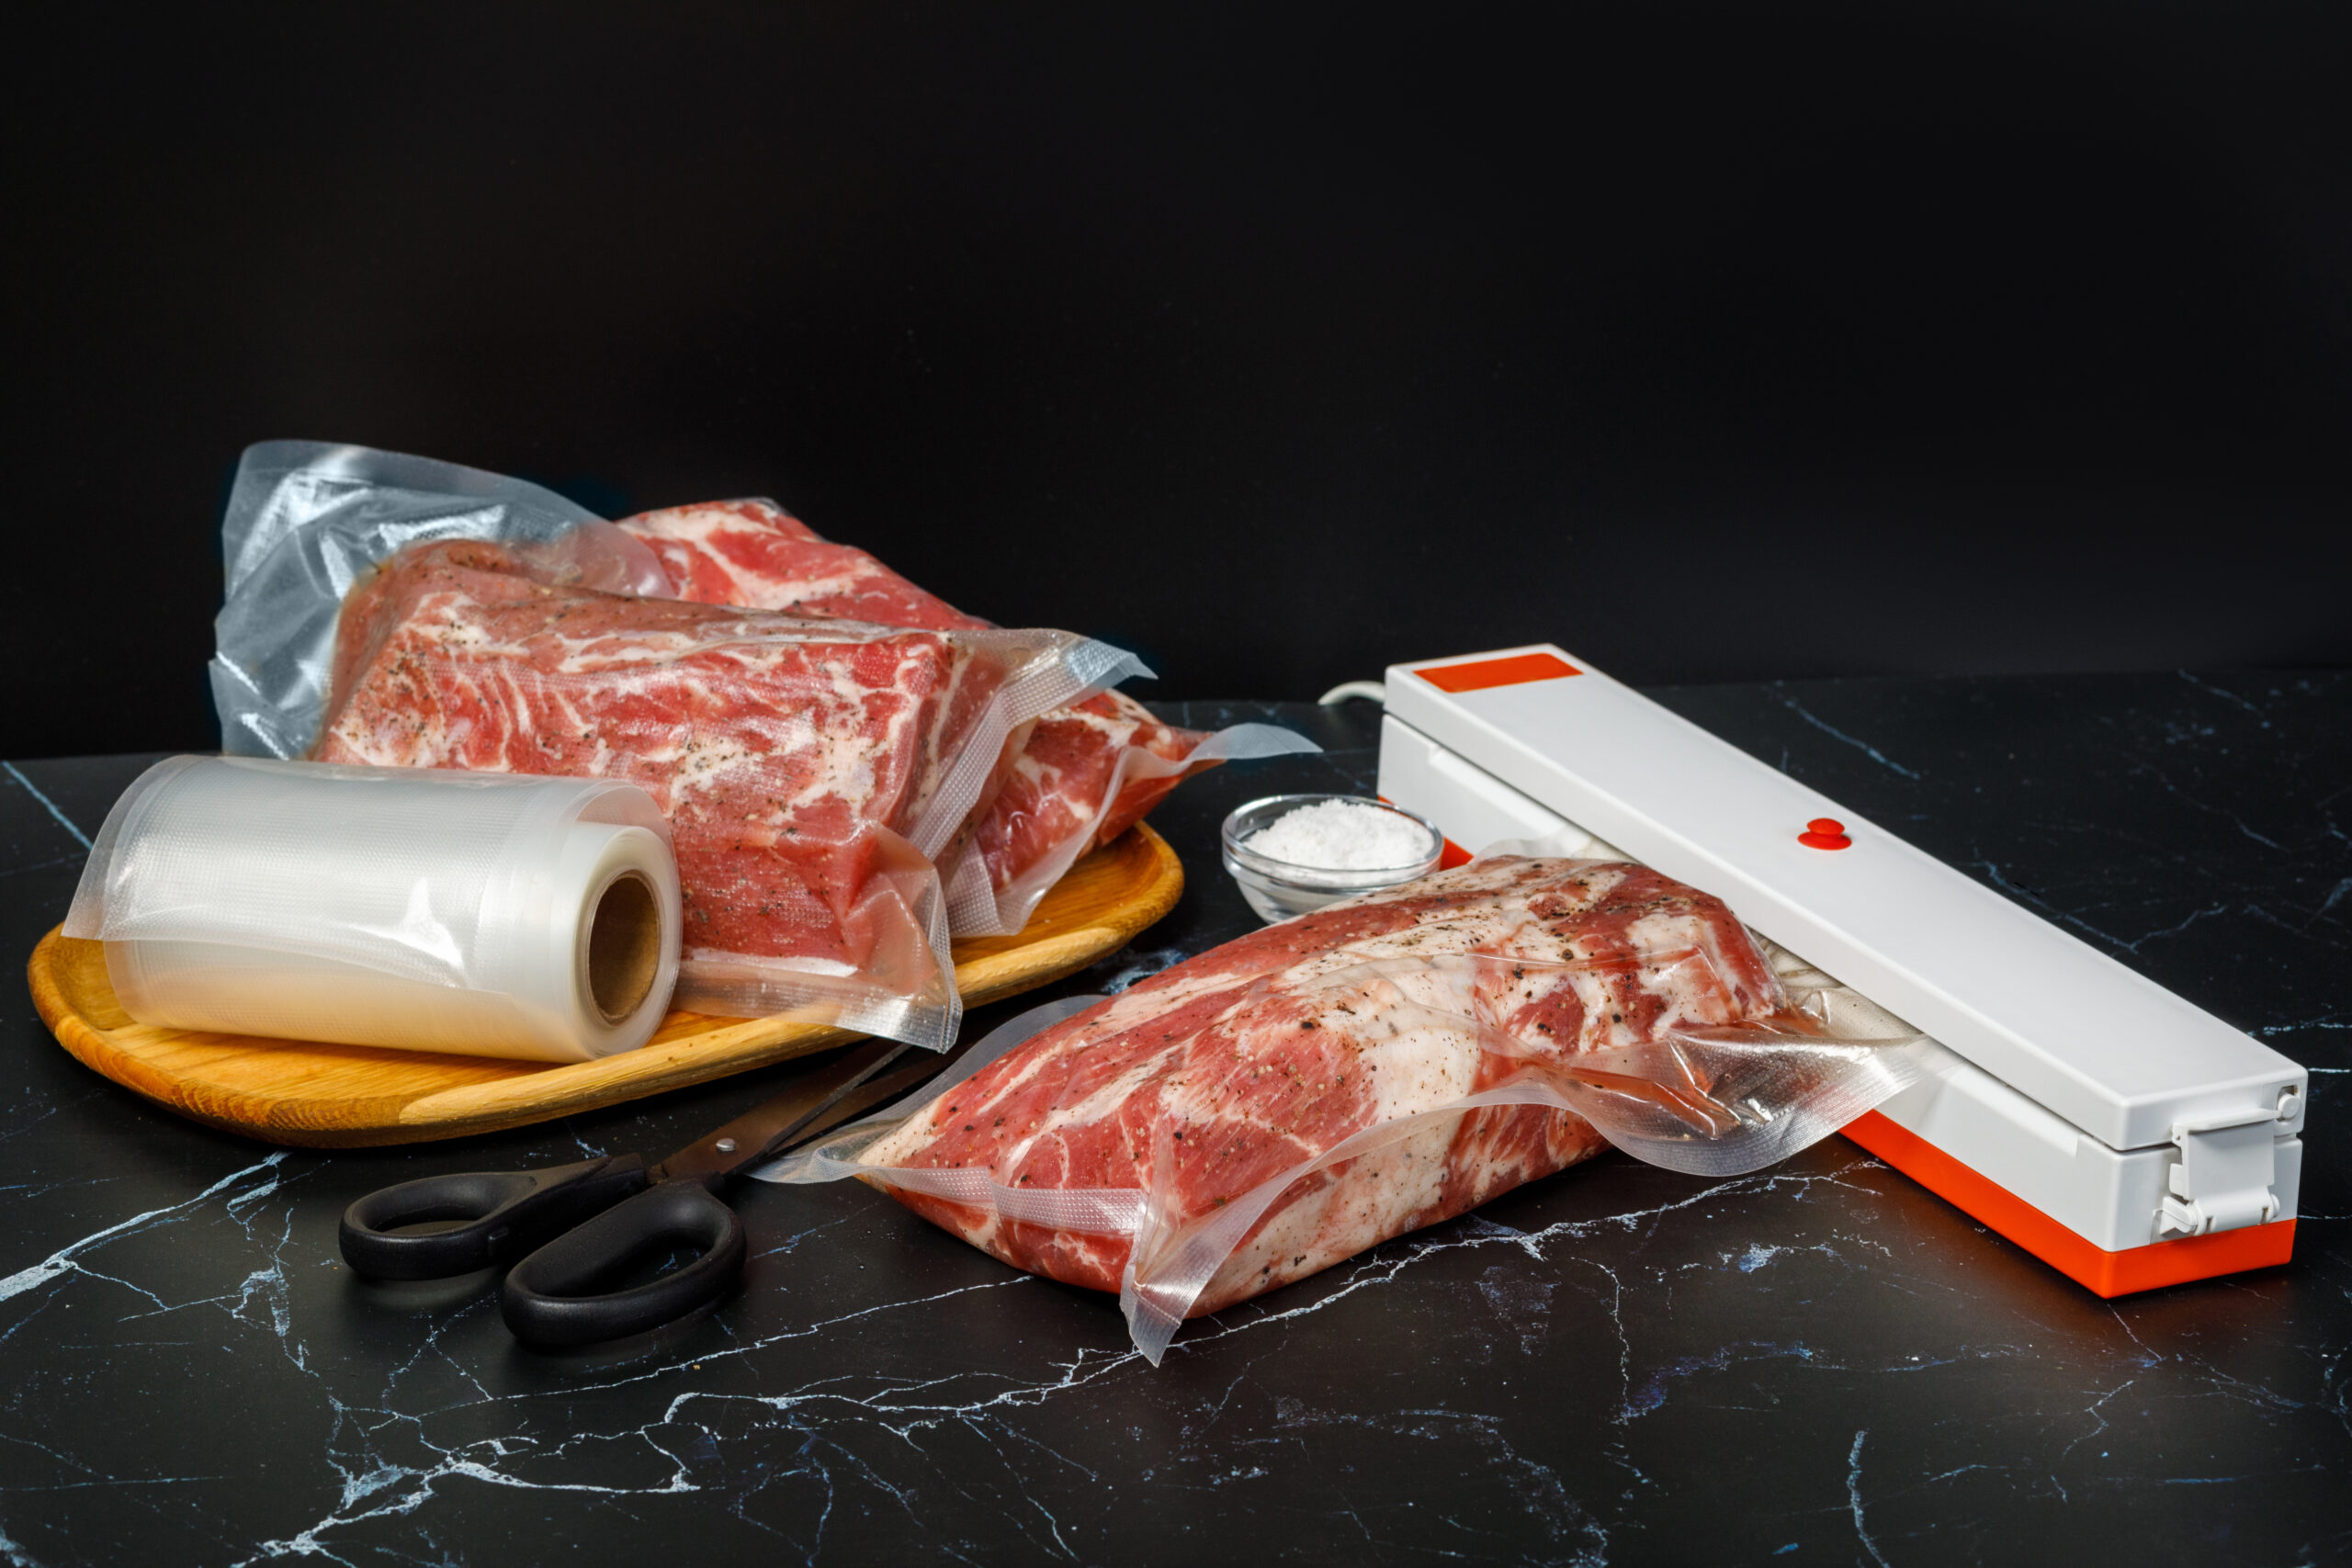
In the quest to preserve the freshness and extend the shelf life of your meats, vacuum sealing emerges as a standout solution. Not only does it fend off freezer burn by removing residual air, but it also significantly prolongs the storage time of your meats, whether cooked or raw.
Disclosure: As an Amazon Associate, this site earns from qualifying purchases. Thank you!
The Process of Vacuum Sealing Meat
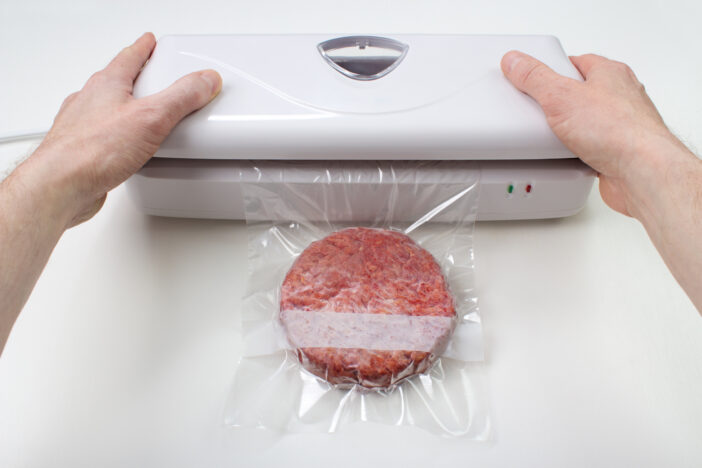
Vacuum sealing meat might sound like a high-tech cooking hack, but it’s a straightforward process that can significantly benefit your kitchen routine. Whether you’re looking to extend the shelf life of your meats, marinate more effectively, or just save some space in your freezer, understanding how to vacuum seal meat properly is key.
Preparing Meat for Vacuum Sealing
- Select Fresh Meat: Always start with the freshest meat possible. If you’ve got meat that’s been sitting in the fridge for a few days, it’s still okay to seal it, but the fresher, the better.
- Portion Your Meat: Depending on your meal planning, you might want to portion your meat before sealing. This way, you only thaw what you need for a meal, avoiding unnecessary waste.
- Dry the Meat: Pat the meat dry with a paper towel. Excess moisture can interfere with the sealing process and could lead to freezer burn.
- Add Seasoning or Marinades: If you like, now’s the time to add seasonings or a marinade. Vacuum sealing can actually enhance the marinating process, infusing the meat with flavor more effectively.
- Flat Packing: For an even freeze and easier storage, try to shape the meat in a relatively flat, even shape inside the bag.
- Choose the Right Bag: Make sure you’re using a bag that’s appropriate for your vacuum sealing machine. Cut it to size if necessary, leaving extra space at the top for sealing.
- Fill the Bag: Place your prepped meat into the bag, ensuring it’s not overly stuffed. You should leave some space at the top to allow for a proper seal.
- Smooth Out Air Pockets: Before sealing, smooth out any wrinkles or air pockets in the bag. This helps ensure a tight seal and prevents freezer burn.
- Seal the Bag: Place the open end of the bag in your vacuum sealer. Use the machine’s settings appropriately, usually starting with vacuuming out the air and then sealing the bag.
- Double Check the Seal: After the machine has done its job, take a moment to check the seal. It should be tight and show no signs of gaps or air pockets.
- Label and Freeze: Don’t forget to label your meat with the date of sealing and the type of meat. Then, place it in the freezer for long-term storage.
Remember, vacuum sealing isn’t just for meat. You can also use it for cheeses, vegetables, and even sealed meals. With a little practice, you’ll find that vacuum sealing is a versatile tool that can help you make the most of your food, saving time and money in the long run.
Benefits of Vacuum Sealing Meat
Vacuum sealing meat isn’t just a trend; it’s a game-changer for your kitchen practices. Let’s dive into why this method is transforming the way we store meat.
Extending Shelf Life in the Freezer
Vacuum sealing significantly extends meat shelf life in the freezer, preserving it for up to 6 weeks compared to traditional methods. By removing oxygen and creating an airtight seal, vacuum sealing prevents freezer burn and bacterial growth, maintaining meat freshness.
Preserving Quality and Flavor
Vacuum sealing locks in natural juices, preserving meat flavor and moisture during storage. This ensures that when cooked, the meat retains its quality and flavor, resulting in savory, tender meals every time.
Reducing Food Waste
Vacuum sealing reduces food waste by extending meat shelf life, allowing for leftovers to be portioned, sealed, and stored for future use. This saves money, supports sustainability, and reduces trips to the store, making it a valuable kitchen practice.
In the video, MeatsPad explains –
MeatsPad
- Vacuum Packaging in Retail Stores: In Peru, retail stores are utilizing vacuum packaging for fresh meat products.
- Shelf Life Optimization: Vacuum packaging optimizes shelf life by eliminating the need for aerobic display, and maintaining product freshness.
- Product Quality Maintenance: Vacuum packaging preserves the quality of products for a longer duration compared to traditional packaging methods.
- Consumer Education: Educating consumers about the benefits of vacuum packaging is crucial due to the visual differences in product appearance.
- International Practices: Europe also employs vacuum packaging for fresh products, suggesting its effectiveness and widespread adoption.
- Reducing Food Waste: Vacuum packaging significantly reduces food waste by extending the shelf life of products.
- Long-term Educational Efforts: Implementing vacuum packaging requires substantial education efforts involving academia, government, and retailers to promote its benefits.
- Equipment Considerations: Transitioning to vacuum packaging requires specialized equipment and considerations regarding meat-cutting processes.
- Frozen Product Quality: Vacuum-packaged products freeze better than traditional packaging, minimizing freezer burn and maintaining quality.
- Retailer Flexibility: While maintaining live meat cutters is valuable, integrating vacuum packaging can enhance shelf life without compromising product quality.
Considerations Before Vacuum Sealing Meat
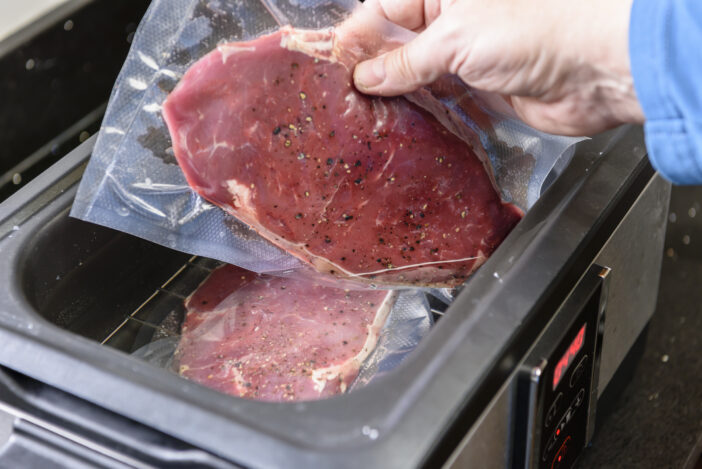
Before diving into vacuum sealing meats, it’s key to consider a few vital factors that could impact your decision and overall experience. Let’s break down what you need to know.
Initial Costs and Maintenance
When considering a vacuum sealer, be prepared for both initial expenses and ongoing costs. High-quality sealers with advanced features like built-in roll storage and moist food settings can be pricey upfront. Additionally, specialized bags required by some models may increase long-term expenses compared to generic alternatives.
Maintenance is also a factor to budget for. Regular cleaning and occasional servicing, particularly for models used with high-liquid-content foods, are essential to ensure optimal performance and durability. The moist function, while convenient, may require extra care to prevent wear and tear over time.
Learning Curve and Time Investment
Vacuum sealing requires some skill and practice, from mastering machine nuances to efficiently processing different foods. Prepping meats and adding seasoning before sealing takes time but ensures ready-to-cook meals straight from the freezer. While there’s a learning curve and upfront time investment, the benefits make it a worthwhile endeavor for culinary enthusiasts.
Vacuum Sealing vs. Other Preservation Methods
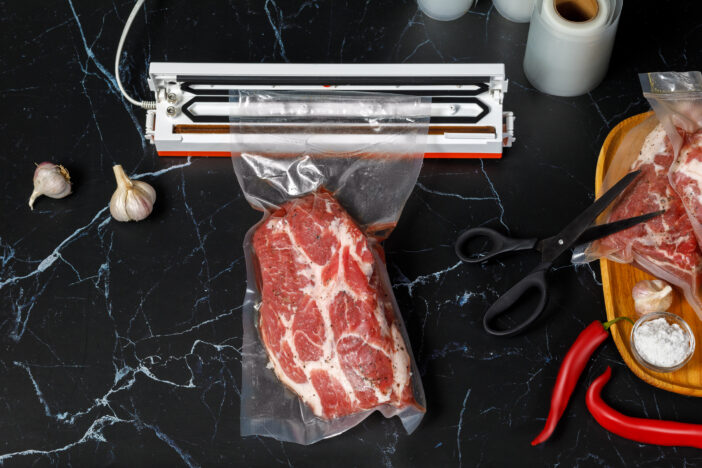
When you’re looking to keep your meat fresh for the long haul, you’ve got a handful of options at your disposal. Vacuum sealing has become a popular choice, but it’s worth weighing it against traditional methods to see what will best meet your needs.
Freezer Paper and Plastic Wrap
Both freezer paper and plastic wrap offer basic protection for meat, but they have limitations. Freezer paper, while affordable and environmentally friendly, relies on proper wrapping techniques to prevent freezer burn. Plastic wrap is prone to tears and can lead to ice crystals forming on meat, compromising its quality.
Traditional Freezing Techniques
Before vacuum sealers, freezing meat with basic wrapping was common but left it vulnerable to air exposure and freezer burn. While simple, this method could compromise meat quality over time. Vacuum sealing removes air, extending freezer life and preserving taste and nutrients better than wrapping. Though the initial investment may be higher, the long-term quality benefits make it a superior choice for meat preservation.
How to Choose the Right Vacuum Sealer
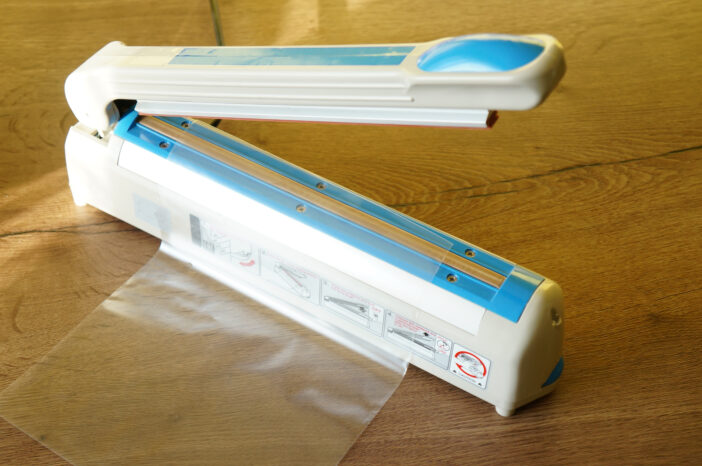
Selecting the right vacuum sealer for your kitchen is vital to ensuring your meats stay fresh and tasty for as long as possible. Let’s dive into what factors to consider and the differences between handheld and countertop models to make your choice easier.
Factors to Consider
- Sealing Performance: First things first, you want a machine that seals tightly—every single time. Look for models praised for their strong suction and reliable sealing. The Geryon E2900MS, for instance, provides gentle or normal vacuum strength, making it versatile for different types of food.
- Ease of Use: You’re going for convenience, so choose a sealer that’s intuitive to operate. Avoid overly sensitive touchpads or complicated settings. A user-friendly design means less frustration and more sealing.
- Versatility: Opt for a vacuum sealer that can handle various tasks. From sealing dry and moist foods to accommodating accessories for sealing jars, versatility enhances the value of your sealer. A feature to look out for is the ability to adjust vacuum strength, as seen in the Geryon model.
- Bag Compatibility and Costs: Consider the types of bags the sealer uses and their cost. Some models require proprietary bags, which can be more expensive, while others are compatible with generic options. Determine the value over time.
- Size and Storage: Kitchen real estate is precious. Decide whether you can dedicate countertop space to your sealer or if a more compact, storable design works better. Remember, larger models typically offer more features and power.
Handheld vs. Countertop Models
Making the choice between handheld and countertop vacuum sealers depends largely on your kitchen space, the volume of food you handle, and convenience.
- Handheld Models: These are compact, easy to store, and perfect for small jobs or occasional use. They excel in sealing smaller items and are ideal for personal use or smaller families. However, they might not provide the same level of vacuum strength as their countertop counterparts and often rely on specific ziptop bags with a port for air removal.
- Countertop Models: If you find yourself sealing meat regularly or in large batches, a countertop model is likely your best bet. They’re more robust, offering stronger suction power and the ability to seal a wide range of bag sizes. Countertop sealers, like the Geryon E2900MS, also boast greater versatility, allowing for the sealing of both dry and moist foods.
Choosing the right vacuum sealer involves balancing your needs for functionality with the physical and financial space you have. Whether you go for the portability of a handheld model or the versatility and strength of a countertop version, ensure it aligns with your culinary habits and preferences for the best food preservation results.
DIY Tips and Tricks for Effective Vacuum Sealing
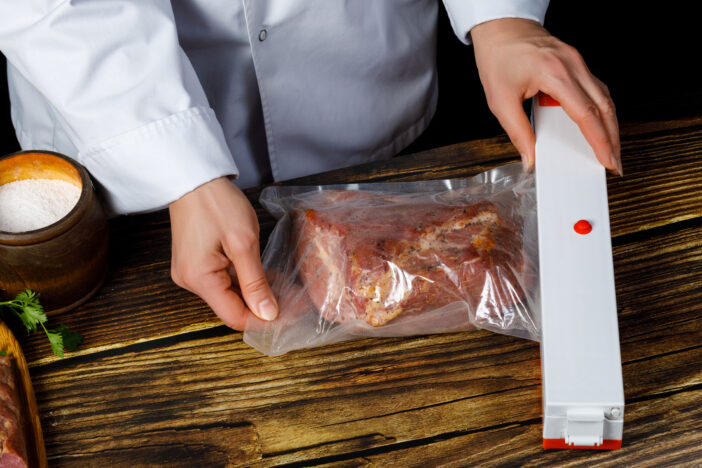
Vacuum sealing is a game-changer for extending the life of your meats and maintaining their quality. But, like any kitchen technique, there’s a right way to do it and a few tricks to make it even better. Let’s dive into how you can master this at home.
Best Practices for Meat Preservation
- Choose Freshness: Always start with the freshest meat possible. The fresher the meat when you vacuum seal it, the better the quality when you’re ready to use it.
- Pre-Freeze: For softer or wet meats, a quick pre-freeze can prevent crushing or loss of juices during the sealing process. Lay the items on a baking sheet, freeze for a couple of hours, then proceed to vacuum seal.
- Portion Wisely: Consider your meal sizes when packing meats. If you’re cooking for two, don’t pack a full pound of chicken breasts in one bag. This avoids thawing more than you need.
- Add a Barrier: For extra protection, wrap your meats in butcher paper or use a paper towel inside the bag to soak up any excess moisture before sealing.
- Label Clearly: Include the date and contents of each vacuum-sealed bag. You’ll thank yourself later when you’re trying to figure out if that’s pork loin or turkey breast at the bottom of your freezer.
- Seal Isn’t Holding: If your bags are losing their seal, ensure the sealing edge is clean and dry before sealing. Even a small amount of moisture or debris can prevent a proper seal.
- Crushed Delicates: Use the pulse mode if your model has it for items like berries or baked goods. This allows you to control the vacuum level to avoid squishing your food.
- Bag Leakage: Ironically, sharp bones or edges can sometimes puncture the bag. Before sealing, consider rounding off bone edges with a knife or using a small piece of parchment paper to act as a buffer.
- Machine Overheating: If you’re sealing a lot of bags at once, your sealer may overheat. Give it a breather between seals to cool down. This not only protects your machine but ensures each seal is strong.
- Frozen Meat Won’t Seal: Thaw your meat slightly in the fridge before attempting to reseal it. A bit of flexibility in the meat can make it fit better in the bag and seal more effectively.
Frequently Asked Questions
Why does my vacuum-sealed meat smell bad?
Vacuum-sealed meat may emit a sour or tangy odor upon opening due to the buildup of lactic acid from the protein and its juices. This is a normal sign that the meat has been preserved correctly.
What shouldn’t you vacuum seal?
Avoid vacuum-sealing raw mushrooms, garlic, raw onions, and soft cheeses like blue cheese, brie, camembert, ricotta, and other soft and unpasteurized cheeses. Freshly cooked or steamed vegetables should only be vacuum-sealed once they’ve cooled to room temperature.
Should I freeze meat before vacuum sealing?
Yes, freezing meat before vacuum sealing is advised as it helps trap juices, ensuring the meat retains a better taste and texture upon defrosting.
What are the disadvantages of vacuum-sealing food?
While vacuum sealing extends shelf life and preserves food quality, it doesn’t eliminate the risk of pathogenic bacteria, which can survive without air. Therefore, it should not be seen as a substitute for proper food preservation methods.
What meats can you vacuum seal?
You can vacuum seal almost any type of meat, including beef, pork, poultry, and fish. Vacuum sealing works well for both fresh and pre-cooked meats, effectively extending their freezer shelf life and preserving quality.


