7 Oven Calibration Tips for Perfectly Cooked Meals
Calibrate your oven for precise cooking: align temperature settings, extend oven life, save time and money, boost confidence in cooking, and follow a simple DIY process with essential tools.
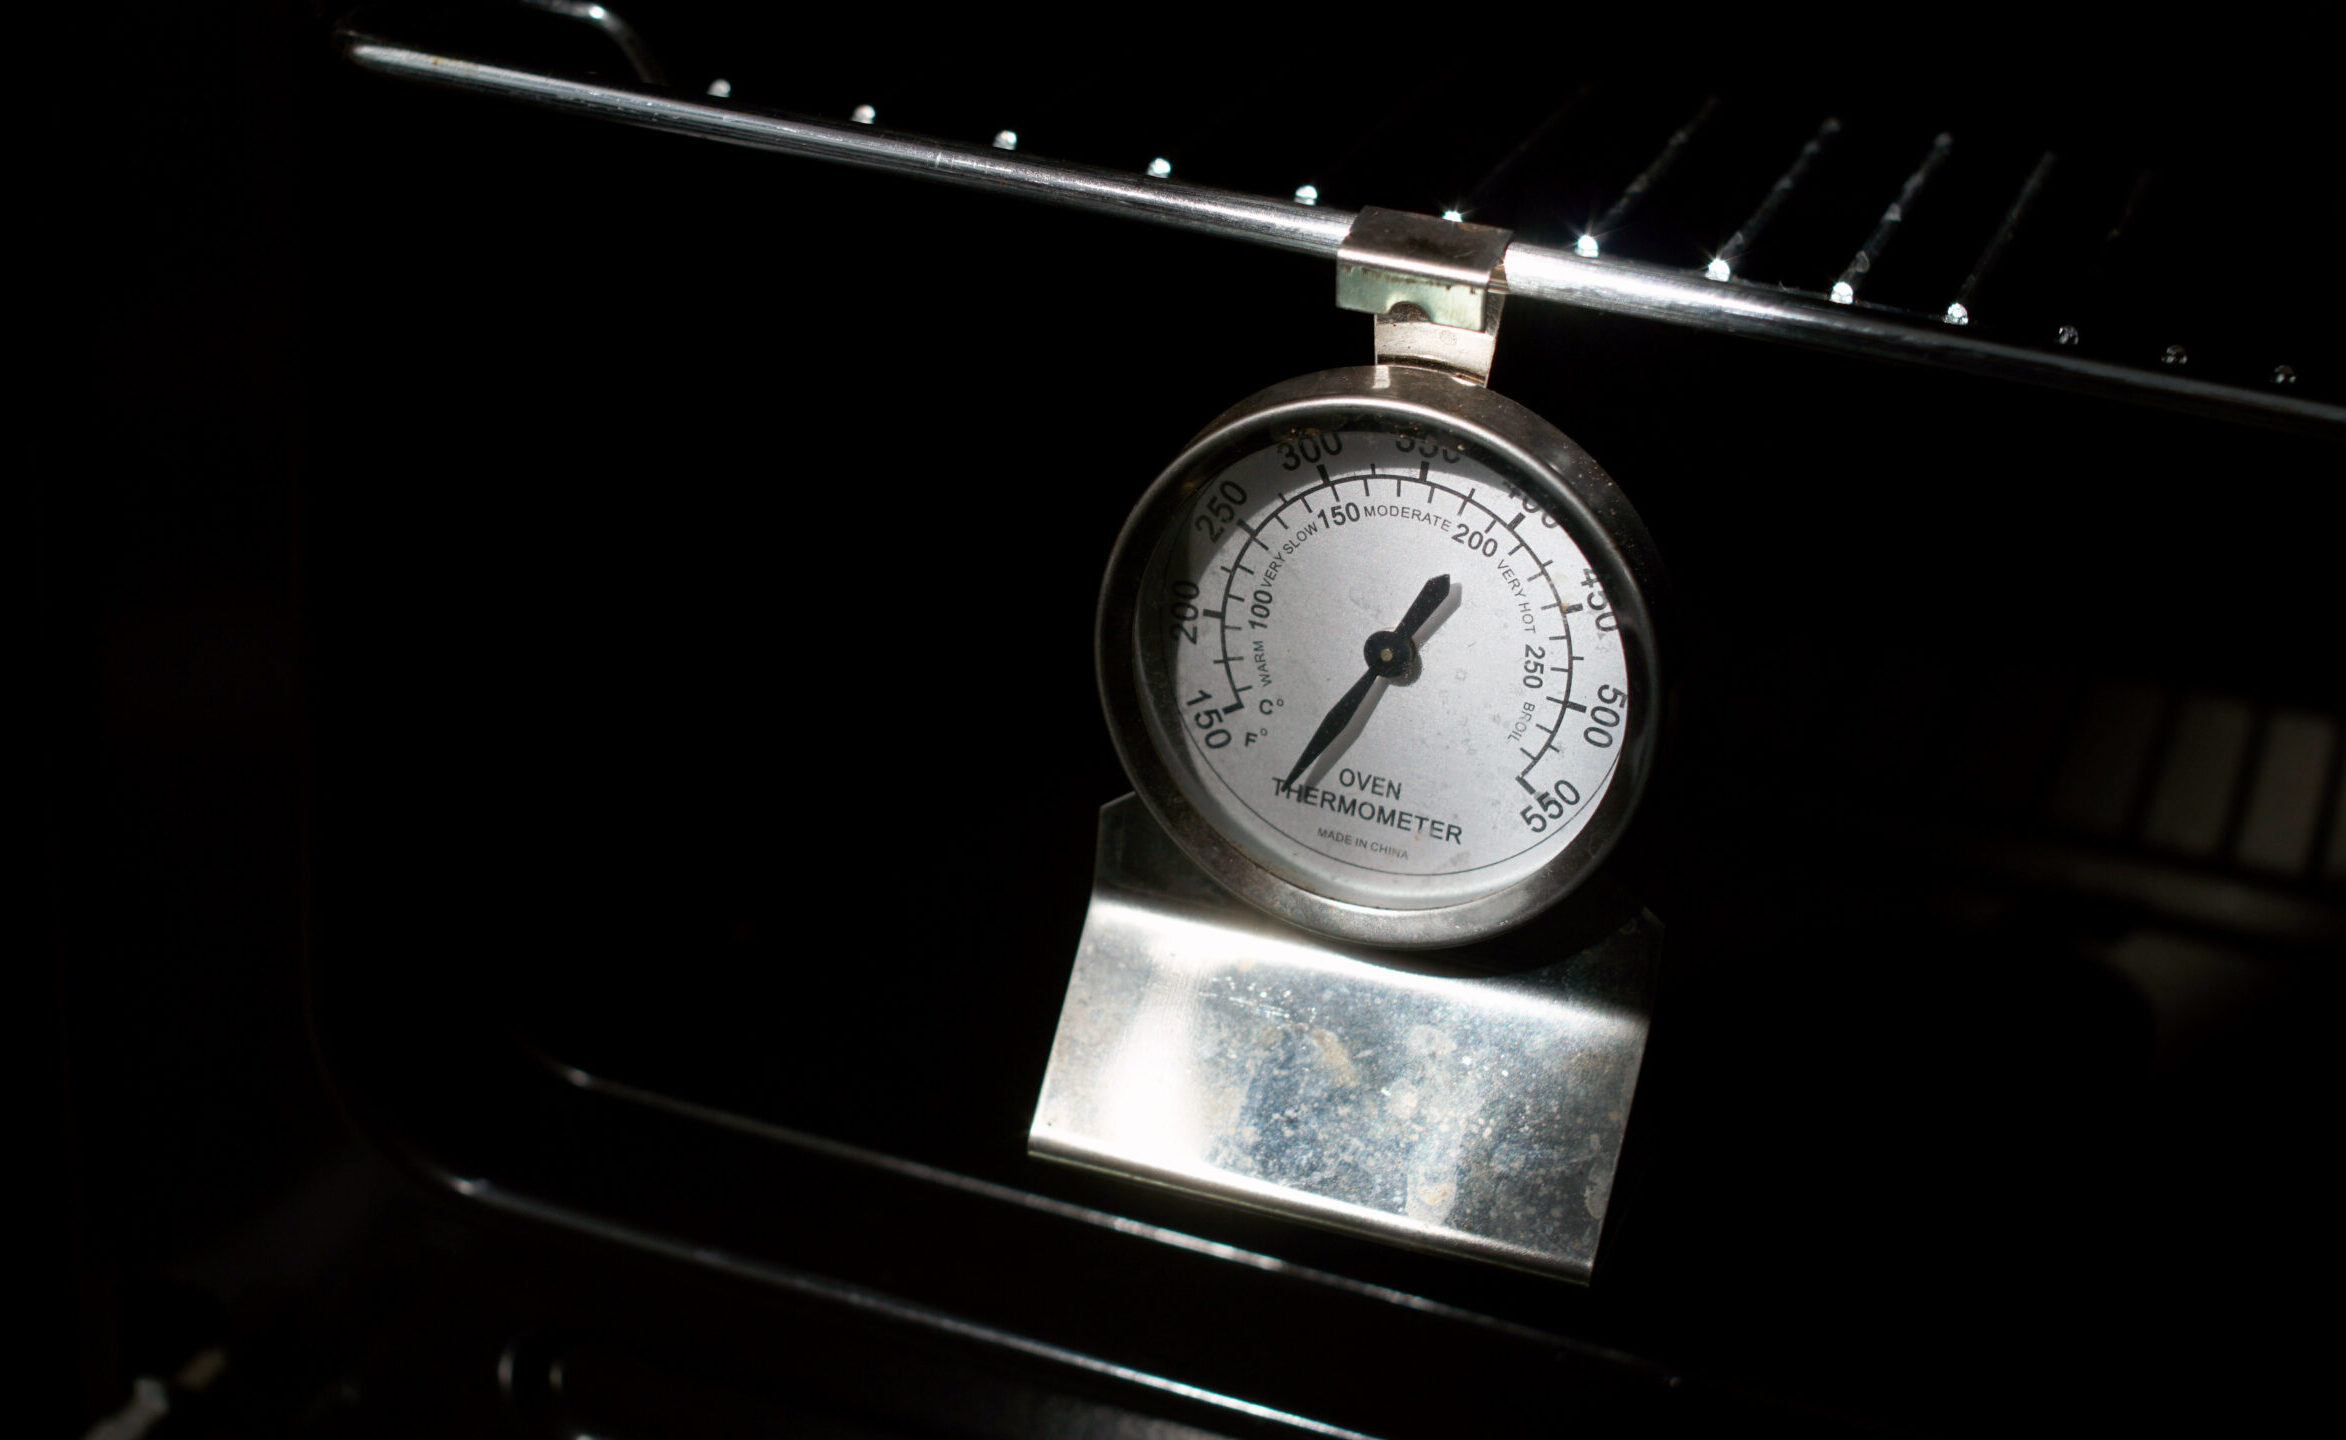
If your dishes are inconsistent in doneness, your oven’s temperature might be to blame. Calibrating it with a kitchen thermometer ensures precise heating, crucial for baking. Whether analog or digital, a DIY calibration using a screwdriver and thermometer can restore baking confidence.
Disclosure: As an Amazon Associate, this site earns from qualifying purchases. Thank you!
Why Calibrate Your Oven?
Calibrating your oven is like giving your cooking journey a fresh start. It ensures that your oven accurately reflects the temperature you set, leading to perfectly cooked recipes every time. By aligning its temperature settings with reality, you’ll notice improvements like cookies that aren’t too crunchy and roasts that are tender as desired.
Plus, calibration extends your oven’s lifespan by distributing heat evenly, saving you from premature wear and tear. Not only does it save you from the disappointment and waste of burnt dishes, but it also saves time, money, and energy.
With a calibrated oven, you can cook with confidence, knowing your tools are reliable. So, whether you’re a baking enthusiast or a casual cook, taking the time to calibrate your oven enhances your culinary experience. Get ready to embark on your calibration journey and enjoy perfectly cooked dishes every time.
In the video, Jerry James Stone explains –
Jerry James Stone
- Oven temperatures can vary by up to 30 degrees from what is indicated on the preheat setting.
- Using a separate oven thermometer is recommended to accurately gauge the temperature inside the oven.
- Place the oven thermometer in a central location inside the oven for the most accurate reading.
- Various factors like the age of the oven or its efficiency can cause temperature discrepancies.
- Fluctuations of even 5 to 10 degrees can significantly affect baking outcomes.
- Without a convection oven, there can be different temperature zones inside the oven.
- Experienced bakers often know the hot and cold spots in their ovens through practice.
- Calibrating the oven involves adjusting the temperature based on the variance between the oven setting and the thermometer reading.
- Adjusting the oven temperature may require trial and error, especially for ovens with dial controls.
- Knowing your oven’s accurate temperature can make or break baking recipes.
Signs Your Oven Needs Calibration
Got the basics of oven calibration down? Wondering when to tune it up before culinary chaos strikes? Let’s explore the signs that say, “Calibrate me!”
- Inconsistent Cooking: Meals turn out undercooked or overcooked despite precise recipe adherence, especially noticeable in baking.
- Extended Cook Times: Favorite recipes taking longer than usual, indicating inadequate temperature reaching.
- Burned Food: Regularly setting off smoke alarms due to charring at recommended settings suggests overheating.
- Damaged Seal: A cracked, torn, or flattened gasket compromises temperature accuracy by allowing heat to escape.
- Reliance on Thermometers: Constantly verifying oven temperature with a separate thermometer indicates calibration issues.
- Sensory Feedback: Trust your cooking instincts—if things don’t smell or feel right, such as cakes not rising or meat toughening, it’s likely your oven needs adjustment.
Preparing for Oven Calibration
Preparing for oven calibration is essential for any cooking enthusiast. Here’s what you need to do:
- Gather Necessary Tools: You’ll need an oven thermometer, a small screwdriver (for analog ovens), or access to the control panel (for digital models). Having these items ready ensures a smooth calibration process.
- Understand Your Oven’s Type: Determine whether your oven is gas or electric and whether it has digital or analog controls. This knowledge guides your calibration approach, ensuring accurate adjustments. If unsure, consult the user manual or seek professional assistance.
By preparing adequately and understanding your oven’s specifications, you’ll be well-equipped to calibrate it effectively for perfect baking results.
Step-by-Step Guide to Calibrating Your Oven
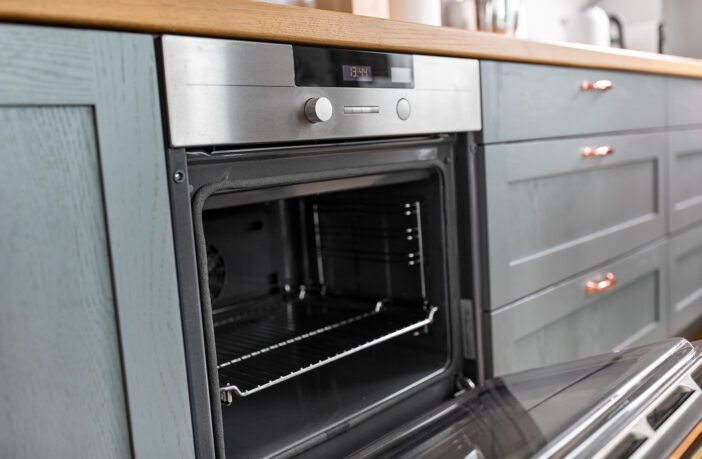
Ready to ensure your oven is heating just right for that next batch of cookies or perfectly roasted chicken? Follow this detailed guide to calibrating your oven, regardless of its type.
Calibrating Electric Ovens With Analog Controls
- Check the Oven Sensor Rod: Open your oven and locate the oven sensor rod, a thin, metallic part extending from the back. Ensure it’s not accidentally touching the oven walls, which could skew temperature readings.
- Adjust the Temperature Knob: Gently pull off the oven’s temperature knob. You’ll likely find a set of screws or a small shaft that you can adjust. If it’s a shaft, use a screwdriver to twist it in the direction you wish to calibrate the oven’s temperature. For models with a dial on the back of the knob, simply turn the dial to the correct setting.
Calibrating Electric Ovens With Digital Controls
- Access Calibration Settings: Toggle through the oven’s settings until you find the calibration menu, often labeled as temperature calibration or oven calibration, depending on your model.
- Adjust Temperature Settings: Use the arrow keys to adjust the oven’s temperature. This could either increase or decrease in specified increments, commonly in 5°F (3°C) or 10°F (6°C) amounts.
- Confirm Your Settings: Once you’ve adjusted to the desired calibration, press START to save your changes or CANCEL to exit without saving if you change your mind.
Testing and Preparation
Conduct a preliminary test by heating your oven to 350°F with an oven-safe thermometer placed on the center rack. This will help you determine if your oven indeed needs calibration.
For Gas Ovens
- For Digital Controls: Use the oven’s settings menu for similar calibration adjustments as electric ovens with digital controls.
- For Analog Controls: Due to the specific technicalities involved, analog gas ovens require professional calibration. Contact a certified technician who can correctly calibrate the oven, ensuring safe and accurate temperature adjustments.
Tips for Accurate Oven Temperature Measurement
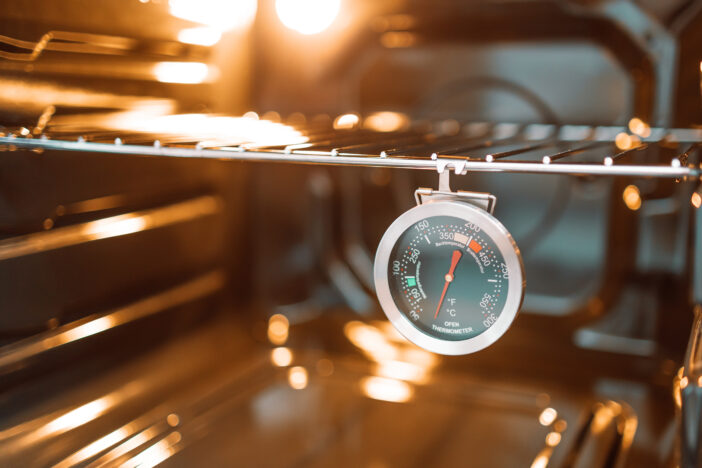
Ensuring your oven’s temperature matches what you set it to is key to baking and roasting success. Whether you’re a seasoned chef or a baking newbie, here are some expert pointers to nail that perfect bake every time.
- Invest in a Quality Oven Thermometer: Don’t skimp on this; a sturdy, reliable oven thermometer can make or break your calibration efforts. This tool gives you the real temperature inside your oven, regardless of what the dial says.
- Preheat and Position Properly: Before testing, let your oven preheat for at least 20 minutes. This gives it ample time to reach a stable temperature. Place your thermometer in the center of the oven or where you usually place your food.
- Check the Reading: Once the oven indicates it’s preheated (often with a beep or light), check the thermometer. Don’t open the door often, as this can affect the temperature. Give it a few minutes to ensure accuracy.
- Record the Results: Write down the temperature reading at several points during an hour. This helps you determine if your oven runs hot, cold, or has temperature swings.
- Use the Bread Test: This simple technique involves placing slices of white bread covering the oven rack and baking them for a few minutes. The pieces that toast darker indicate your oven’s hot spots.
- Rotate Your Pans: Once you’ve identified where those hot spots are, you can strategically rotate your pans during baking. This ensures more even cooking and helps avoid partially undercooked or burnt dishes.
- Adjust Your Racks: Position your racks to avoid hot spots when baking sensitive items like cakes or soufflés. Middle rack placement is generally safe, but adjusting according to your oven’s specific quirks can lead to better results.
- Keep It Organized: Make a mental or physical map of your oven’s hot spots for future reference. This knowledge lets you place dishes in the optimal location for even cooking.
By taking the time to understand and measure your oven’s true temperature and quirks, you’ll set yourself up for cooking and baking success. Remember, knowing is half the battle—using this knowledge to adapt is where the real magic happens.
Troubleshooting Common Oven Calibration Issues
Now that we’ve laid the groundwork for understanding how crucial it is to keep your oven properly calibrated, let’s dive into some common issues you might encounter in this process. Addressing these issues head-on will ensure your oven’s temperature is accurate, leading to more successful cooking and baking experiences.
Checking the Oven Gasket
First things first, inspect your oven’s door gasket. It’s not uncommon for the seal to become cracked, torn, or overly compressed over time. If the gasket no longer seals properly, heat can escape, leading to an improperly cooled oven. Spotting these issues early can save you from significant temperature inconsistencies.
Avoiding Foil on the Oven Floor
It might seem like a good idea to use foil at the bottom of your oven to catch drips and keep it clean. However, this practice can interfere with your oven’s operation. Instead, try placing a sheet on the lower rack, ensuring there’s ample space for air to circulate on the sides. Proper air circulation is key to maintaining even temperatures.
Identifying Invisible Issues
Sometimes, the problems aren’t immediately visible. Depending on your oven’s temperature tests, you might need to consult a professional to check if there’s a bad or loose temperature sensor, thermostat control, heating element (in electric ovens), or a faulty fan (in convection ovens). These components are critical for accurate oven function, and malfunctions here can lead to significant calibration issues.
Calibration Settings and Adjustments
Navigating your oven’s calibration settings can be a bit of a task. Look for either “temperature calibration” or “oven calibration” in the settings menu, depending on your model. Follow the on-screen instructions carefully to either increase or decrease your oven’s temperature. Remember, saving your adjustments is crucial, so don’t exit before pressing “START.”
Adjusting Temperature in Degrees
For more specific adjustments, holding down the Temp/Time arrow keypad for 5 seconds can display the current setting. You can then use the keypad to adjust the temperature in small increments, ensuring a more precise calibration. Again, don’t forget to press “START” to save any changes.
When to Call a Professional for Oven Calibration
Call a professional for oven calibration if DIY efforts fail to correct temperature inaccuracies or if you encounter complex digital interfaces, faulty heating elements or sensors, gas oven issues, warranty concerns, or knob adjustments that yield no improvement. Professional expertise ensures accurate and safe oven operation.
Maintaining Your Oven Post-Calibration
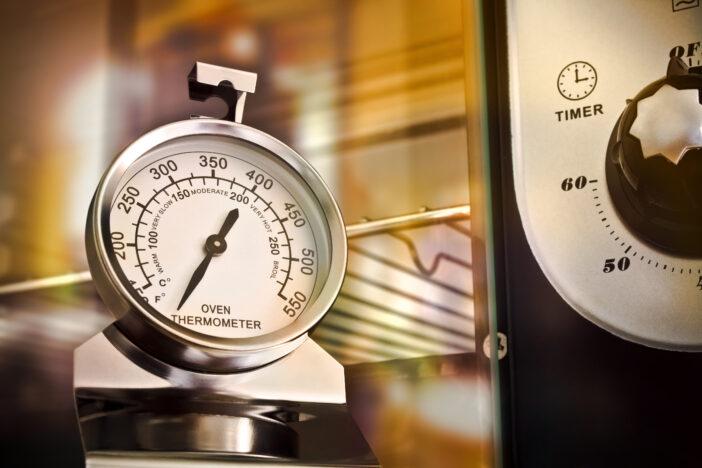
After calibrating your oven for optimum performance, maintaining that precision is crucial for consistent, delicious cooking outcomes. Let’s dive into the best practices for keeping your oven in top shape.
How Often to Recalibrate
Ovens, like any frequently used appliance, can drift from their calibrated settings over time. To ensure your dishes are always perfectly cooked, it’s wise to recalibrate your oven’s thermometer annually. However, if you’re an avid baker or your oven is under heavy use, you might want to consider checking its accuracy more frequently, say every six months. This proactive approach ensures that your oven keeps pace with your culinary adventures, always delivering the results you expect.
Regular Oven Maintenance Tips
Keeping your oven calibrated is just part of the picture. Regular maintenance is key to ensuring its longevity and performance. Here are a few tips to keep your oven in prime condition:
- Keep It Clean: Regular cleaning prevents build-up that can affect your oven’s functionality and odors that can impact the taste of your food. After heavy use, a deep clean is recommended. Make sure to clean the gasket gently but thoroughly to maintain a proper seal.
- Check the Seals: Speaking of the gasket, inspect it periodically for any signs of wear, tear, or deformation. A degraded door seal is a common culprit for heat loss, leading to longer cooking times and uneven baking.
- Monitor Oven Performance: Pay attention to baking times and the finished quality of your dishes. If you notice inconsistencies, it might be time for another recalibration or a deeper check to troubleshoot potential issues.
- Avoid Foil Liners: While it might be tempting to line the bottom of your oven with aluminum foil to catch drips, this practice can interfere with heat distribution and airflow, affecting cooking outcomes. Instead, place a baking sheet below the rack you’re using.
- Use an Oven Thermometer: Keep a high-quality oven thermometer inside your oven to monitor its temperature accuracy. This simple tool is invaluable for ensuring that your oven’s internal temperature matches its setting.
By following these maintenance tips and recalibrating your oven as necessary, you’ll ensure your beloved kitchen appliance continues to produce the scrumptious, precisely cooked meals you love. Remember, an accurately calibrated and well-maintained oven is the cornerstone of every successful kitchen.


