7 Tips for Grilling T-Bone Steak to Perfection
Master the art of grilling a juicy T-bone steak by selecting the perfect cut, preparing it with proper seasoning, and mastering the grill setup and techniques for optimal results.
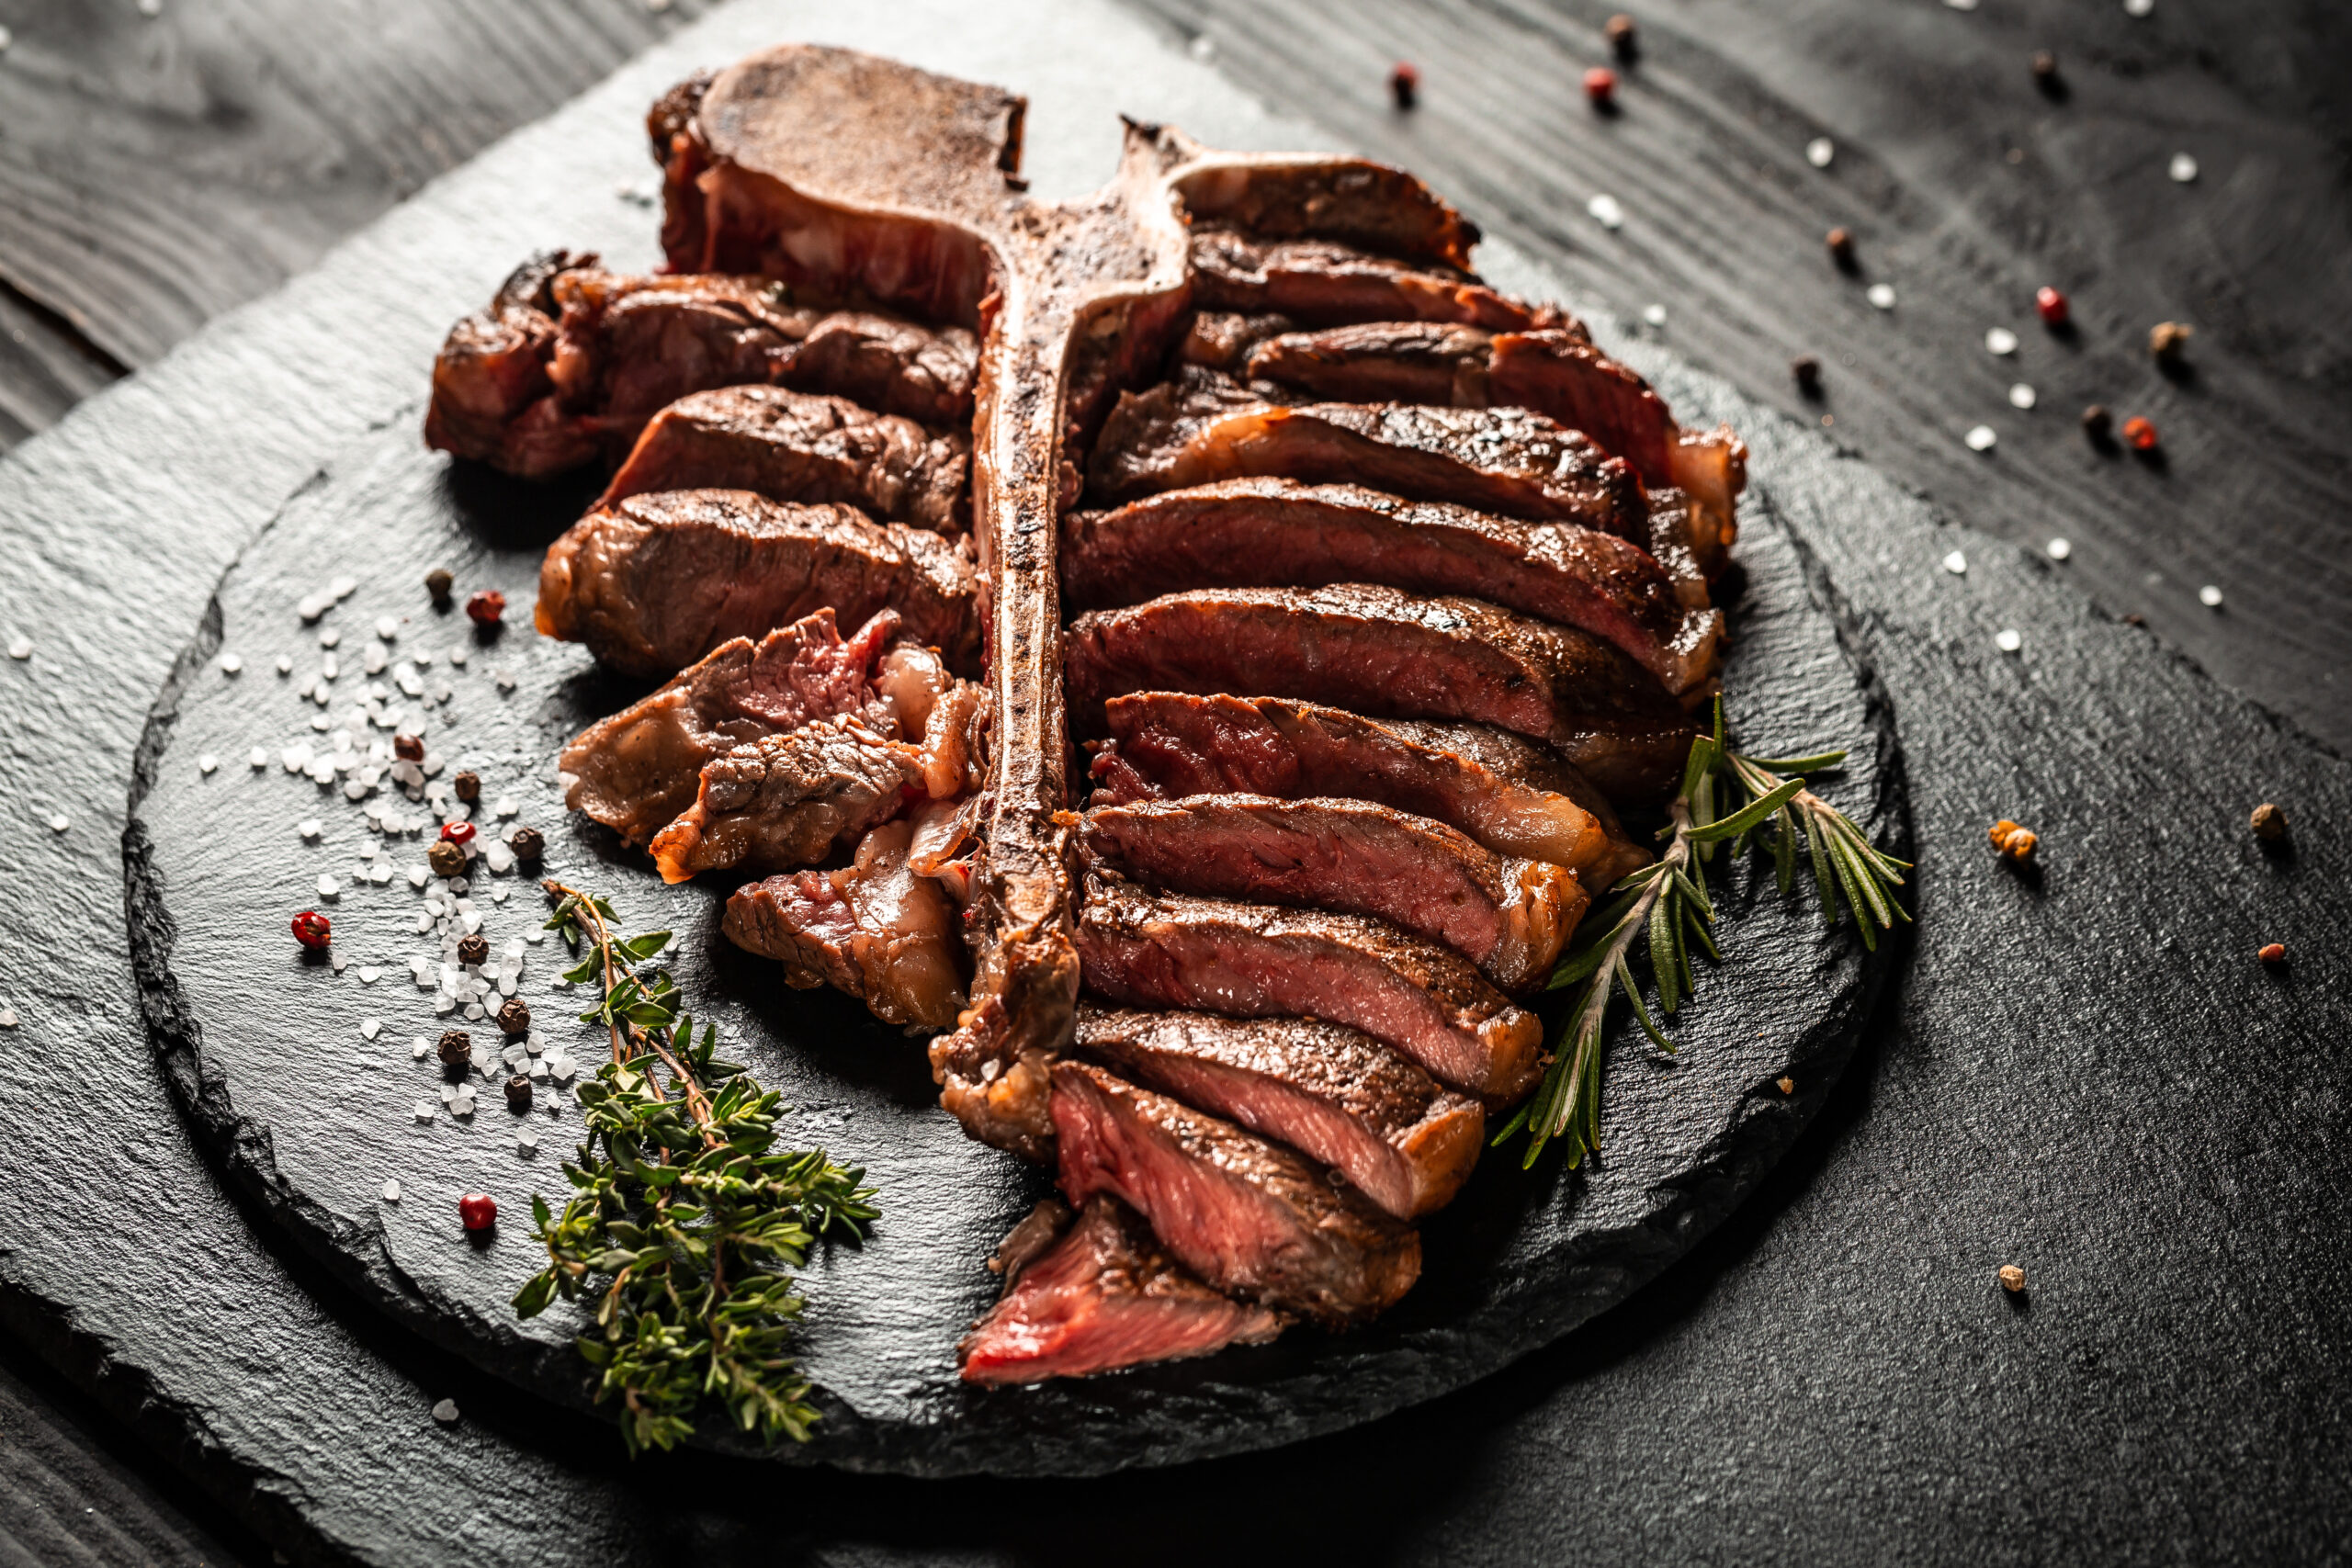
Imagine sinking your teeth into a perfectly grilled T-bone steak, its flavors bursting with every bite. Mastering the art of grilling this cut can elevate your barbecue to new heights, impressing guests and satisfying your culinary cravings.
Disclosure: As an Amazon Associate, this site earns from qualifying purchases. Thank you!
Selecting the Perfect T-Bone Steak
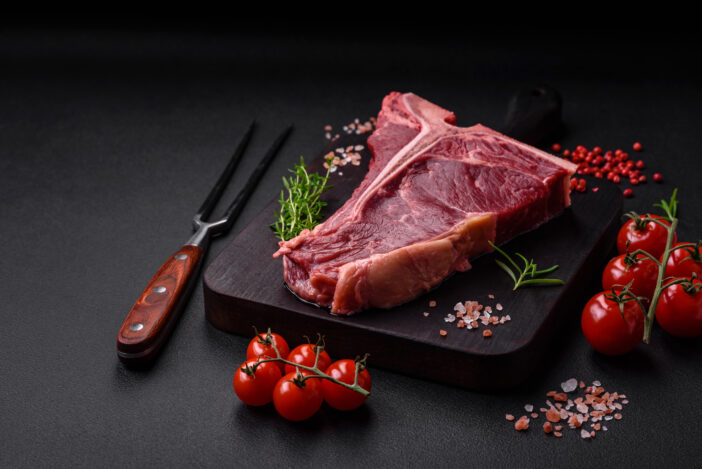
Selecting the right T-bone steak is crucial for achieving that desirable, mouth-watering flavor and perfect texture.
Understanding Meat Grades
The USDA grades beef based on marbling and age, influencing flavor and tenderness. Key grades to know are:
- Prime: This is the highest quality, featuring abundant marbling, making it ideal for grilling.
- Choice: Less marbling than Prime but still high quality, suitable for those who prefer a leaner steak.
- Select: This grade has the least marbling, resulting in a leaner, less tender steak.
What to Look for in Meat Texture and Color
The perfect T-bone should have:
- Bright red color: It indicates freshness. Avoid meat that looks dull or grey.
- Firm texture: The meat should feel firm to the touch, rebounding quickly when pressed.
- Fine marbling: Look for even, white specks of fat throughout the meat, which enhance flavor and juiciness upon cooking.
Importance of Steak Thickness
Thickness plays a pivotal role in grilling:
- At least 1 inch thick: This ensures your steak doesn’t dry out and allows for a good sear on the outside while keeping the inside juicy.
- Uniform thickness: It promotes even cooking, preventing thinner parts from overcooking while thicker sections are underdone.
Choosing the perfect T-bone starts with understanding these elements, setting the stage for exceptional grilling results.
Preparing Your T-Bone for Grilling
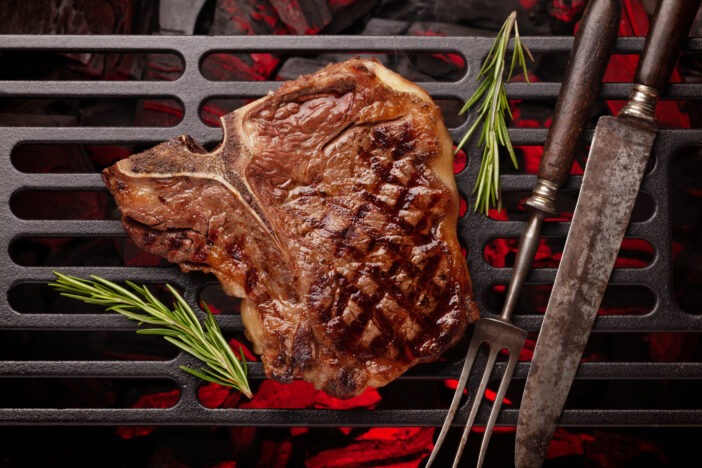
Before you heat up your grill, proper preparation of your T-bone steak is crucial. This ensures each bite is as delicious as the last.
Proper Thawing Techniques
- Thaw Gradually: Always thaw your T-bone slowly in the refrigerator, not at room temperature. This can take up to 24 hours, depending on the thickness.
- Avoid Water: Never use water to thaw your steak, as it can cause the muscle fibers to absorb water, diminishing flavor and texture.
- Refrigerator Transition: Once fully thawed, let the steak sit in the fridge uncovered for several hours to dry the surface, which helps in achieving a better sear.
Seasoning for Optimal Flavor
- Salt Early: Apply coarse salt to your T-bone at least 40 minutes before grilling. This allows the salt to absorb or draw out moisture, then reabsorb it, seasoning the meat deeply.
- Add Spices: Just before grilling, enhance flavor with a mix of freshly ground black pepper, garlic powder, and a touch of smoked paprika for complexity.
- Oil Lightly: Right before it hits the grill, brush your steak lightly with olive oil to prevent sticking and help the seasoning bind better.
- Pull Early: Remove the T-bone steak from the fridge and let it sit at room temperature for at least 20 minutes before grilling. This reduces cooking time and promotes even heat distribution.
- Monitor Closely: Keep an eye on the steak during this resting period; it’s preparing to cook from its best temperature state.
- Pre-Grill Pat-Down: Gently pat the steak dry with paper towels right before grilling to ensure the perfect sear which locks in flavors and juices.
Mastering the Grill Setup
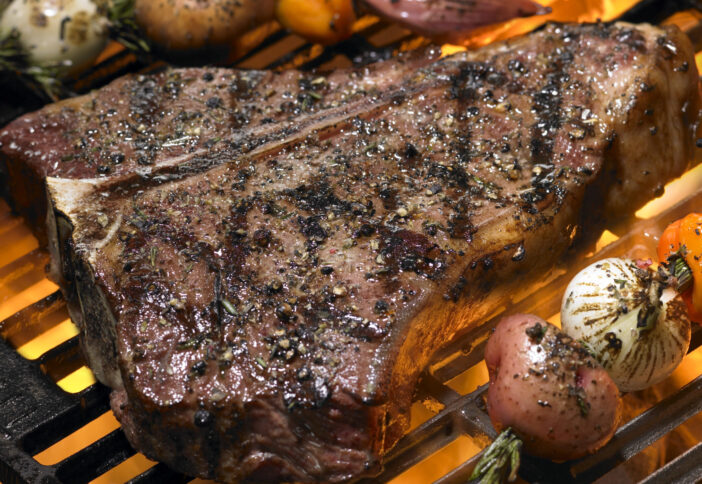
Setting up your grill correctly is crucial for cooking the perfect T-bone steak. Here’s how you can get everything just right.
Choosing the Right Grill
Opt for a grill that suits your lifestyle and culinary goals. If you grill often, investing in a high-quality model is beneficial. There are two main types to consider: charcoal and gas. Each type impacts the flavor and cooking methods.
- Charcoal Grills: They provide a smoky flavor but require more time to heat up.
- Gas Grills: These are convenient for quick setup and consistent heat.
Choose based on the flavor you prefer and the convenience you need.
Charcoal vs. Gas Grilling
Deciding between charcoal and gas can affect the outcome of your grilled T-bone steak.
- Charcoal Grilling: Enhances the steak’s flavor with a smoky infusion, ideal for those who appreciate a classic grilled taste. However, it takes more skill to control the temperature.
- Gas Grilling: Offers ease and control, perfect for beginners or those who prioritize convenience. It heats up faster and provides more temperature control but lacks the traditional smoky flavor.
Consider your flavor preferences and grilling experience when choosing your method.
Preheating Your Grill
Proper preheating is essential for the perfect sear and even cooking.
- Charcoal Grill: Allow the coals to burn until they’re covered with ash and glow red, typically about 15-20 minutes.
- Gas Grill: Preheat to high for 10-15 minutes.
Ensuring your grill is properly preheated will avoid sticking and help achieve those desirable grill marks, locking in flavor.
The Grilling Process
Now that you’ve selected, prepared, and preheated your grill, it’s time to master the actual grilling techniques for the perfect T-bone steak.
Direct vs. Indirect Grilling Methods
Use direct grilling for a seared, flavorful crust:
- Direct Grilling: Place your T-bone steak directly over the heat source. This method is ideal for creating a crisp, caramelized crust quickly due to high temperatures. Typically, it’ll take about 4-6 minutes per side for medium-rare, depending on your grill’s heat.
Try indirect grilling for even cooking:
- Indirect Grilling: After searing the steak on high heat, move it to a cooler part of the grill. This technique isn’t directly over the flame, allowing the steak to cook through more evenly without burning. This is perfect for thicker cuts, ensuring the interior reaches the desired doneness without charring the exterior.
Controlling the Temperature
Maintain consistent heat for predictable results:
- Charcoal Grills: Manage your coals. Spread them evenly for direct grilling or bank them to one side for indirect cooking. Adjust the air vents to increase or decrease the temperature.
- Gas Grills: Utilize the control knobs to fine-tune the flame size. Keep an eye on the built-in thermometer to ensure a steady cooking temperature ideal for the thickness of your steak.
Flipping and Rotating Steak on the Grill
Follow these steps for an evenly cooked steak:
- Flipping Techniques: Flip your steak only once during the cooking process. This technique ensures a good sear on both sides while allowing enough time for the heat to penetrate deeply.
- Rotating for Perfect Grill Marks: After placing your steak on the grill, don’t move it for about 2-3 minutes. Then give it a 90-degree turn (not a flip) to achieve those desirable, professional-looking crosshatch grill marks. Repeat on the other side.
By following these detailed techniques, you’ll ensure your T-bone steak is grilled to perfection, harnessing the best flavors and textures. Remember to keep a watchful eye on the temperature and the steak’s position relative to the heat source for optimal results.
Testing Doneness and Resting Your Steak

Once your T-bone steak sizzles on the grill, assessing its doneness and allowing it to rest are crucial steps to ensure it’s deliciously juicy and cooked just right. Here’s how you can master these final phases of grilling.
Using a Meat Thermometer
To avoid guesswork, use a meat thermometer, the most reliable tool for testing steak doness:
- Preheat your grill as recommended.
- Insert the thermometer halfway into the thickest part of the steak, avoiding the bone.
- For a perfect T-bone, aim for these internal temperatures:
- Rare: 125°F (about 52°C)
- Medium Rare: 135°F (about 57°C)
- Medium: 145°F (about 63°C)
- Medium Well: 150°F (about 65°C)
- Well Done: 160°F (about 71°C)
- Remove the steak from the grill at about 5°F (3°C) before reaching your desired doneness as the temperature will continue to rise slightly while resting.
Understanding Doneness Levels
Knowing what each level of doneness looks like ensures you meet everyone’s preferences:
- Rare: Seared outside, bright red inside, very juicy
- Medium Rare: Firm on the outside, pink and warm inside
- Medium: Light pink center, more browned than pink overalls
- Medium Well: Small amount of pink in the center
- Well Done: Uniformly browned throughout, firmer texture
Resting Time for Juiciness
Allowing your steak to rest before slicing is key to juiciness:
- Place the steak on a warm plate and tent loosely with aluminum foil.
- Rest the steak for about 5 minutes for each inch of thickness.
- This pause helps juices redistribute throughout the meat, enhancing flavor and moisture.
- Slice against the grain to serve the most tender and juicy steak.
Implementing these techniques after mastering the grill adjustments and flipping skills will certainly elevate your T-bone steak game to the level of professional chefs.
Serving Your Grilled T-Bone Steak
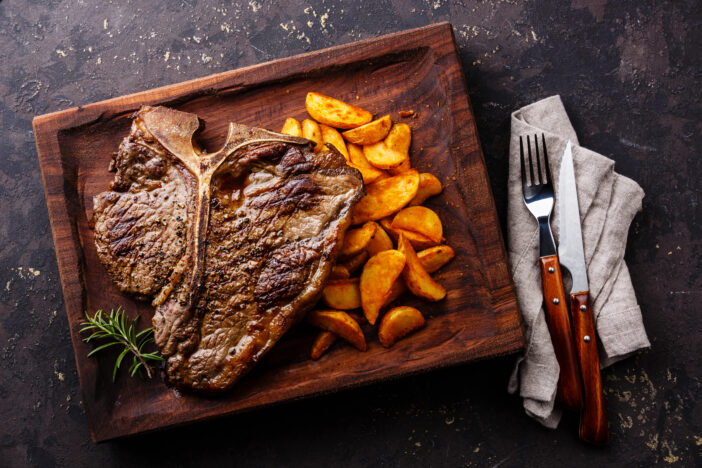
After mastering the grill, the final step is serving your T-Bone steak with flair and flavor. Let’s dive into how you can complement and present your steak for an unforgettable meal.
Suggested Accompaniments
Pairing your T-Bone steak with the right side dishes can transform your meal from good to great. Consider these popular options:
- Garlic Mashed Potatoes: Their creamy texture and robust garlic flavor make them a hearty companion to your steak.
- Grilled Asparagus: Lightly seasoned and charred, asparagus adds a fresh, crispy contrast.
- Caesar Salad: For a lighter side, the crisp romaine and tangy dressing of Caesar salad offer a refreshing balance.
- Sautéed Mushrooms: Enhance your T-Bone steak with the earthy depth of mushrooms sautéed in butter and herbs.
Carving Techniques for Great Presentation
Carving your T-Bone steak properly not only looks impressive but also impacts the eating experience. Here’s how you can do it right:
- Let the Steak Rest: Ensure your steak has rested for at least 5 minutes to redistribute the juices.
- Separate the Meat from the Bone: Using a sharp knife, gently cut along the T-bone to separate the fillet and sirloin parts.
- Slice Against the Grain: To maximize tenderness, slice the meat against the grain into even, thin slices.
- Serve Immediately: Arrange the slices neatly on a plate and serve promptly to preserve the warmth and flavors.
By choosing the perfect sides and mastering the art of carving, you’ll elevate your grilled T-Bone steak into a gourmet experience that delights all the senses.
Frequently Asked Questions
What is the best grade of meat for grilling a T-bone steak?
The best grades of meat for grilling a T-bone steak are USDA Prime, Choice, and Select, with USDA Prime being the top grade due to its higher marbling, which contributes to flavor and juiciness.
How thick should a T-bone steak be for grilling?
A T-bone steak should ideally be at least 1 inch thick to ensure it cooks evenly and develops a good sear on the outside while remaining juicy on the inside.
What is the ideal temperature to grill a T-bone steak?
The ideal grilling temperature for a T-bone steak is around 450°F to 500°F. This high heat allows for a good sear that locks in flavors and juices.
How can I tell when my T-bone steak is done?
Use a meat thermometer to accurately measure the internal temperature of your T-bone steak. Rare is about 120°F, medium rare is 130°F, medium is 140°F, medium well is 150°F and well done is 160°F and above.
Why should I let my steak rest before cutting?
Allowing your steak to rest for about 5 to 10 minutes before cutting helps the juices redistribute throughout the meat, ensuring that each bite is as juicy and flavorful as possible.
What are the best sides to serve with a T-bone steak?
Classic accompaniments for a T-bone steak include garlic mashed potatoes, grilled asparagus, Caesar salad, and sautéed mushrooms. These sides complement the richness of the steak and enhance the overall dining experience.
What is the correct way to carve a T-bone steak?
After resting, separate the meat from the bone and slice it against the grain. This technique helps keep the meat tender and easy to chew. Serve the slices immediately to preserve the ideal texture and warmth.

