10 Home Meat Drying Techniques for Delicious and Healthy Snacks
Home meat drying is an art that unlocks flavorful snacks like jerky and biltong. Choose lean meats, slice thin, marinate, and dry using techniques like air drying, oven drying, or a dehydrator for delicious, preservative-free results.
Discover the art of home meat drying and unlock a world of flavors right in your kitchen. From jerky to biltong, mastering these techniques ensures you enjoy delicious, preservative-free snacks anytime.
Disclosure: As an Amazon Associate, this site earns from qualifying purchases. Thank you!
Choosing the Right Meat for Drying
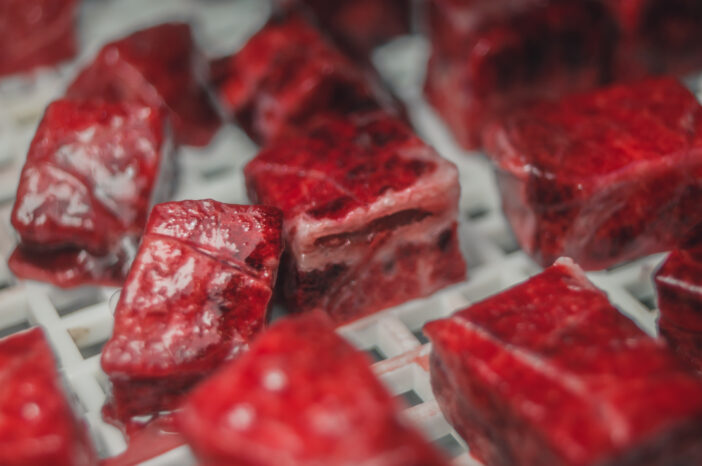
Selecting the best meat for drying ensures you get delicious results every time.
Best Meats for Drying
- Beef: Top choice. Lean cuts like sirloin and round are perfect for jerky due to their low-fat content.
- Venison: Ideal for gamey flavors. Use lean parts like the leg or loin to avoid excess fat.
- Turkey: Healthier option. Choose breast meat for a lean, tender outcome.
- Pork: Unique flavor. Tenderloin works well if you trim all visible fat.
Preparation Tips
- Trim Fat: Essential first step. Fat spoils quickly and affects shelf life.
- Slice Thin: Aim for 1/4 inch. Uniform slices ensure even drying.
- Marinate: Boosts flavor. Soak meat in a mix of spices, salt, and acid for at least 4 hours.
- Pat Dry: Before drying. Removes excess moisture, speeding up the drying process.
Techniques for Drying Meat at Home
Drying meat at home is an art that ensures preservative-free, delicious snacks like jerky and biltong. Here are some techniques you can use:
Air Drying
Hang thinly sliced meat strips in a well-ventilated area. Ensure the space is cool, dry, and free from pests. Let the meat dry for several days. Ideal temperature: 60-70°F.
Oven Drying
Set your oven to its lowest temperature, around 140-160°F. Place the meat slices on a baking sheet with a wire rack. Keep the oven door ajar to allow moisture to escape. Dry for 6-8 hours.
Dehydrator Drying
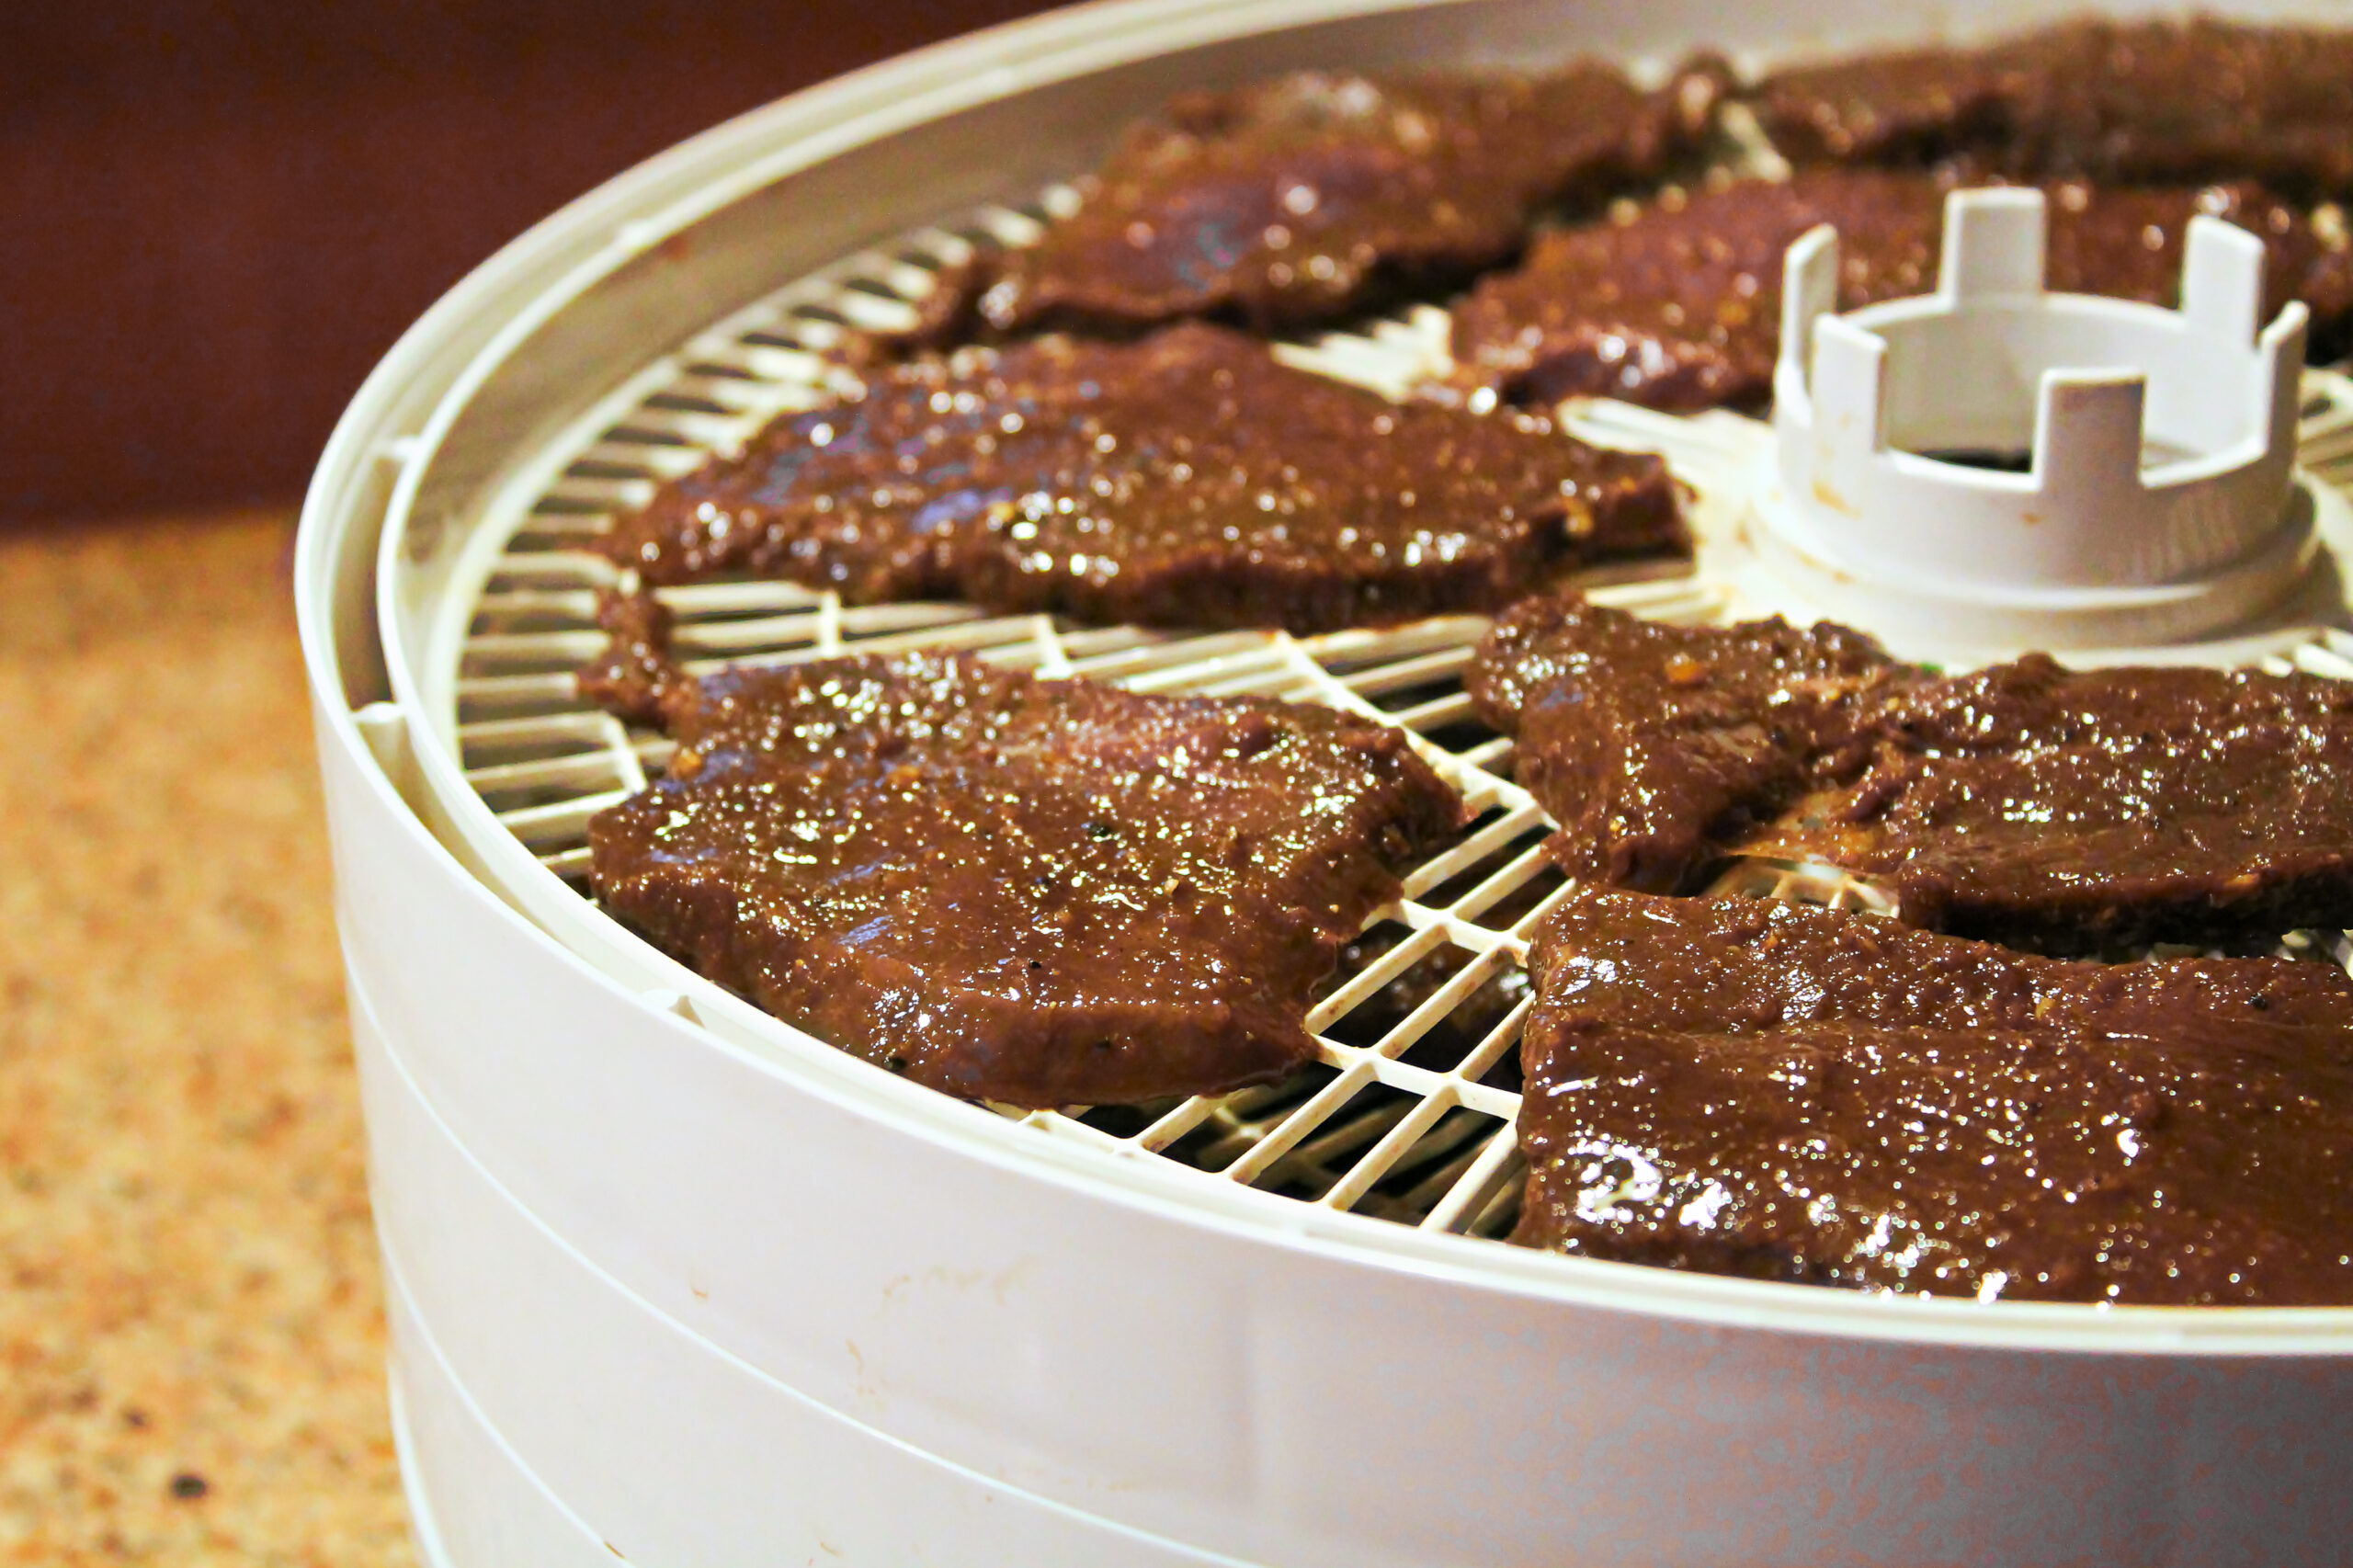
Use a food dehydrator to simplify the process. Arrange meat slices on trays, leaving space between them. Set the dehydrator to 155°F. Dry the meat for 4-6 hours, checking periodically.
Smoking as a Drying Technique
Use a smoker to add flavor while drying meat. Maintain a temperature between 150-160°F. Use wood chips for enhanced taste. Let the meat smoke for 4-6 hours, ensuring even drying.
In the video, Eat Cured Meat explains –
Eat Cured Meat
- Basic Ingredients: The cornerstone of dry curing is salt, which penetrates meat through equilibrium curing, ensuring precise salt distribution.
- Salt Quantities: For seasoning, use under 0.5% salt relative to meat weight; for curing, around 2% salt is typical for equilibrium curing.
- Equilibrium Curing: Involves precise weight-based salt application rather than volume, ensuring consistent curing throughout the meat.
- Pink Curing Salt: Optional for longer curing periods; provides added protection against certain bacteria, though not essential for whole muscle meats.
- Tools Needed: Accurate digital scales are crucial for precise measurement of ingredients like salt, ensuring proper curing results.
- Packaging: Utilizing vacuum-sealed bags enhances curing efficiency by removing oxygen, accelerating the curing process, and preventing spoilage.
- Curing Environments: Recommended environments include DIY chambers or modified fridges to control temperature and humidity, crucial for consistent results.
- Time and Patience: Curing times vary; whole muscle cuts like pancetta may require several weeks or months to achieve desired results.
- Flavor Complexity: Dry curing enhances flavor complexity through slow, controlled processes, contrasting with quick food preparations.
- Safety and Technique: Following precise procedures minimizes risks and ensures consistent, safe results, distinguishing from less controlled methods.
Essential Equipment for Home Meat Drying

To get the best results in home meat drying, you need the right tools. Let’s dive into what you need.
Choosing a Dehydrator
Pick a dehydrator with adjustable temperature settings. This lets you control the drying process precisely. Look for models with multiple trays to dry larger batches. The Excalibur 9-Tray or Nesco Snackmaster are top choices.
Using Your Oven for Meat Drying
Use an oven with low-temperature settings. Set it to around 170°F. Keep the door slightly ajar for air circulation. Place meat strips directly on the racks, with a drip tray underneath to catch juices.
Additional Tools and Accessories
Get stainless steel racks for even drying. Invest in quality meat thermometers to monitor temperatures. Use sharp knives for thin, even slices. Don’t forget marinade containers and airtight storage bags for your dried meat.
Step-by-Step Guide to Drying Meat
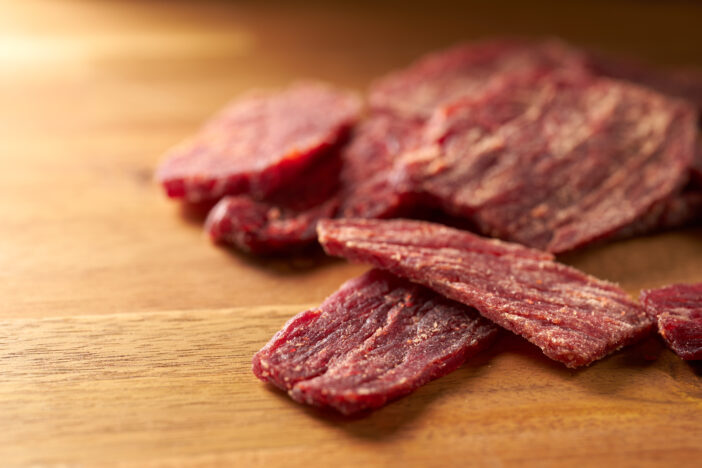
Drying meat at home can be straightforward and rewarding. Follow these steps for effective and delicious results.
Preparing Your Meat
- Select the Right Cut: Use lean cuts like beef round, venison, or turkey breast for the best results.
- Trim the Fat: Remove visible fat to prevent spoilage.
- Slice Thin: Cut meat into thin, uniform strips against the grain for quicker and even drying.
- Marinate: Soak meat in your favorite marinade for at least 12 hours to add flavor.
- Pat Dry: Remove excess marinade by patting the meat with paper towels.
Setting Up the Drying Environment
- Choose Your Equipment: Use a dehydrator (set at 160°F) or an oven (set to the lowest temperature, about 160°F).
- Arrange Strips: Lay meat strips on stainless steel racks, ensuring they don’t overlap.
- Monitor Airflow: Ensure proper ventilation in your dehydrator or oven for consistent drying.
Monitoring the Drying Process
- Check Temperature: Use a meat thermometer to ensure the internal temperature of the meat reaches 160°F.
- Rotate Trays: If using an oven, rotate trays every 2-3 hours for even drying.
- Test for Doneness: Dried meat should be firm, flexible, and not brittle. This typically takes 4-8 hours.
- Cool Completely: Let dried meat cool to room temperature to avoid condensation in storage.
- Pack Airtight: Store in airtight containers or vacuum-sealed bags to keep moisture out.
- Store Properly: Keep in a cool, dark place or refrigerate for extended shelf life.
By carefully following these steps, you’ll produce high-quality dried meat at home.
Tips and Tricks for Successful Meat Drying
Drying meat at home requires precision and care. Here are some expert tips to ensure your jerky or biltong turns out perfect every time.
Managing Humidity and Temperature
- Maintain Consistent Temperature: Keep your dehydrator or oven at a stable temperature between 130°F and 160°F.
- Control Humidity: Ensure adequate ventilation to reduce humidity levels, which can prevent proper drying.
- Use a Hygrometer: Monitor humidity levels with a Hygrometer to keep them below 30%.
Ensuring Safety and Preventing Spoilage
- Use Fresh Meat: Always start with fresh, high-quality meat to reduce the risk of spoilage.
- Preheat to Kill Bacteria: Preheat meat slices to 160°F in an oven before drying to eliminate bacteria.
- Avoid Cross-Contamination: Clean all utensils and surfaces thoroughly to prevent the spread of bacteria.
- Marinade Overnight: Marinate the meat for at least 12 hours to allow flavors to penetrate deeply.
- Use Balanced Ingredients: Combine acidic (vinegar), salty (soy sauce), and sweet (honey) components for a well-rounded marinade.
- Apply Dry Rubs Evenly: Ensure the rub is evenly coated on each slice for consistent flavor.
Common Mistakes to Avoid in Meat Drying

Drying meat requires precision. Avoid these common pitfalls to ensure your jerky or biltong turns out perfectly every time.
Overcrowding the Drying Space
Crowding reduces airflow. Ensure there’s enough space between meat slices for air to circulate. Overlapping results in uneven drying and potential spoilage.
Inadequate Slicing Techniques
Slicing affects texture. Always slice meat evenly, around 1/4 to 1/8 inch thick, for consistent drying. Uneven slices can lead to chewy or tough meat.
Neglecting Proper Storage Methods
Poor storage leads to spoilage. Always store dried meat in airtight containers or vacuum-sealed bags. Keep in a cool, dark place to maintain freshness.
Frequently Asked Questions
What are the best cuts of meat to use for drying?
For the best results in meat drying, choose lean cuts like the beef eye of round, top round, or bottom round. These cuts have minimal fat, which ensures a longer shelf life for your dried meat.
How should I prepare the meat before drying?
Trim all visible fat from the meat, as fat can spoil. Slice the meat thinly, about 1/8 to 1/4 inch thick. Consistent, thin slices ensure even drying and a better texture.
Do I need to marinate the meat?
Yes, marinating the meat is essential for both flavor enhancement and safety. Marinate for at least 4 hours, or overnight for best results. This also helps to tenderize the meat.
What equipment do I need for meat drying?
A reliable dehydrator is essential. Recommended models include the Excalibur 9-Tray and Nesco Snackmaster. Additionally, you’ll need a sharp knife for slicing and airtight containers for storage.
How do I ensure the meat is dried properly?
Maintain a consistent drying temperature between 145°F to 160°F. Ensure good air circulation and avoid overcrowding the drying space. Proper drying reduces the risk of spoilage and ensures even moisture removal.
What are common mistakes to avoid?
Avoid overcrowding the dehydrator trays, as this impedes airflow and leads to uneven drying. Also, ensure all slices are of uniform thickness to prevent inconsistent textures. Proper storage in airtight containers is crucial to prevent spoilage.
How do I store dried meat to keep it fresh?
Store dried meat in airtight containers in a cool, dark place. For longer storage, refrigerate or freeze the dried meat. Proper storage extends the shelf life and maintains the quality of your snacks.
Is meat drying a safe method of preservation?
Yes, when done correctly, meat drying is a safe preservation method. Ensure to follow all safety guidelines, including proper marinating, consistent drying temperatures, and appropriate storage to minimize any risks.


