10 Tips on How to Clean Flounder for the Best Flavor and Texture
Wash flounder properly for best flavor and texture: select fresh fish, thaw correctly, set up a cleaning station, rinse, scale, gut, trim, and dry thoroughly.
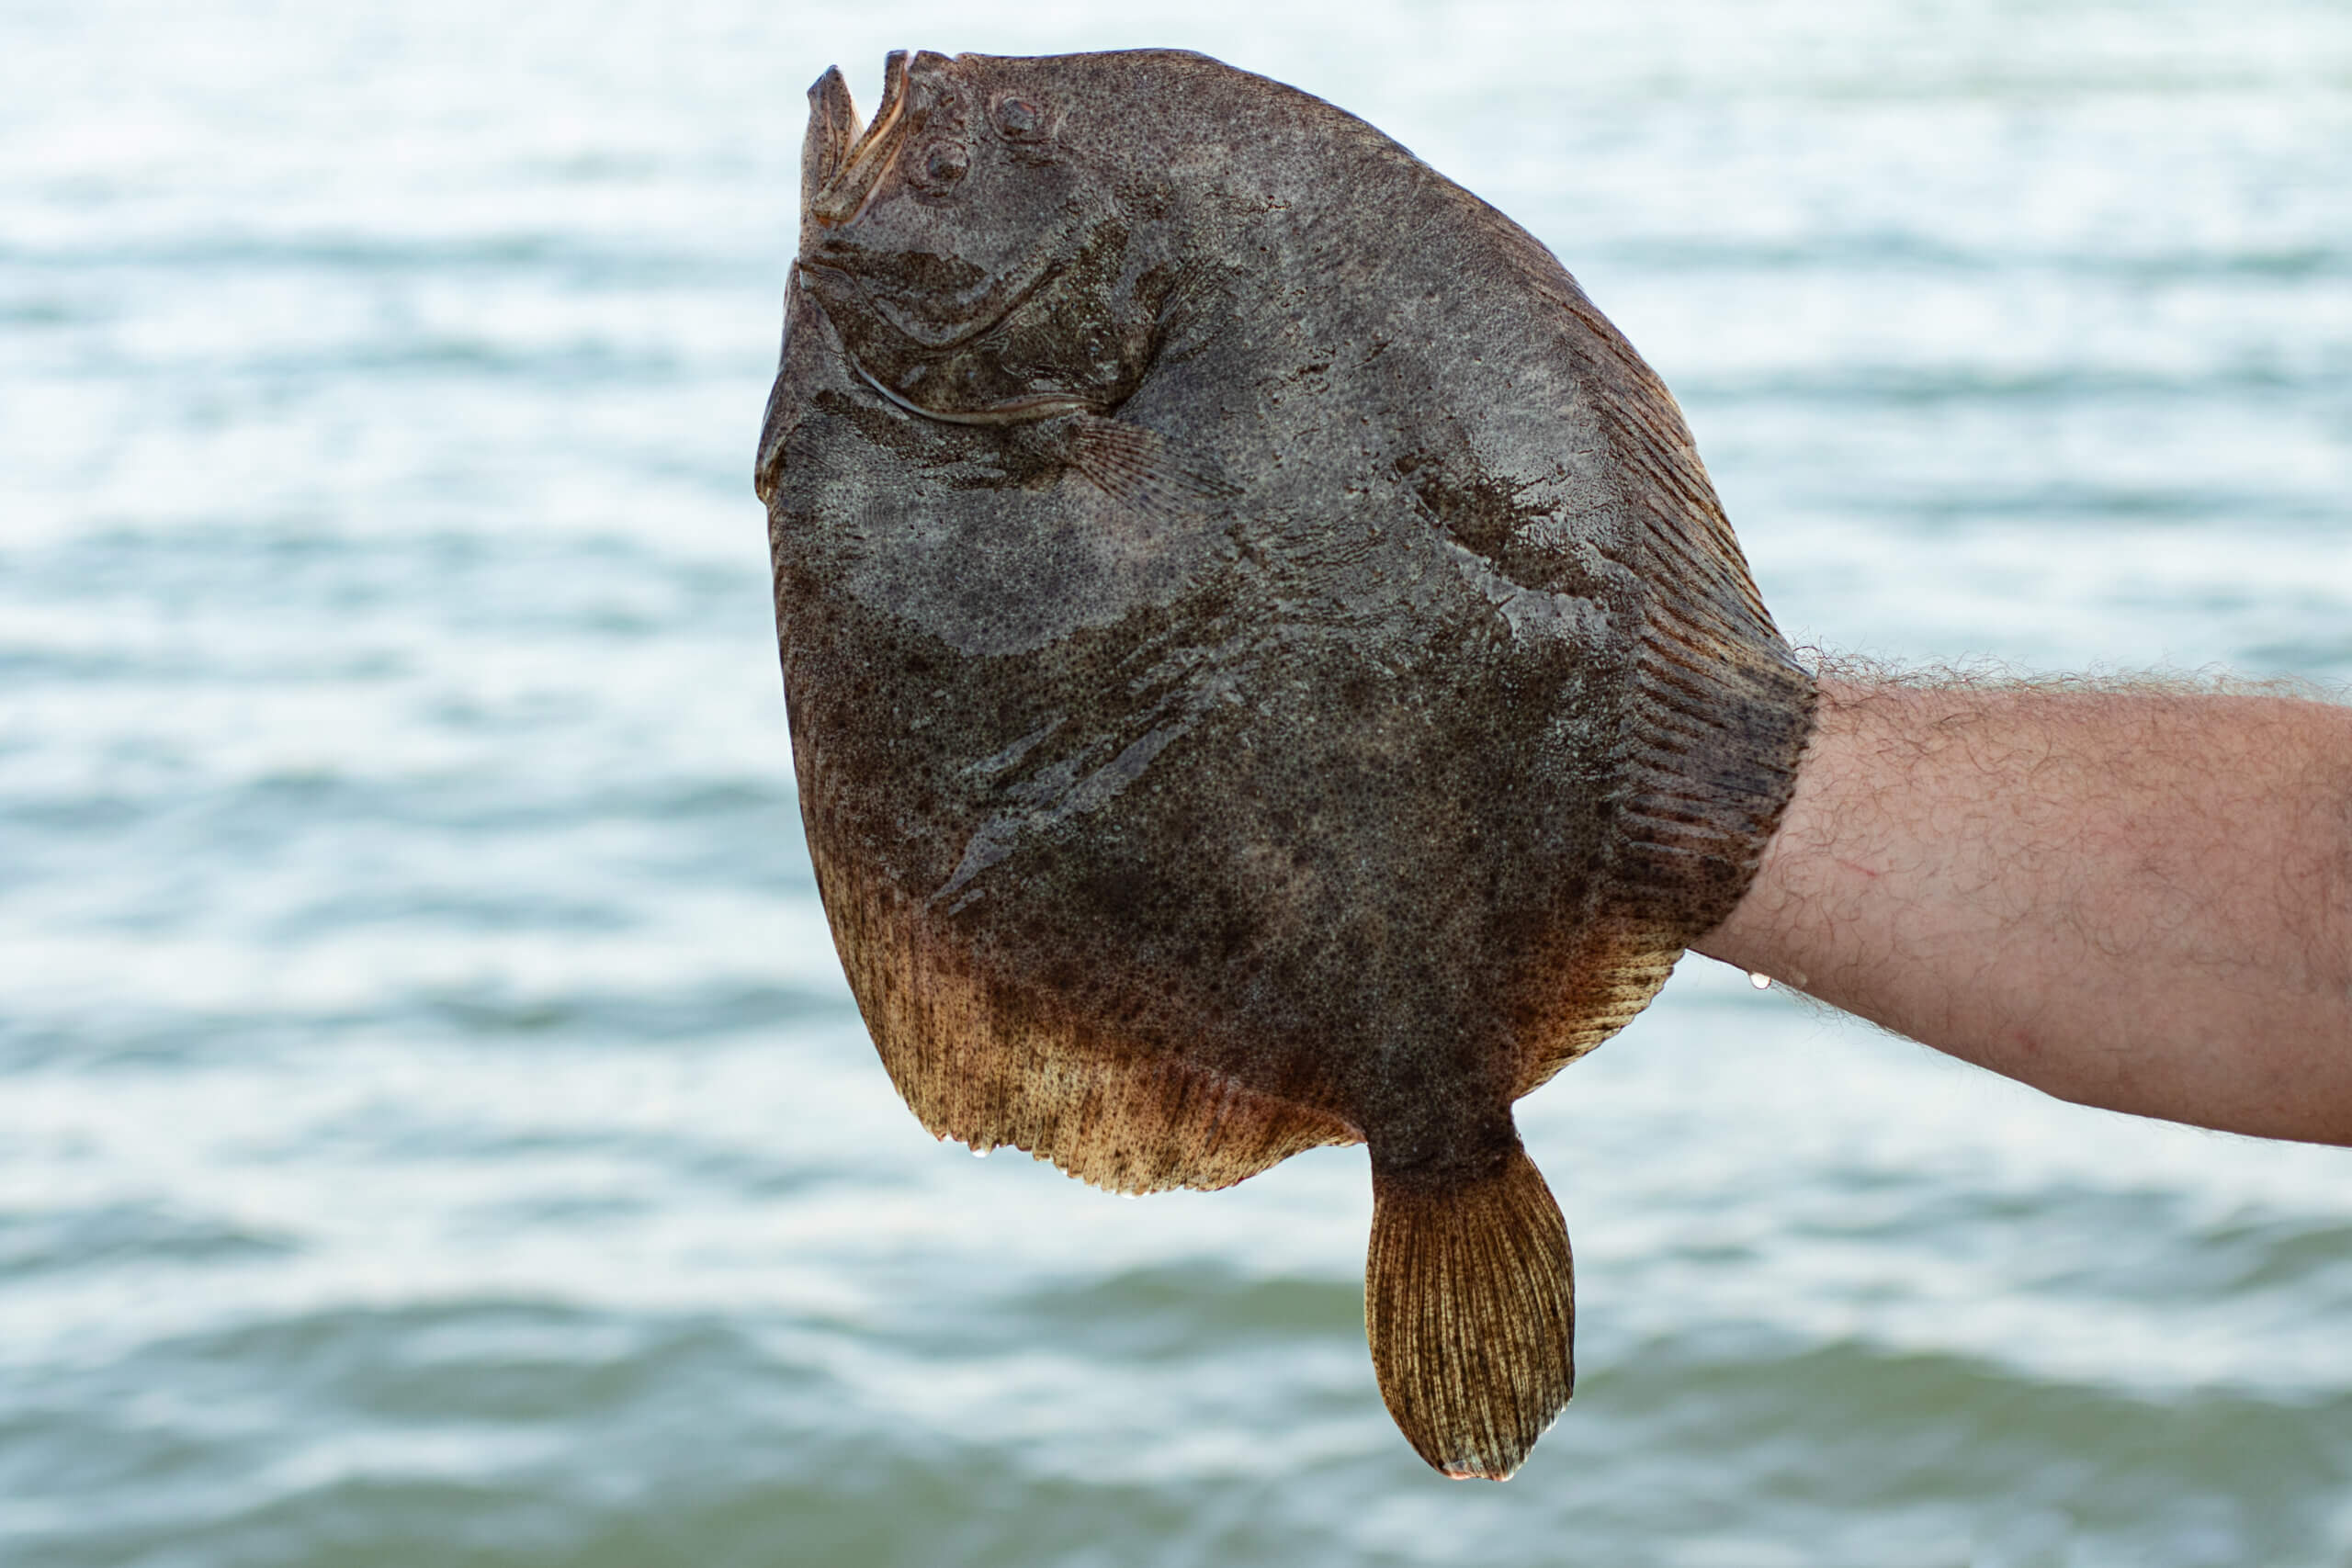
Flounder is a delicious and versatile fish that is enjoyed by many seafood lovers around the world. Preparing it properly before cooking is essential to ensure the best flavor and texture, so here are some essential tips to help you wash flounder effectively.
Disclosure: As an Amazon Associate, this site earns from qualifying purchases. Thank you!
1. Begin with Selection Tips
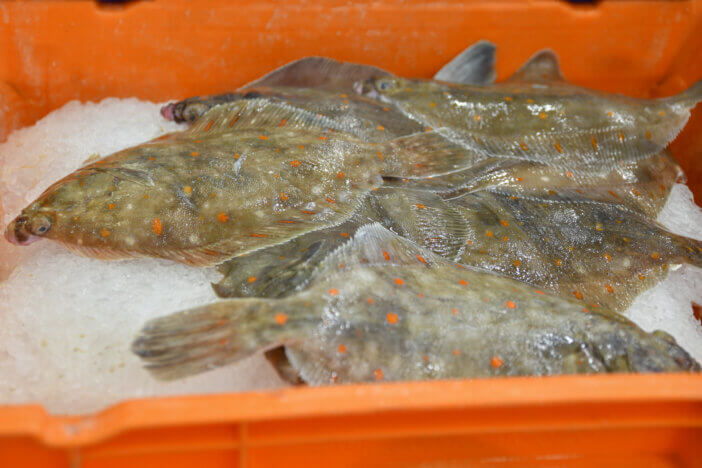
When selecting flounder, fresh is best. Look for fish with a clean, ocean-like smell, bright eyes, and firm flesh. If the flounder’s skin appears slimy or the eyes are cloudy, it may not be fresh. It’s also wise to choose flounder that has been responsibly sourced to ensure sustainability and environmental responsibility.
Avoid flounder with any discoloration or bruising on the flesh. The skin should be intact without any rips or tears. If you’re purchasing fillets, they should be moist, not dry or withering. Remember, the quality of your dish starts with the quality of your ingredients, so be picky with your selection.
2. Properly Thawing Flounder
If your flounder is frozen, it’s important to thaw it correctly to maintain its quality. The best method is to place the fish in the refrigerator for 24 hours before cooking it. This slow thawing process helps preserve the texture and flavor of the fish.
Never thaw flounder at room temperature or under warm water, as this can lead to bacterial growth and spoilage. If you’re in a rush, you can place the sealed flounder in a bowl of cold water, changing the water every 30 minutes until it’s thawed. This method is quicker but requires more attention to ensure the fish remains cold.
3. Cleaning Station Setup

A proper cleaning station is key for efficiently preparing your flounder. You’ll need a flat, clean surface next to a sink. Cover the area with newspaper or plastic wrap for easy cleanup. Have all necessary tools, such as a fillet knife, cutting board, and paper towels.
Additionally, ensure you have a waste bin nearby for discarding scales, guts, and trimmings. Keep your working area uncluttered and organized to streamline the cleaning process. A well-prepared station will make the washing and prepping of your flounder much smoother and more hygienic.
4. Initial Rinse Techniques
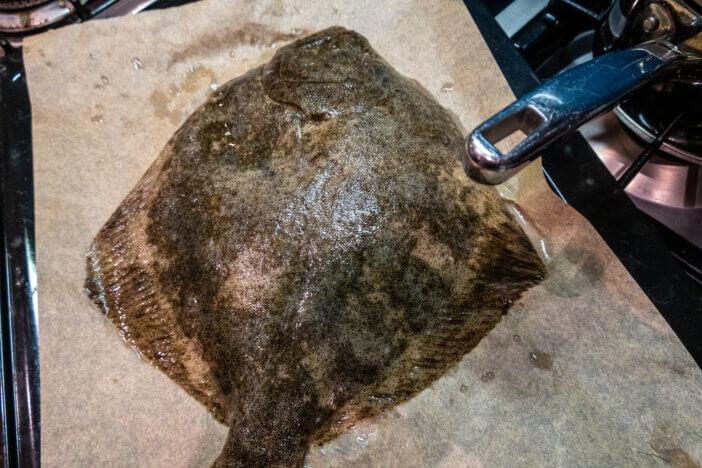
Begin by rinsing the flounder under cold running water. This helps to remove any loose scales, dirt, or debris from the fish’s surface. Be gentle but thorough, and use your fingers to rub along the body to dislodge anything that’s stuck to the skin.
Avoid using hot water as it can start cooking the fish and affect its texture. Ensure that the water pressure is not too strong to avoid damaging the flesh. Turn the fish on both sides and rinse inside the cavity to ensure all parts are clean.
5. Dealing with Scales
Flounder have fine scales that need to be removed before cooking. Hold the fish by the tail and use a fish scaler or the back of a knife to scrape against the scales from tail to head. This should be done under running water to help wash away the scales as they are removed.
The scales can fly off in different directions, so doing this step slowly and with control can minimize mess. Some flounder may have been scaled before purchase, but it’s always good to double-check and remove any remaining scales.
6. Gutting the Flounder
To gut the flounder, insert the tip of a sharp knife into the belly near the head and slice down to the tail. Open the cavity and remove the entrails using your hands or a spoon. It is important to remove all the guts to prevent any bitter taste in the cooked fish.
Rinse the cavity thoroughly under cold water to remove any residual blood or guts. Be sure to clean around the backbone and ribs, as these areas can harbor leftover innards. Once clean, the cavity should be free of any odors or slimy textures.
7. Fin and Tail Trimming
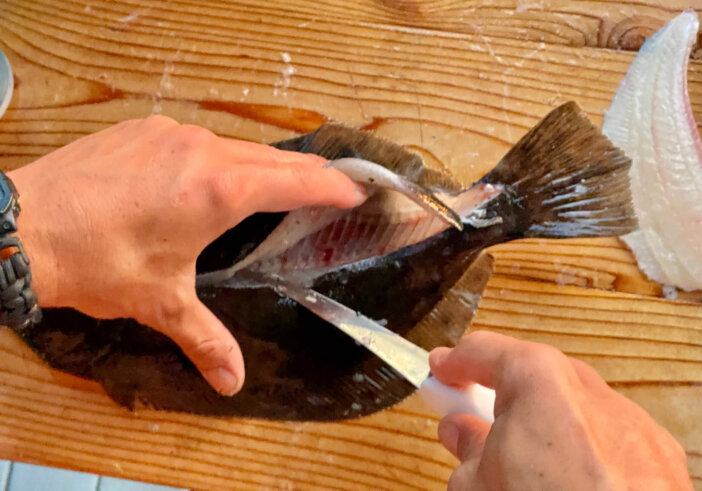
Trimming the fins and tail can make the flounder easier to handle and eat. Use kitchen shears or a sharp knife to cut off the fins along the body and the tail. Be careful not to cut into the flesh of the fish, as this can lead to a loss of meat and an unattractive presentation.
The edges of the flounder can be sharp after trimming, so smooth them down with a knife if necessary. This also helps in preventing any potential injuries when handling the fish during cooking.
8. Final Washing Steps
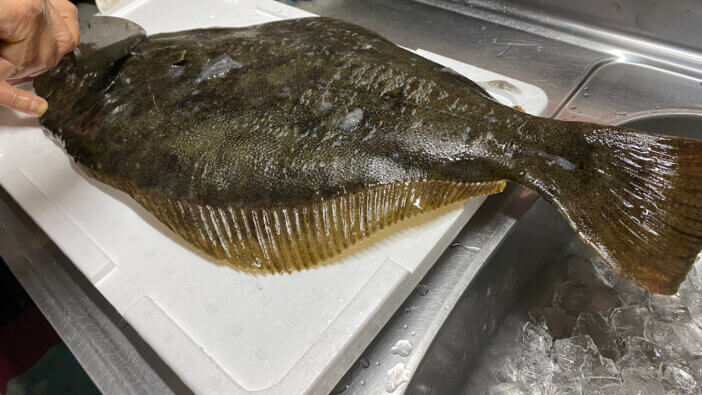
After gutting and trimming, give the flounder another thorough rinse under cold water. Make sure to wash inside the cavity as well, as this is where bacteria can hide. It’s essential to ensure that all the trimming remnants are washed away.
Inspect the fish for any missed scales, guts, or blood. Pay particular attention to the head and tail areas, which can often be overlooked. Once you’re satisfied that the flounder is completely clean, you can move on to the final preparations.
9. Pat Dry and Prep
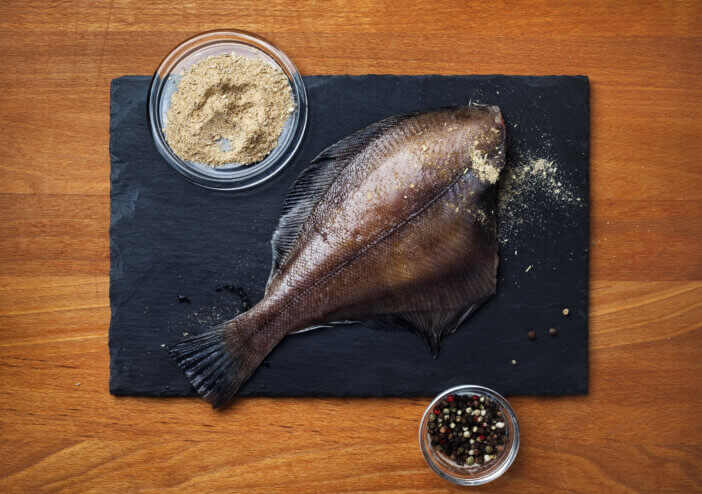
Once the flounder is clean, it’s important to pat it dry with paper towels. This helps to remove excess moisture which can affect the cooking process, especially if you’re planning to fry or sear the fish. A dry surface will help achieve a better crust and prevent the fish from steaming in the pan.
Lay the flounder on a clean cutting board and pat both sides, including the cavity, until the fish is dry. This step also provides an opportunity for a final inspection to ensure no scales or debris remain before moving on to seasoning or marinating.
10. Safe Handling Advice
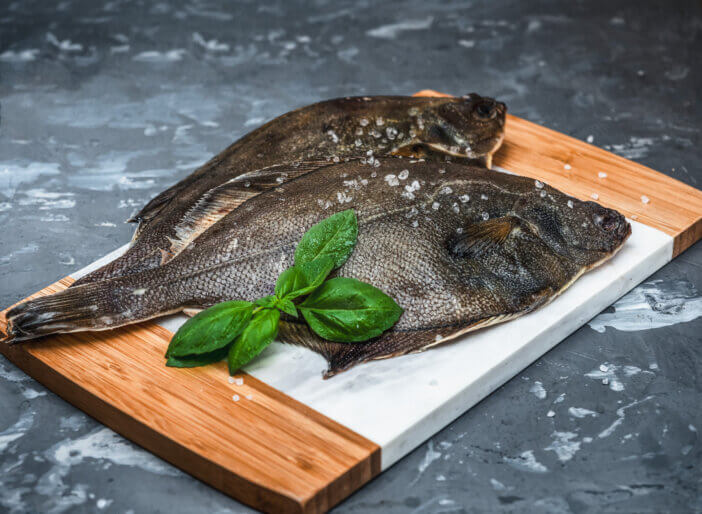
Always wash your hands thoroughly before and after handling raw flounder to prevent cross-contamination. All utensils, cutting boards, and surfaces that come into contact with raw fish should be cleaned with hot soapy water. If possible, use separate equipment for raw and cooked foods.
Keep the raw flounder separate from other ingredients to avoid spreading bacteria. If you’re not cooking the fish immediately after preparation, store it in the refrigerator at a temperature below 40°F (4°C) and use it within 1-2 days for optimal freshness and safety.
By following these essential tips, you can ensure that your flounder is properly washed and prepped for cooking, resulting in a delicious and safe meal. Remember, the care you take in preparing your seafood will reflect in the quality and taste of your finished dish.


