
How to Break Down a Whole Chicken to Save Money
Whole chickens are almost always cheaper per pound than buying pre-cut parts. Yet most people walk right past them…

Whole chickens are almost always cheaper per pound than buying pre-cut parts. Yet most people walk right past them and grab a pack of boneless breasts without thinking twice. Learning to break down a whole chicken yourself takes about ten minutes once you’ve done it a few times, and it genuinely changes how much you spend on protein every week.
If you want to stretch your grocery budget further, this is one of the most practical skills you can pick up in the kitchen. You get breasts, thighs, drumsticks, and wings, plus a carcass that makes rich, flavorful stock. Nothing goes to waste.
Disclosure: As an Amazon Associate, this site earns from qualifying purchases. Thank you!
What You Actually Save: Whole vs. Pre-Cut

The math is pretty clear. A whole chicken is typically sold at a lower price per pound than any of its individual parts sold separately. Boneless skinless breasts are almost always the most expensive option, followed by thighs and drumsticks. When you buy whole and break it down yourself, you’re essentially getting all those cuts at the whole-bird price.
Beyond the cuts themselves, you also walk away with the backbone and carcass. Simmer those with some onion, celery, carrot, and peppercorns for a few hours and you’ve got homemade chicken stock that would cost several dollars per carton at the store. That stock is useful in dozens of recipes, from soups to braises to rice dishes. It’s one of the best reasons to buy whole birds, and most people skip it entirely.
This same mindset applies across the meat counter. If you’re already thinking about getting more value from your grocery purchases, check out our guide to 8 smart ways to save money on meat at the grocery store for more tactics that go beyond just poultry.
The Right Knife Makes All the Difference

You don’t need a set of fancy tools. A sharp boning knife and a decent cutting board are all it takes. A boning knife’s thin, flexible blade lets you follow the contours of the bone closely, which means less meat left behind and cleaner cuts overall.

Flexible Boning Knife
A sharp, flexible boning knife is the single most useful tool for breaking down poultry and gets the job done cleanly every time.
A large, stable cutting board matters more than most people realize. You want something that doesn’t slide around when you’re applying pressure. Plastic boards are easy to sanitize after raw poultry, and a non-slip base keeps things steady. Pair that with your boning knife and you’re set.
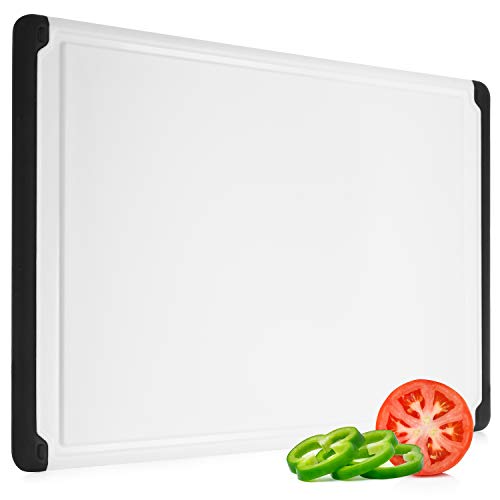
Non-Slip Plastic Cutting Board
A large, non-slip plastic cutting board gives you the stable surface you need when working with raw poultry.
Step-by-Step: How to Break Down a Whole Chicken

Work on a clean, dry surface. Pat the chicken dry first so it doesn’t slip around on you. The whole process takes 10 to 15 minutes when you’re learning and closer to 5 once it becomes routine.
- Remove the legs. Pull one leg away from the body and use your knife to cut through the skin between the thigh and breast. Pop the hip joint by bending the leg back firmly until you feel it give, then cut through the joint to separate the whole leg from the carcass. Repeat on the other side.
- Separate the thigh from the drumstick. Flip the leg skin-side down and look for the line of fat that runs between the thigh and drumstick. Cut straight through that line and you’ll hit the joint cleanly almost every time.
- Remove the wings. Pull each wing out and cut through the shoulder joint where it meets the breast. You’ll feel where the joint is after the first one.
- Remove the breasts. Run your knife along one side of the breastbone from top to bottom, keeping the blade as close to the bone as possible. Follow the ribcage down and around to free the breast in one piece. Repeat on the other side. You can leave them bone-in or remove the bone entirely depending on what you’re cooking.
- Save the carcass and back. Everything left over goes into a zip bag in the freezer. Once you’ve got one or two carcasses saved up, make stock. Roast the bones at 400°F for 30 minutes first if you want a deeper, richer flavor.
Once you’ve brined your chicken parts before cooking, the texture and juiciness improve significantly. Our essential brine formulas for chicken, turkey, and pork are worth bookmarking for that next step.
FAQ
Do I need a special knife to break down a chicken, or can I use what I already have?
A boning knife is ideal, but a sharp chef’s knife works fine for most steps. The one place you might struggle is separating joints if your blade is too thick or dull. A boning knife gives you more control around bone and cartilage, and they’re typically affordable. If you’re doing this regularly, it’s worth having one dedicated to the job.
What’s the best way to store the parts after breaking down the chicken?
Use the parts within two days if storing in the fridge, or freeze them individually on a sheet pan first so they don’t stick together, then transfer to a freezer bag. Label the bag with the date. The carcass keeps well in the freezer for up to three months, so you can collect a few before making stock. If you’re building out your overall budget meat strategy, our guide to the best budget meats for protein pairs well with this skill.
This article contains affiliate links. We may earn a small commission at no extra cost to you.


